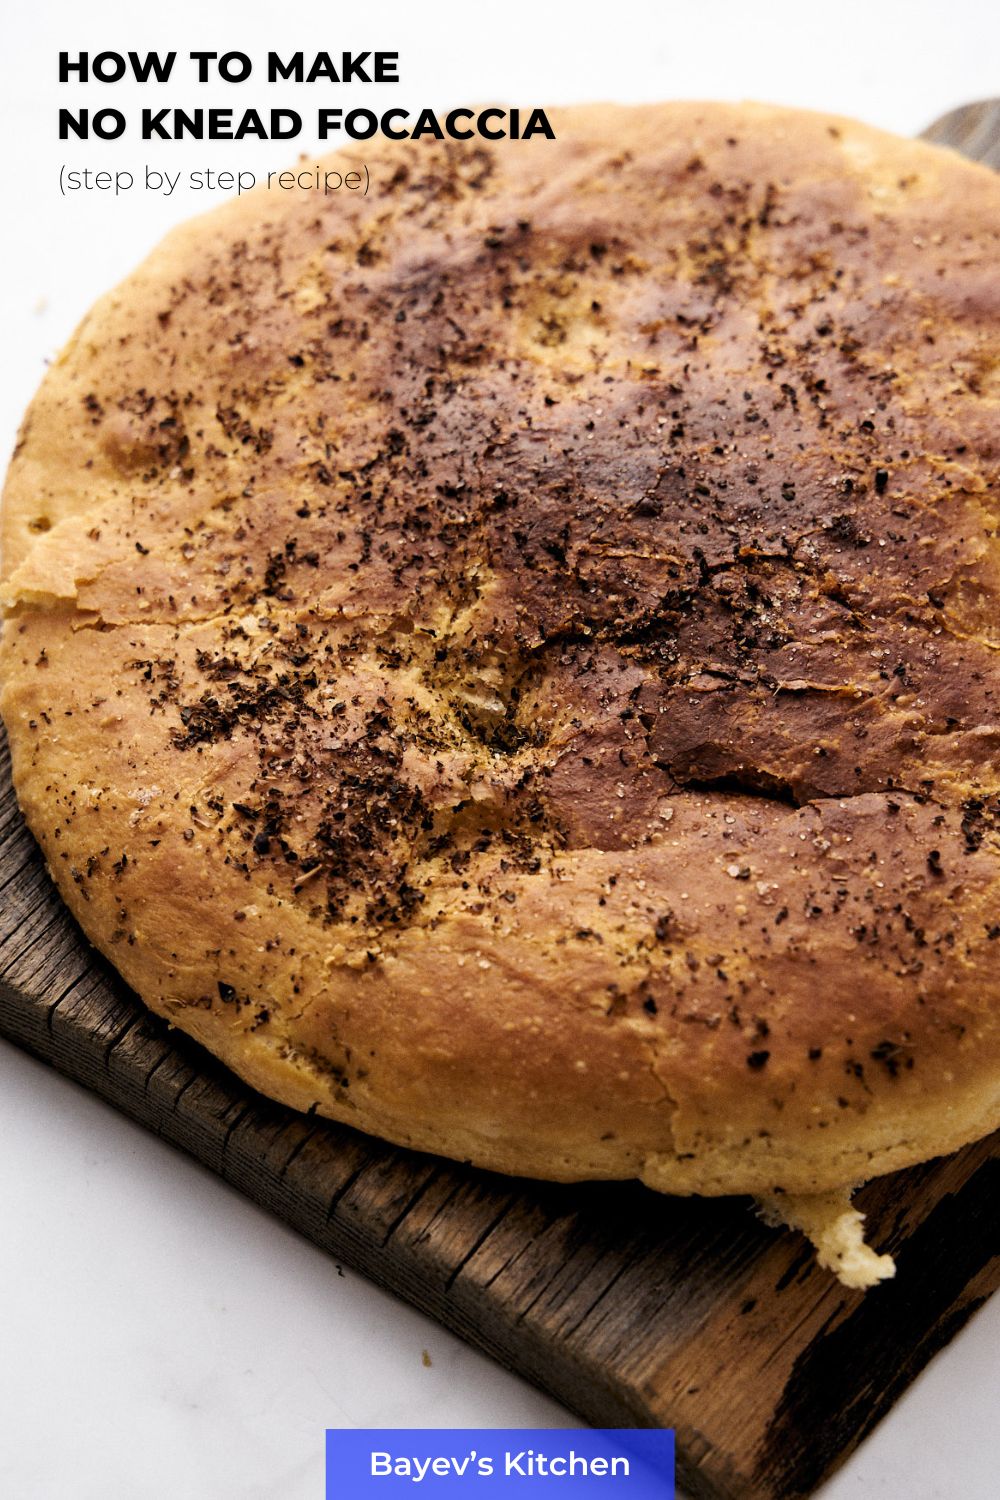
This focaccia recipe has two key features.
First of all, it uses a lot of liquid in the dough. This makes the crust super crispy when baked, but this dough is hard to work with by hand – it’s very sticky to everything it touches, not like a pan pita recipe. And it’s a good thing we have a second one.
Secondly, we will not knead the dough by hand, but we will entrust this function to yeast (is yeast gluten free read here) and flour. The fact is that there are enzymes in the flour that can break down proteins into smaller proteins. Something similar is done by yeast, which, by releasing carbon dioxide, stretches the dough, aligns the protein bonds (of proteins already broken down by enzymes) and forms gluten. The problem is that they do all this for quite a long time. It is desirable to allow these processes to occur within 8-12 hours, so you can leave the dough overnight.
In this recipe, I found probably the minimum time limit at which to get focaccia without kneading. In 4 hours we get a dough that could have been better by giving it 4-6 more hours. But this “better” is very relative, as each additional hour is less and less effective.
Anyway, my point is this. If you have time, mix the ingredients and let the dough stand for 8-10 hours or overnight. If you don’t have that kind of time, and you want it faster, make it like I did in 4 hours.
You can do both, compare and write your impressions in the comments, is it worth the wait in your opinion?
Ingredients

- 250 g (8,8 oz) of wheat flour
- 7 g (0,25 oz) salt (1 tsp.)
- 4 g (0,1 oz) dry instant yeast (1 tsp., I use Saf Instant)
- 200 ml (0,9 cups) of warm water (about 36-40 °C: not hot, not cold)
- 1 tsp oregano
- 10 ml (2 tsp.) extra virgin olive oil
- 30 ml (2 tbsp.) vegetable oil (olive, sunflower or as you wish)
Gear
For the best and most predictable results, I recommend using a kitchen scale for all baking/bread/dessert recipes.
Step-by-step Directions
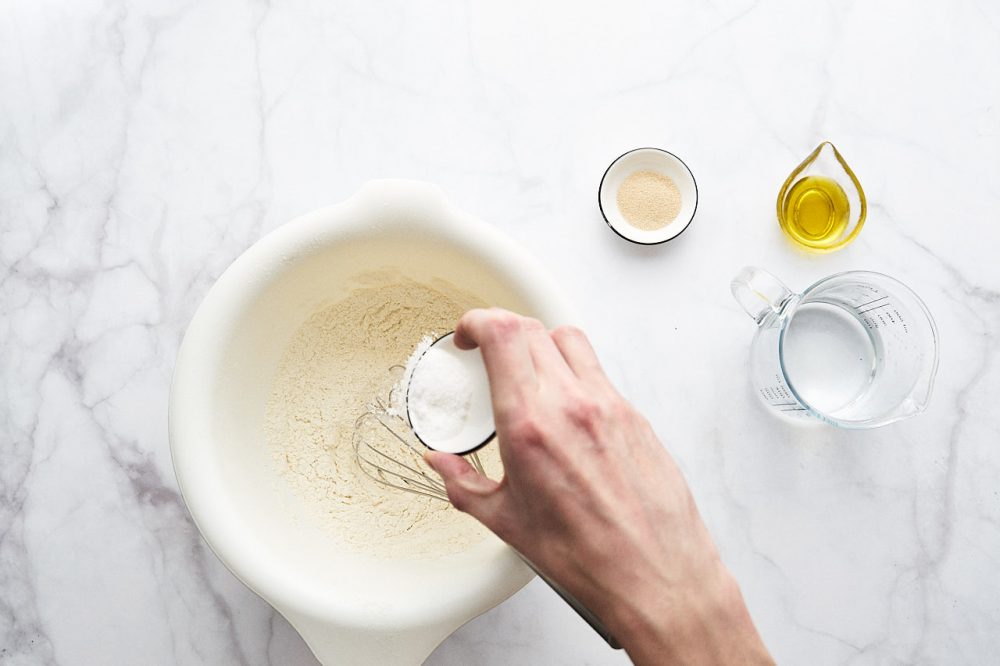
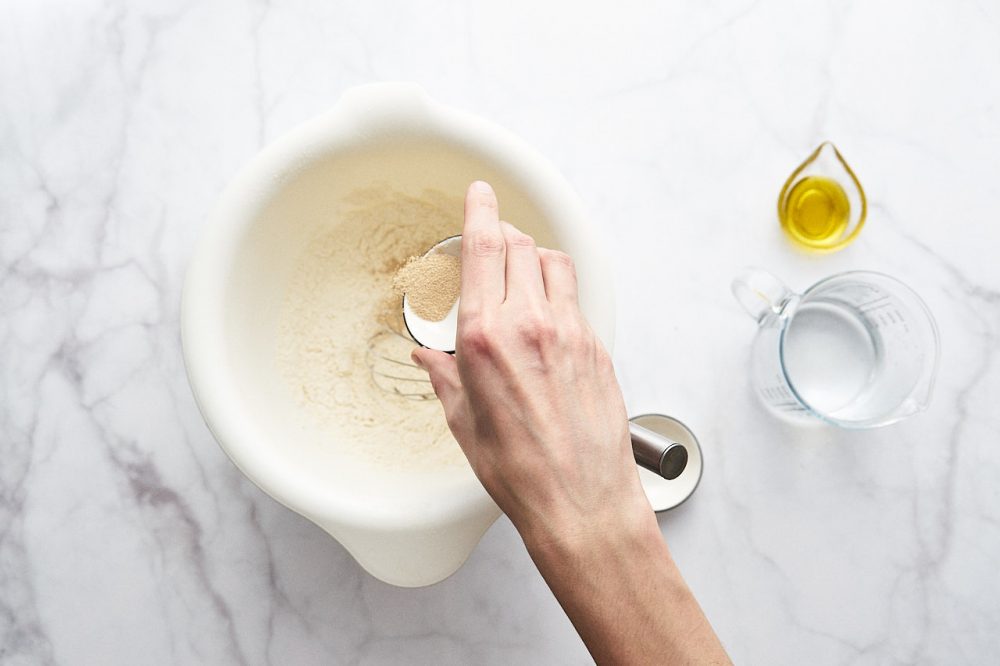
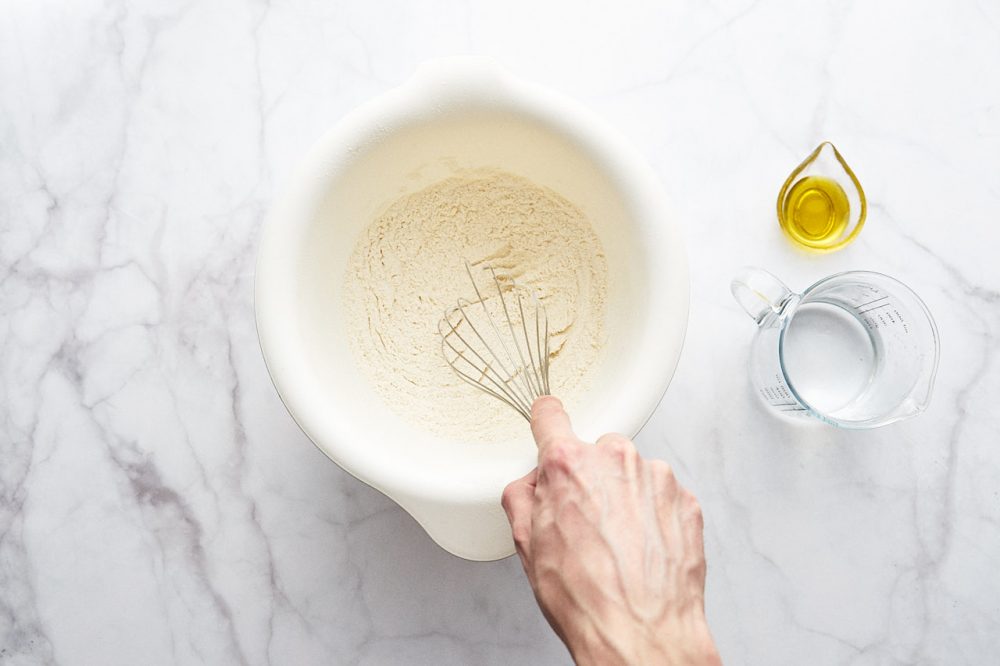
Sift the flour into a large bowl. Add 7 g (0,25 oz) of salt and 4 g (0,1 oz) of instant yeast. Stir with a whisk for 20-30 seconds.

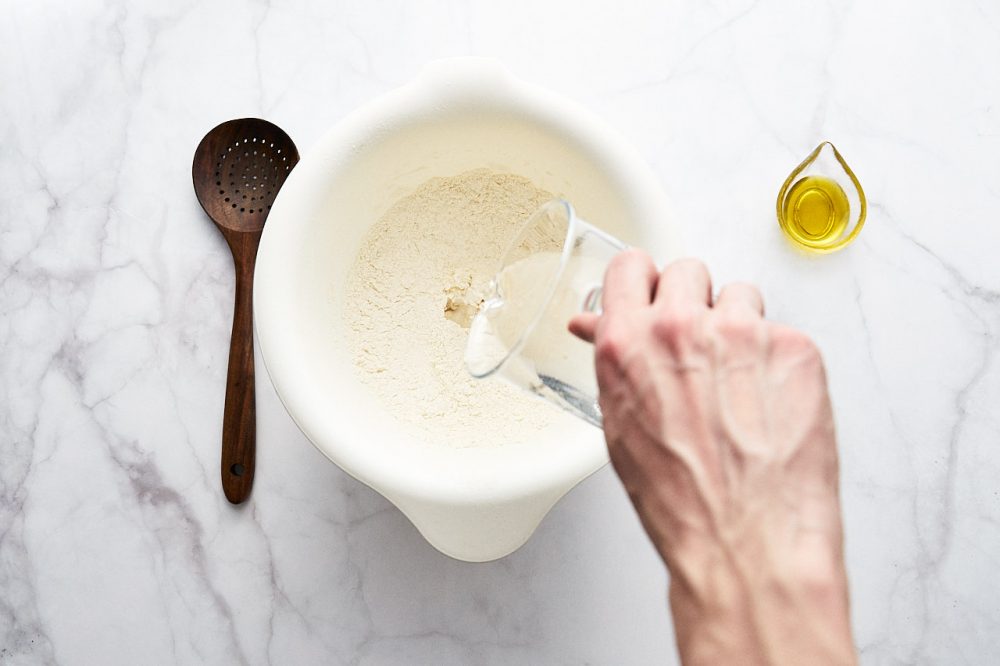
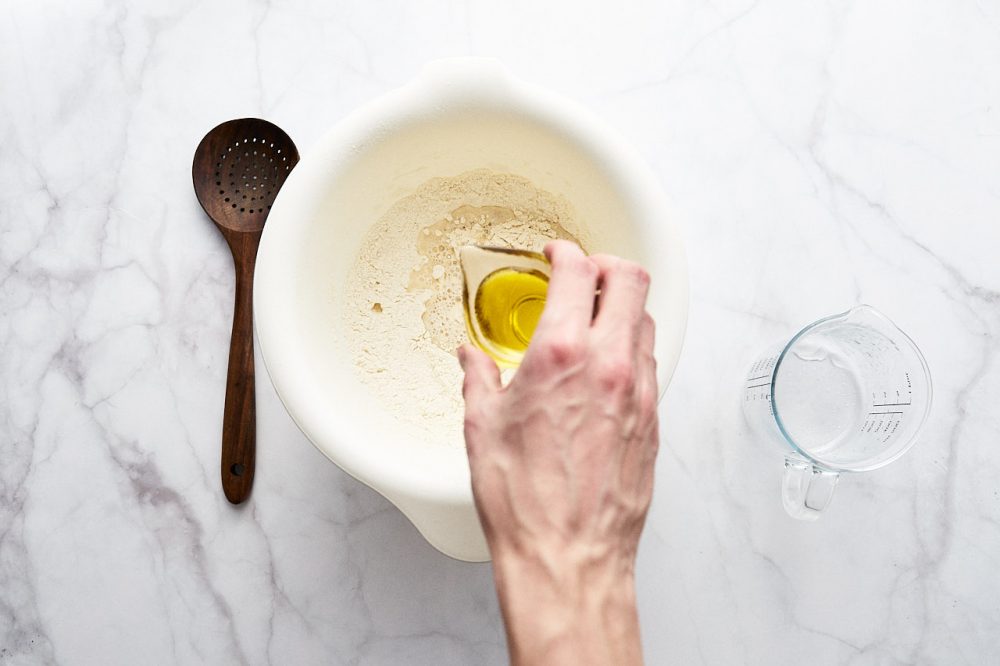
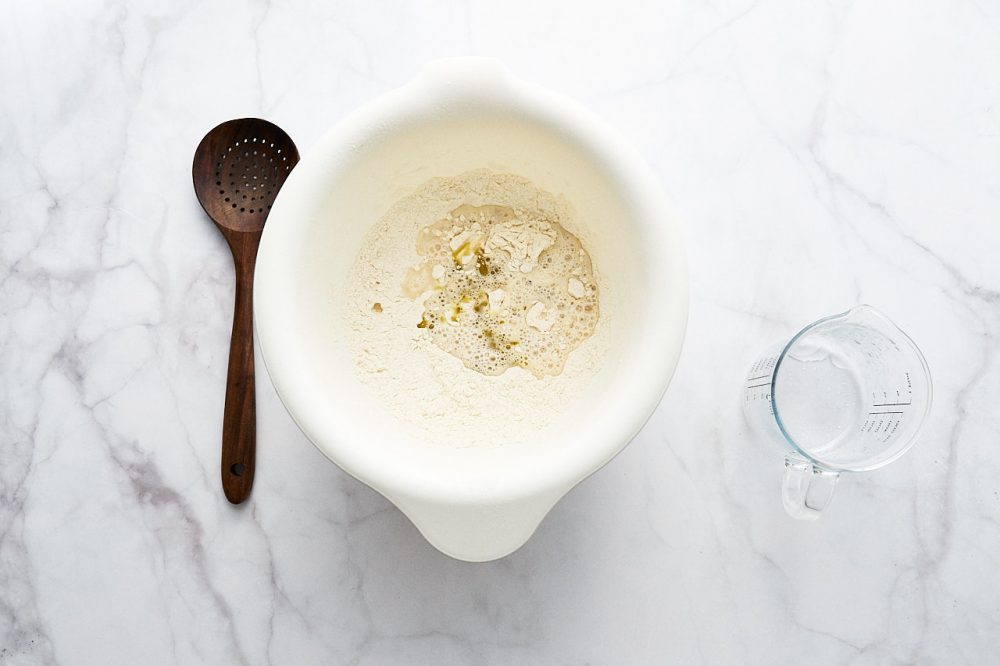
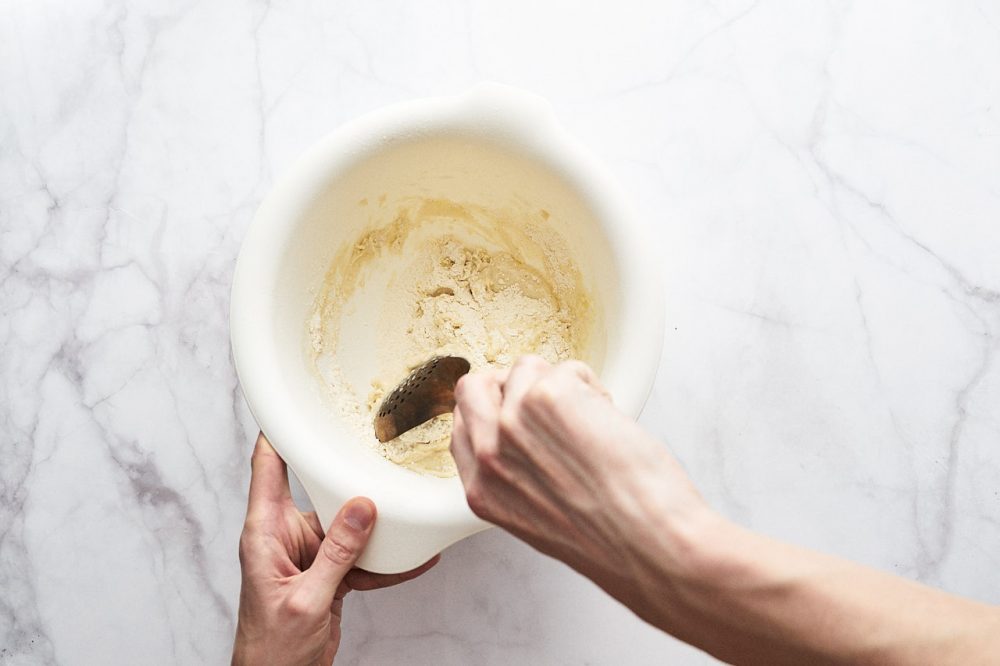
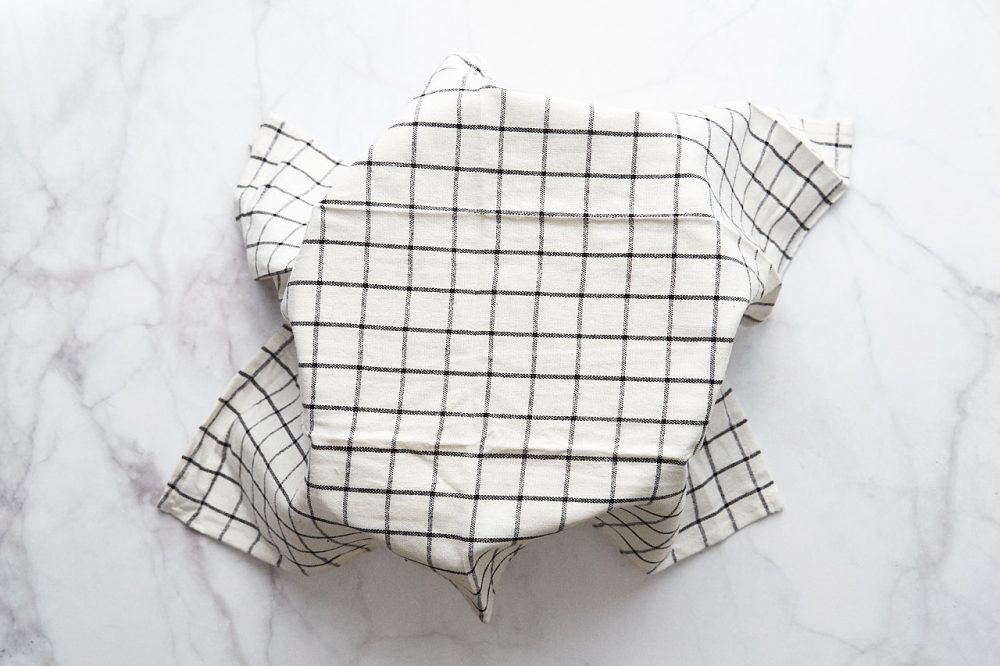
Pour in 200 ml (0,9 cups) of warm water and 10 ml (2 tsp.) of extra-virgin olive oil. Stir with a spatula or spoon. Cover the bowl with a towel or cling film and leave for 2 hours.
As you know yeast likes heat, so I do the following. I preheat the oven to the minimum of 50 degrees, immediately turn off the heat and put the bowl of dough in it.
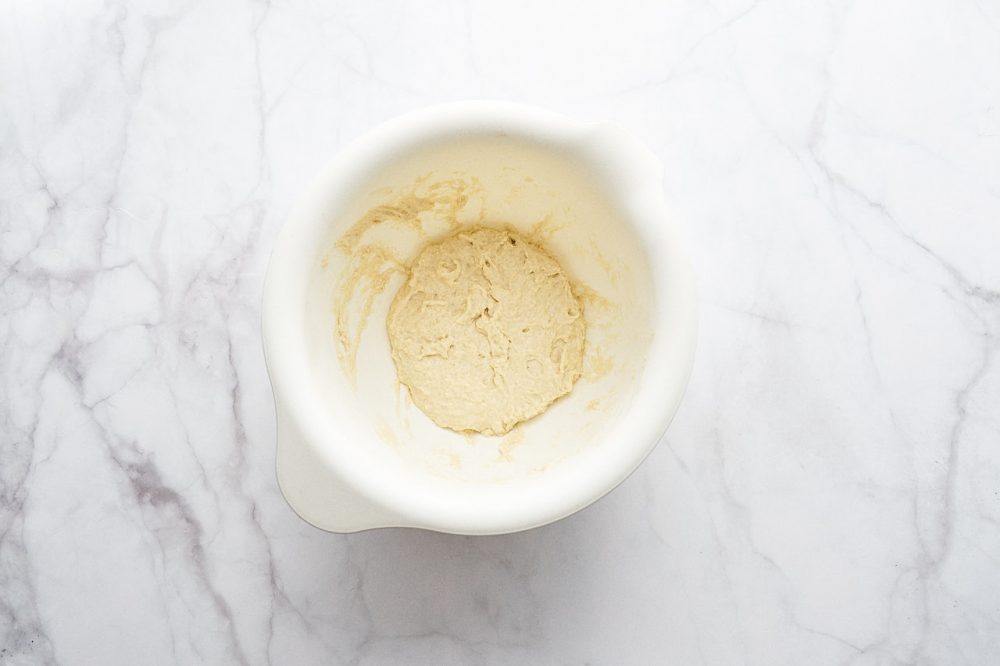
After 2 hours, the dough should increase in volume by at least 2 times. If less, the yeast is bad, old, spoiled or of poor quality.
It is at this stage that the process of “maturing” of the dough can be extended up to 48 hours. Leave the dough at room temperature for 8-10 hours or overnight, if longer – put it in the fridge.
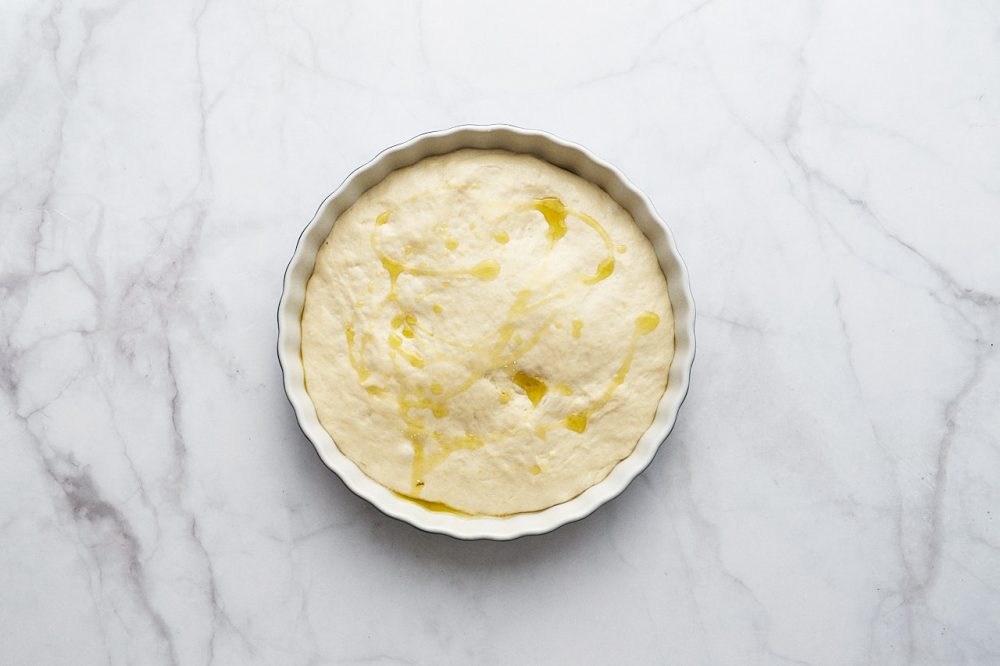
For convenience, compare before and after:

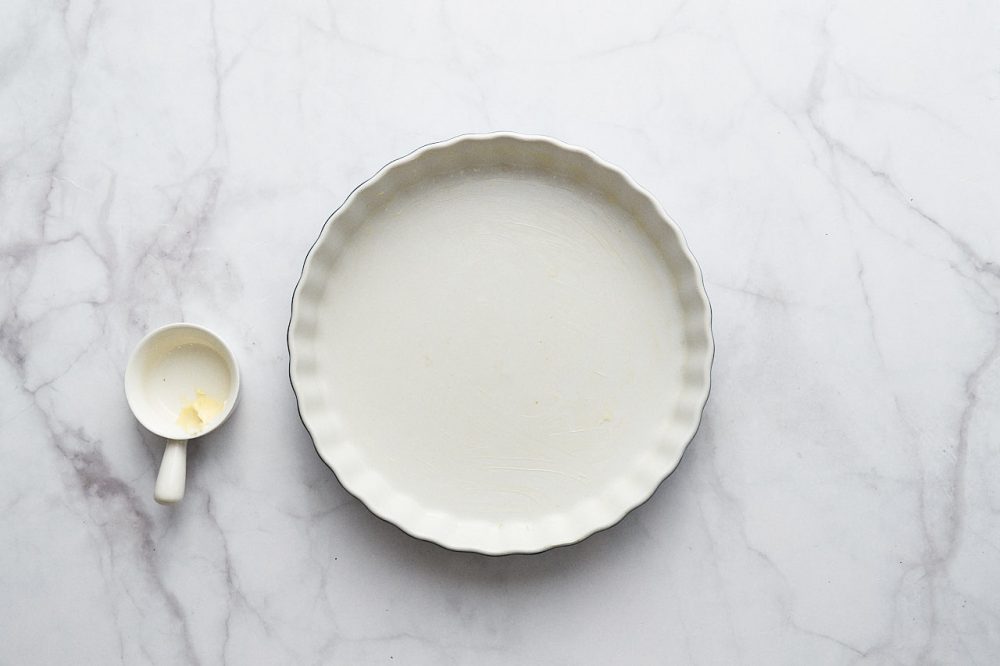
Take a baking dish. It can be rectangular, square or round. The main thing is not to be too big. I used a ceramic tart mold from Ikea, 26 cm in diameter. You don’t need to take more, but smaller ones, up to 20 cm in diameter, are allowed.
As for rectangular or square shapes: multiply the width by the length, if it is within 320-550 cm – the form is fine.
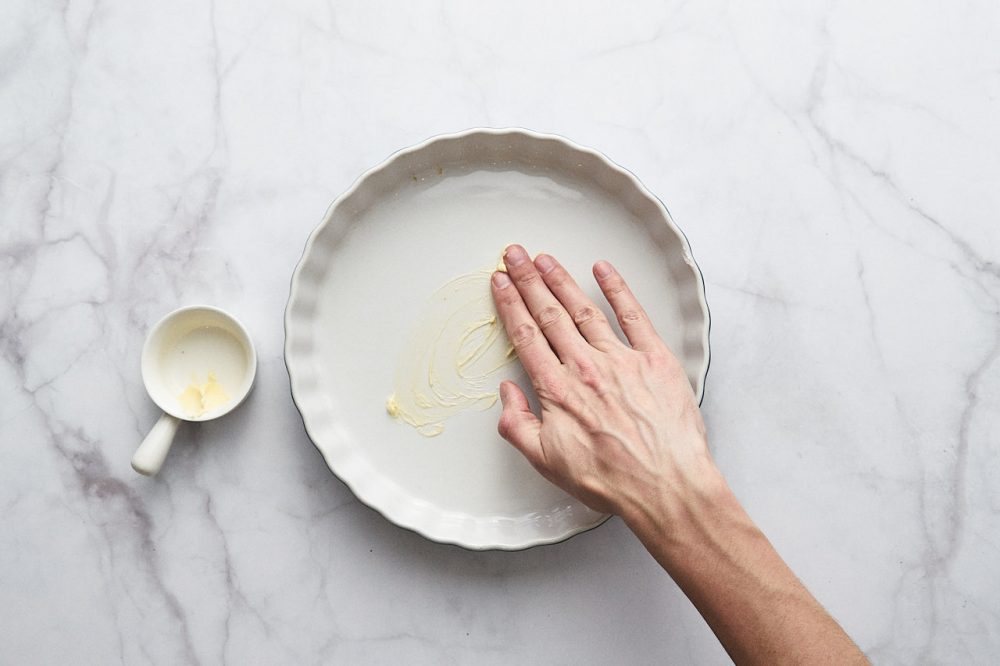
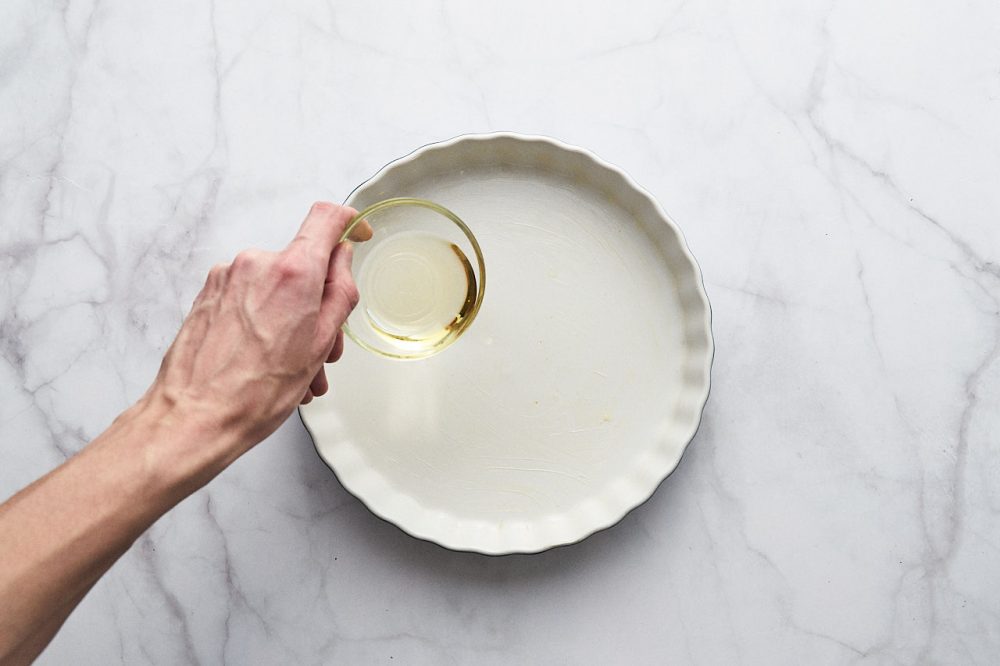
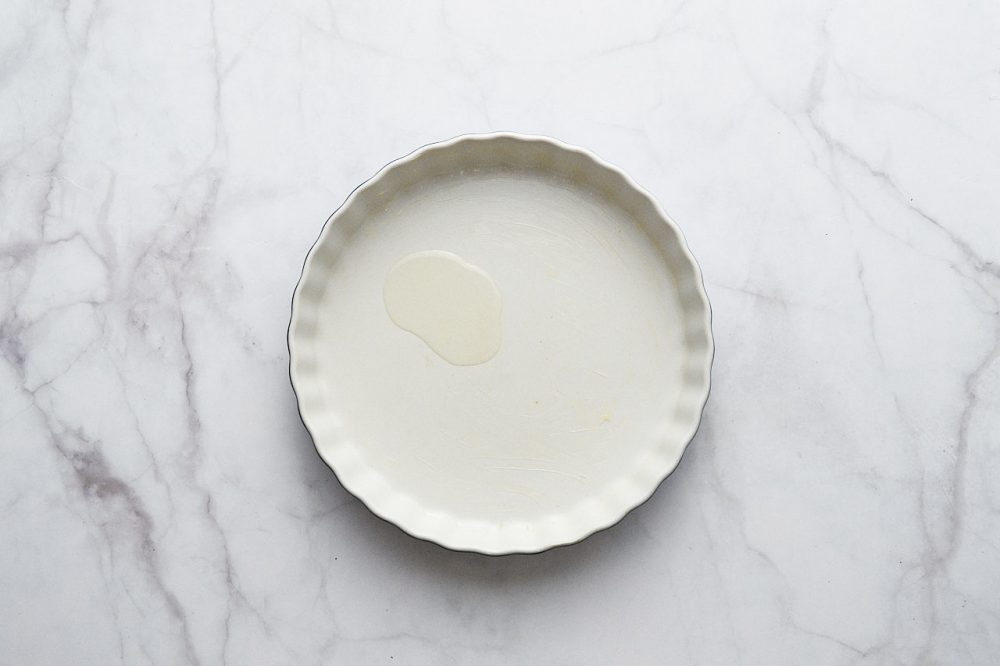
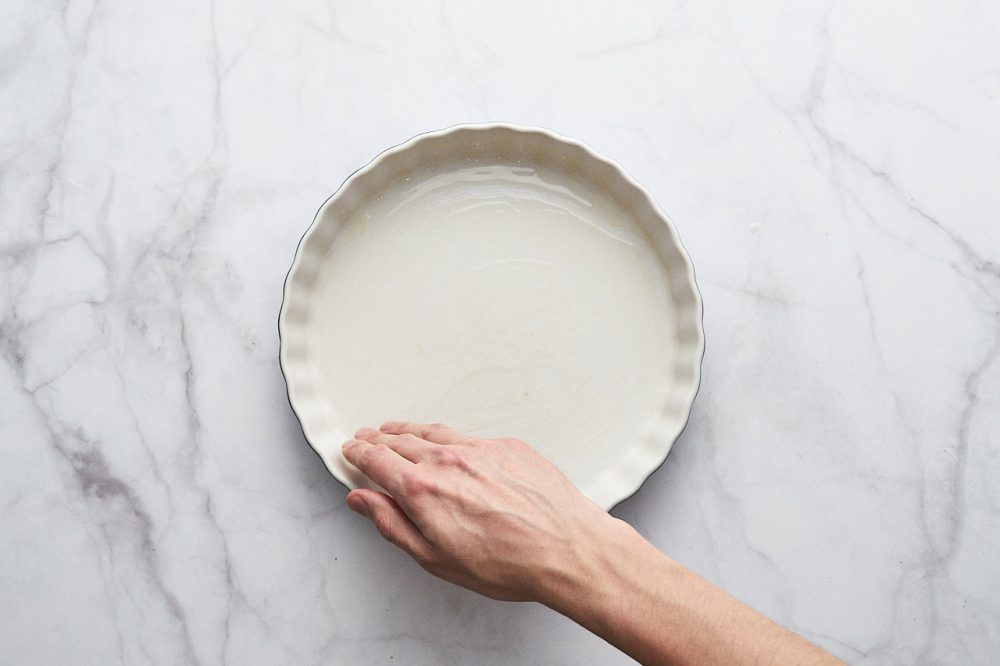
Grease the mold with butter, pour a small amount of vegetable oil and smear it on top.
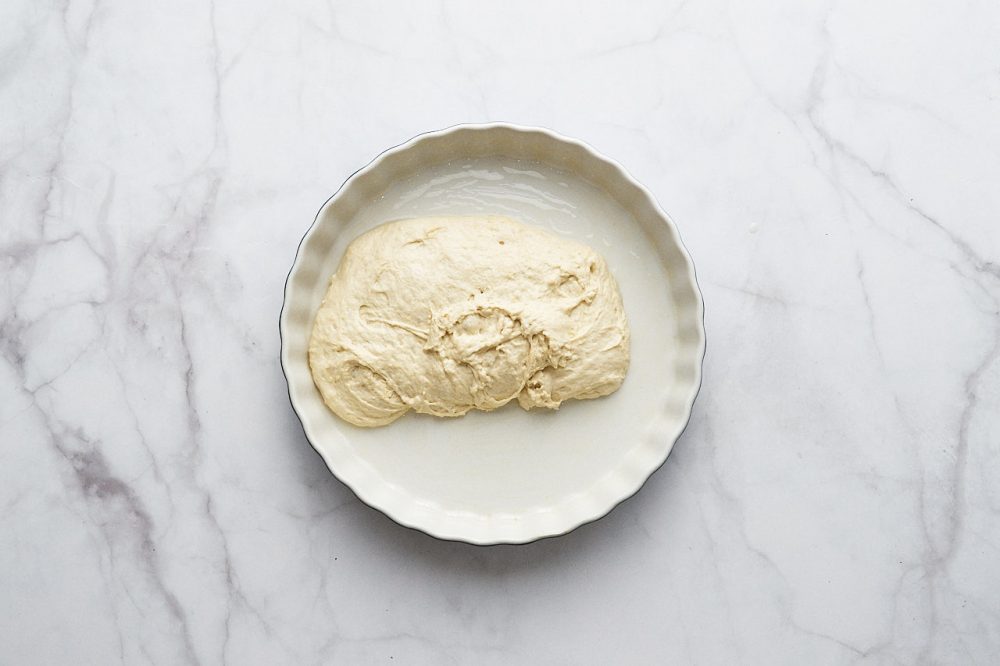
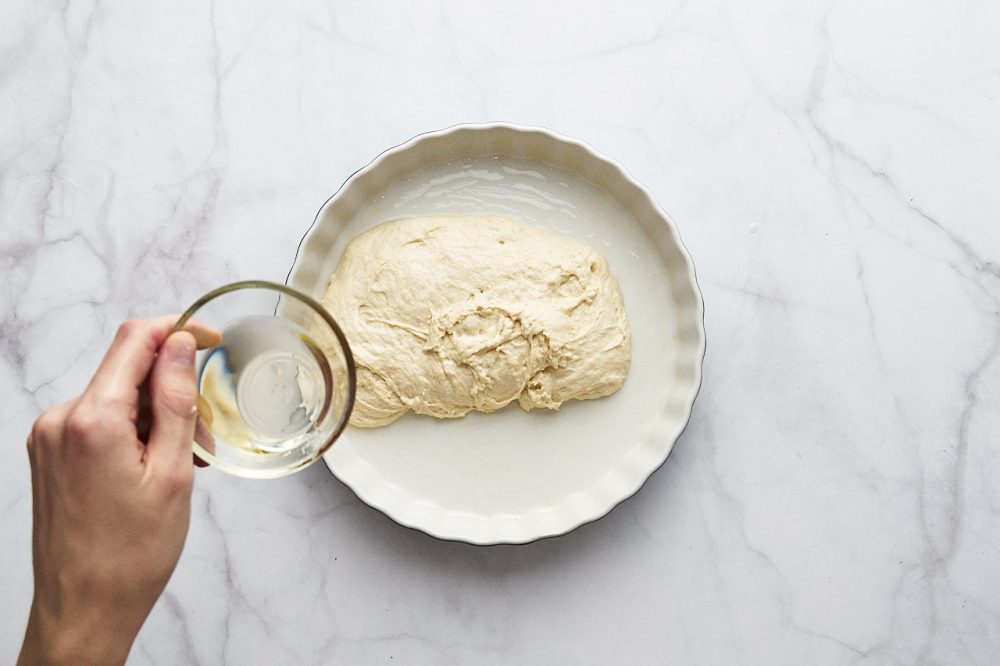
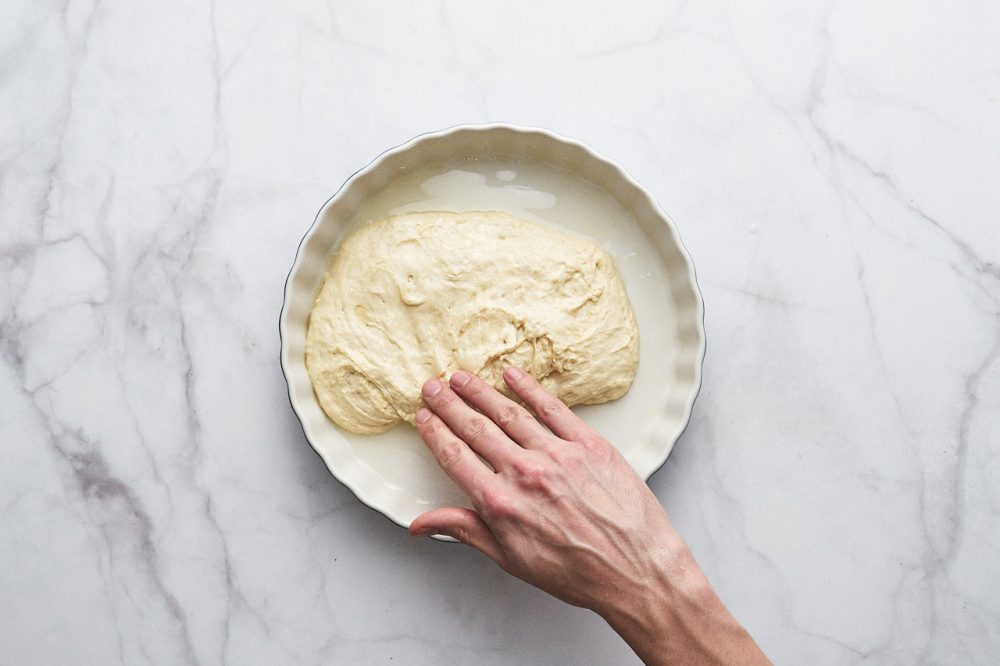
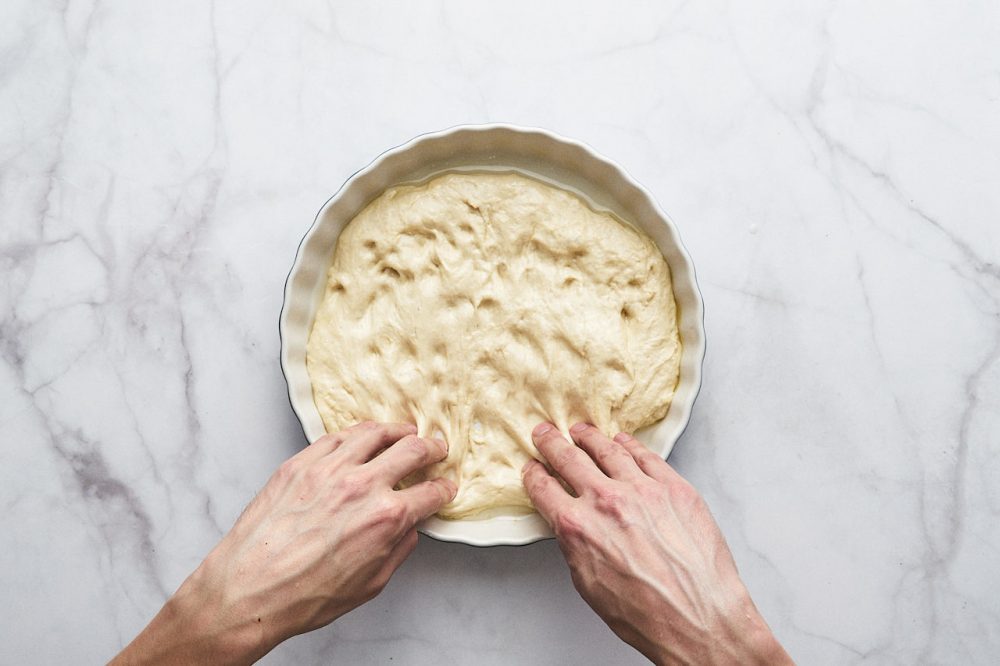
Grease your hands with butter and transfer the dough to the mold. Pour a little more oil on top of the dough (don’t pour it all out, use as needed), coat the dough with oil on all sides with your hands and distribute the dough evenly over the mold.
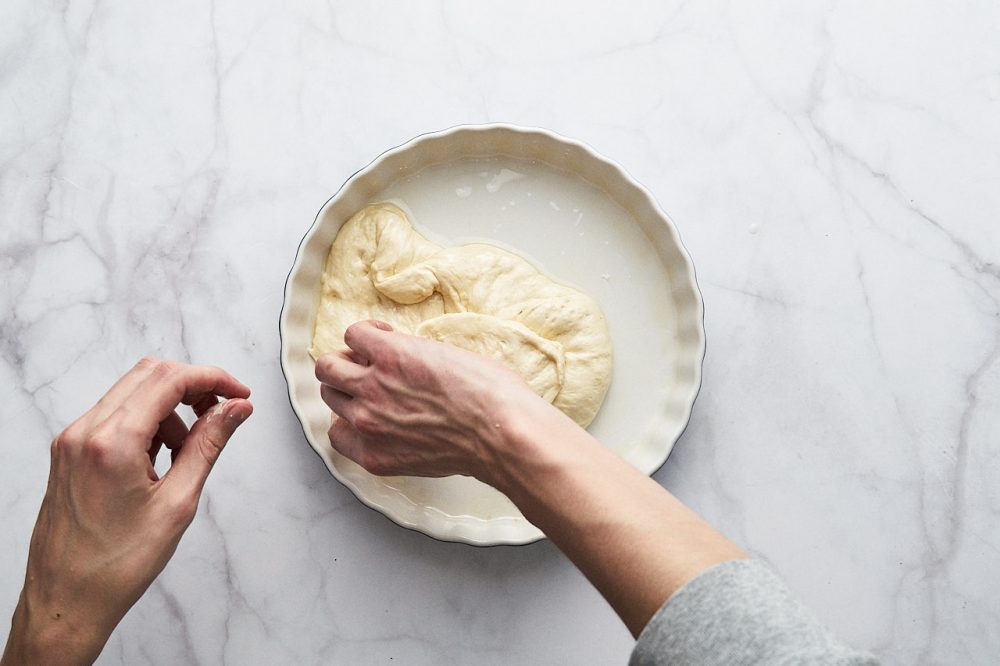
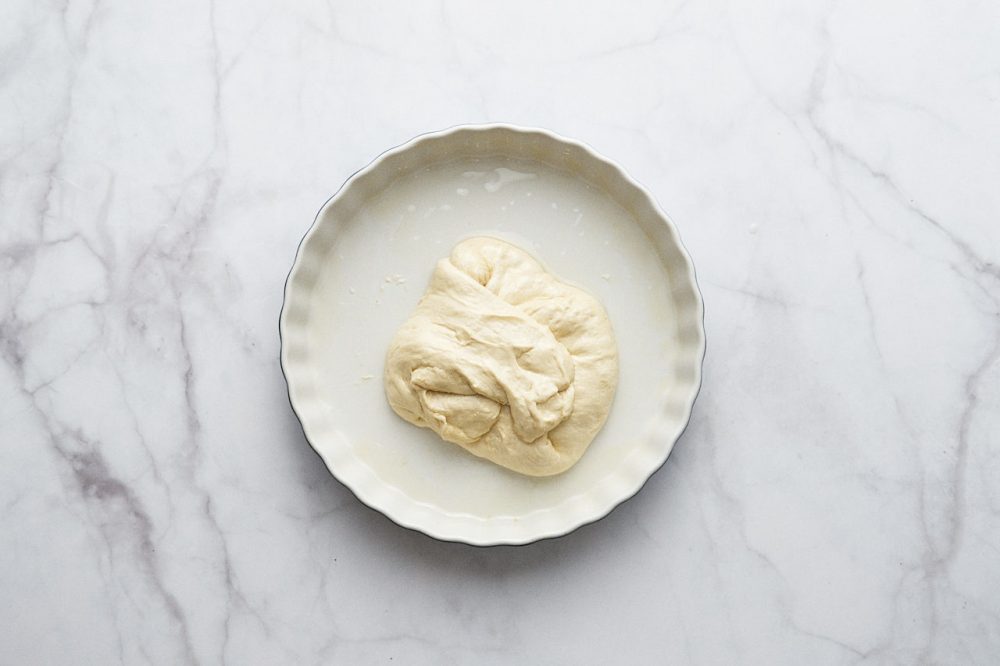
Wrap the edges of the dough inside (4 to 5 sides) and flip the dough over. Cover with a towel or clingfilm and leave to rest for another 2 hours before baking.

About 30-40 minutes before the two hours are up, preheat the oven to 230-240 ° C / 450-465 °F, on the top-bottom mode.
Drizzle the dough with olive oil and sprinkle with 1 tsp oregano. Bake for 25-30 minutes on the lower level of the oven. (I put the mold directly on the bottom of the oven, but here do your own: in a thin metal mold, for example, it may burn)

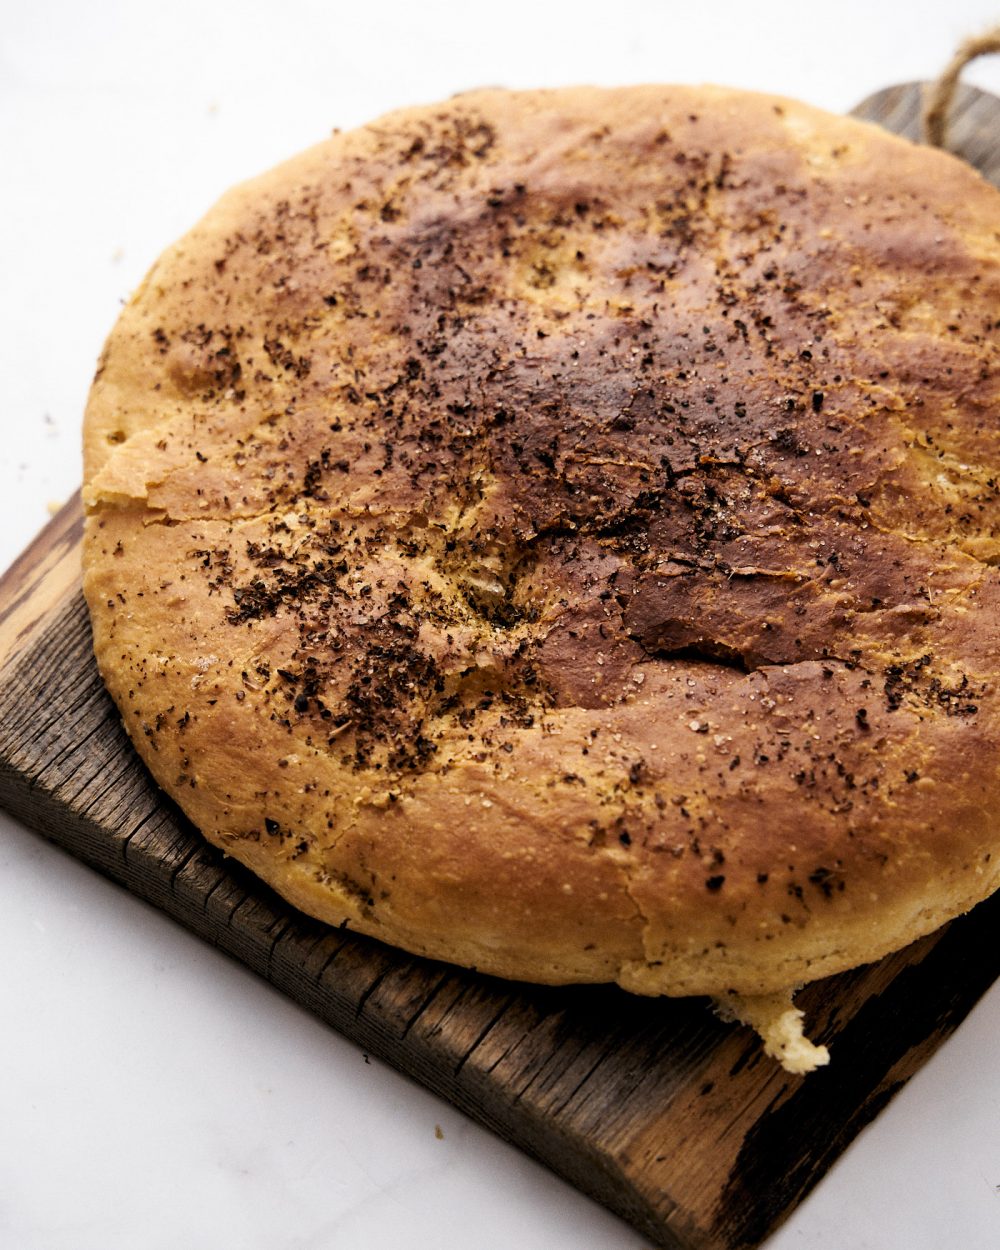
When the focaccia is ready, take it out of the oven and let it cool for 5-10 minutes. Then take the focaccia out of the mold and cool on a rack for about 10 minutes more.
Serve warm. It is desirable to eat it fresh. But if you haven’t had time, wrap it in clingfilm and store in the refrigerator for up to 3 days. Reheat it before serving. Or don’t reheat 🙂
💭Cooking Tips
How long to let focaccia cool and why do that?
When you take focaccia out of the oven, it’s important to let it cool for several reasons:
- Flavor Development: As focaccia cools, the flavors meld and develop, making it taste even better.
- Texture: Cutting into the bread while it’s still hot can cause it to become gummy and dense. Letting it cool ensures that the crumb remains airy and the crust stays crisp.
- Safety: It’s simply easier and safer to handle and cut the bread once it has cooled down a bit.
After removing the focaccia from the oven, transfer it from the baking pan to a wire cooling rack. This ensures that air circulates around the entire loaf, preventing the bottom from becoming soggy due to steam.
Cooling Time: Allow the focaccia to cool for at least 20-30 minutes before slicing and serving. This is a minimum recommendation; letting it cool for an hour or even longer won’t harm the bread and can even enhance its texture and flavor. However, focaccia is often enjoyed slightly warm, so you don’t necessarily have to wait until it’s completely at room temperature.
How to reheat focaccia bread?
Oven or Toaster Oven (Recommended Method)
- Preheat your oven or toaster oven to 350°F (175°C).
- Place the focaccia directly on the oven rack or on a baking sheet. If the focaccia has been in the refrigerator and is cold, you might want to cover it with aluminum foil to prevent it from drying out.
- Heat for about 5-10 minutes, or until it’s warmed through and the exterior is slightly crisp. If you’ve covered it with foil, you can remove the foil for the last few minutes to crisp up the surface.
- Remove from the oven and serve immediately.
Microwave
- While this is a quicker method, it can make the focaccia slightly chewy or soggy. It’s best for a quick reheat if you’re in a hurry.
- Place the focaccia on a microwave-safe plate.
- Drape a damp paper towel over the bread to help it retain moisture.
- Microwave on medium power in 20-second intervals, checking after each until it’s warmed through.
Grill
- If you’re out for a barbecue, you can also reheat focaccia on the grill.
- Preheat the grill to a medium-low heat.
- Place the focaccia on the grill and heat for a few minutes on each side, watching closely to ensure it doesn’t burn.
Pan/Skillet
- Warm a skillet or pan over medium heat.
- Place the focaccia in the skillet and let it warm for a couple of minutes on each side until it’s heated through and slightly crispy.
Tip: If your focaccia has gone stale, sprinkle it with a bit of water before reheating. This will help revitalize the bread and give it a fresh texture. Also, always avoid overheating as it can dry out the bread.
No Knead Focaccia
Ingredients
- 250 g all purpose wheat flour
- 7 g salt (1 tsp.)
- 4 g dry instant yeast (1 tsp., I use Saf Instant)
- 200 ml warm water (about 36-40 °C degrees: not hot, not cold)
- 1 tsp. oregano
- 10 ml olive oil extra virgin
- 30 ml vegetable oil (olive oil, sunflower oil, or as you prefer)
Instructions
- Sift the flour and mix with the salt and yeast. Mix with a whisk
- Pour in 200 ml of warm water and 10 ml of extra-virgin olive oil. Mix the dough until homogeneous. Cover with a towel or cling film and leave for 2 hours in a warm place.// Or leave to rise at room temperature for 8-12 hours.
- Grease the baking dish with butter. Pour a little vegetable oil on top and grease as well.
- Grease your hands with butter and transfer the dough to the mold. Pour a little more oil on top of the dough (don't pour it all out, use as needed), coat the dough with oil on all sides with your hands and distribute the dough evenly over the mold.
- Wrap the edges of the dough inside (4 to 5 sides) and flip the dough over. Cover with a towel or clingfilm and leave to rest for another 2 hours before baking.
- Preheat the oven to 230-240°C / 450-465°F, on the top-bottom mode. Drizzle the dough with olive oil and sprinkle with 1 tsp oregano. Bake for 25-30 minutes on the lower level of the oven.
- Take the mold out of the oven and cool for 5-10 minutes. Then take the focaccia out of the mold and cool on a rack for another 10 minutes. Serve warm.
