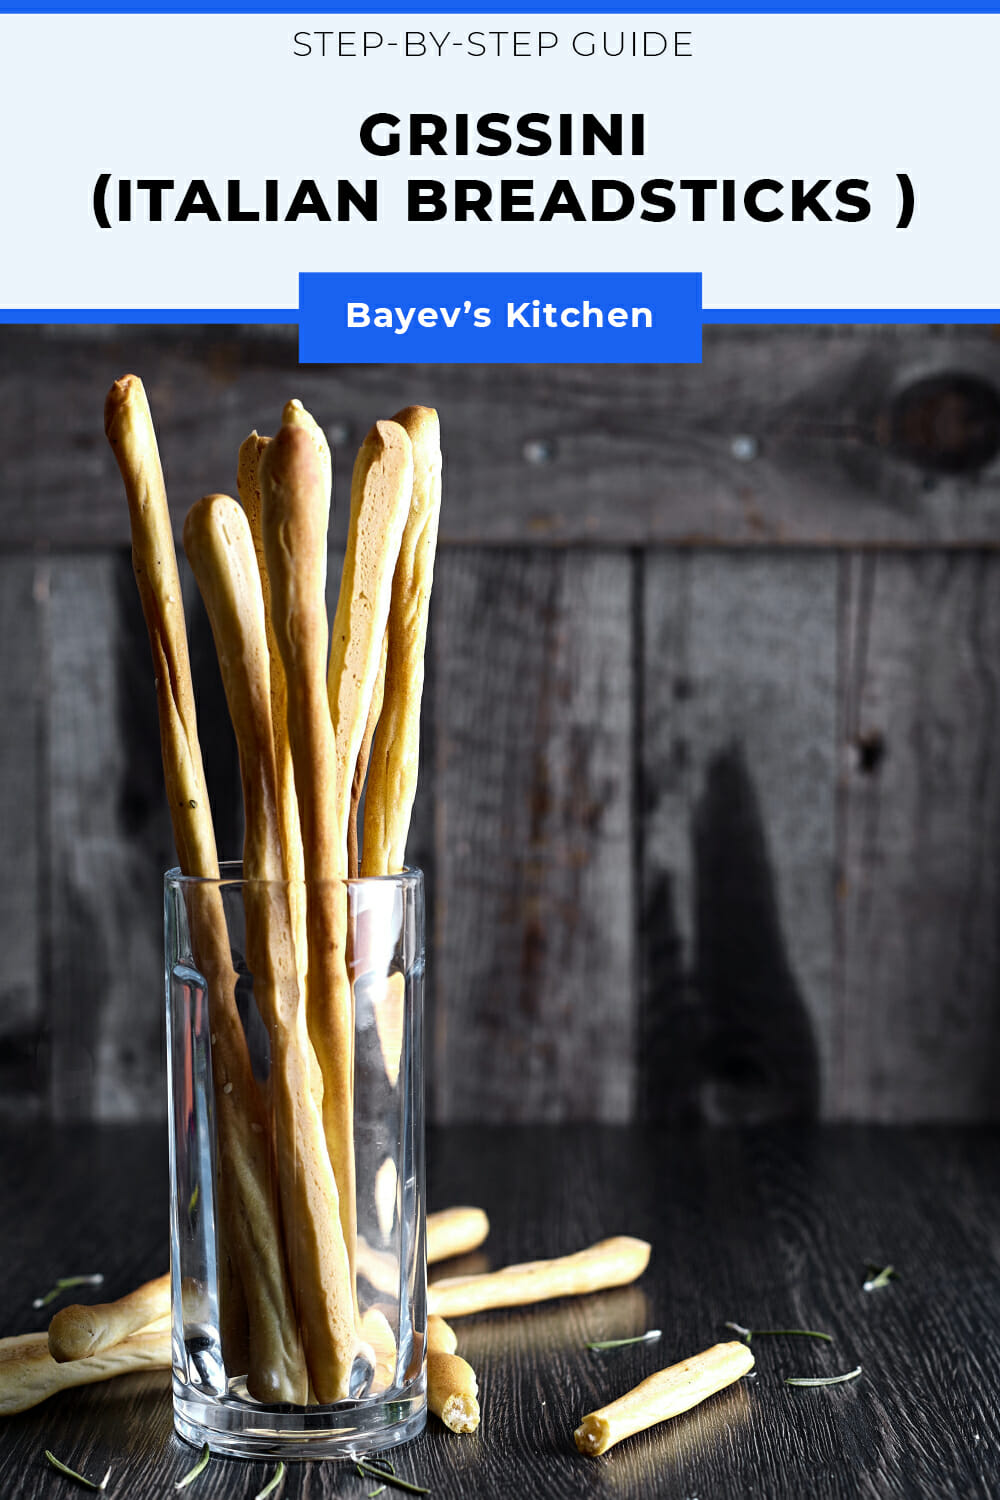
Crispy breadsticks could become your favorites among the snacks. They are easy to cook and every time when you add something new to the recipe you can get a new taste variation. You can add cheese to the dough, some sesame, herbs, thyme, chili pepper, rosemary, oregano, paprika on top, or whatever else.
You can also mix these supplements and get something unique each time. Besides them, you can experiment with forms: try to bake thin ones, thick, or twisted, and choose the one you like the most.
What You Need to Cook Italian Breadsticks Grissini
INGREDIENTS:
- 500 g (1,1 lb) of top-grade flour
- 280 ml (1,2 cups) of water
- 2 tbsp of olive oil
- 7 g (0,25 oz) of salt
- 1,5 tsp of extra yeast
- Spices, poppy seeds, sesame and so on up to your taste
Gear:
- Stationary mixer, bread maker or anything where you can make a dough (not necessarily)
- For the best and most predictable results, I recommend using a kitchen scale for all baking/bread/dessert recipes.
How to Make Italian Breadsticks Grissini: Step-by-Step Instructions🔪
STEP 1. PREPARE ALL THE INGREDIENTS
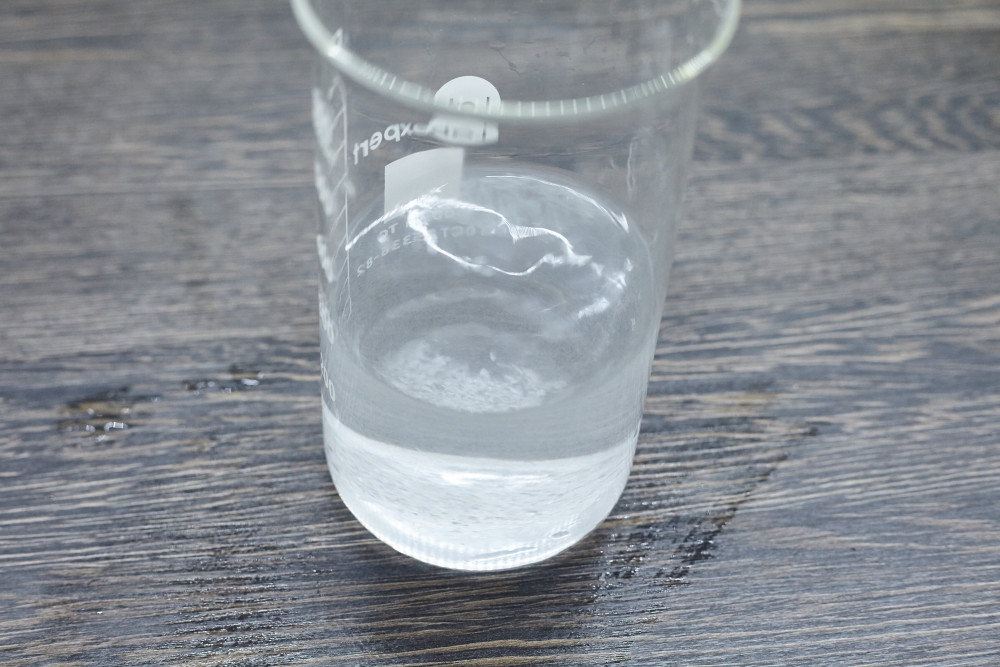
Melt 7 g (0,25 oz) of salt in 280 ml (1,2 cups) of warm water. Take warm water but not hot, the temperature should vary between 32-36 degrees.
Measure 500 g (1,1 lb) of flour in the big bowl (I used a blender bowl) and mix with 1,5 tsp of extra yeast. Finely mix.
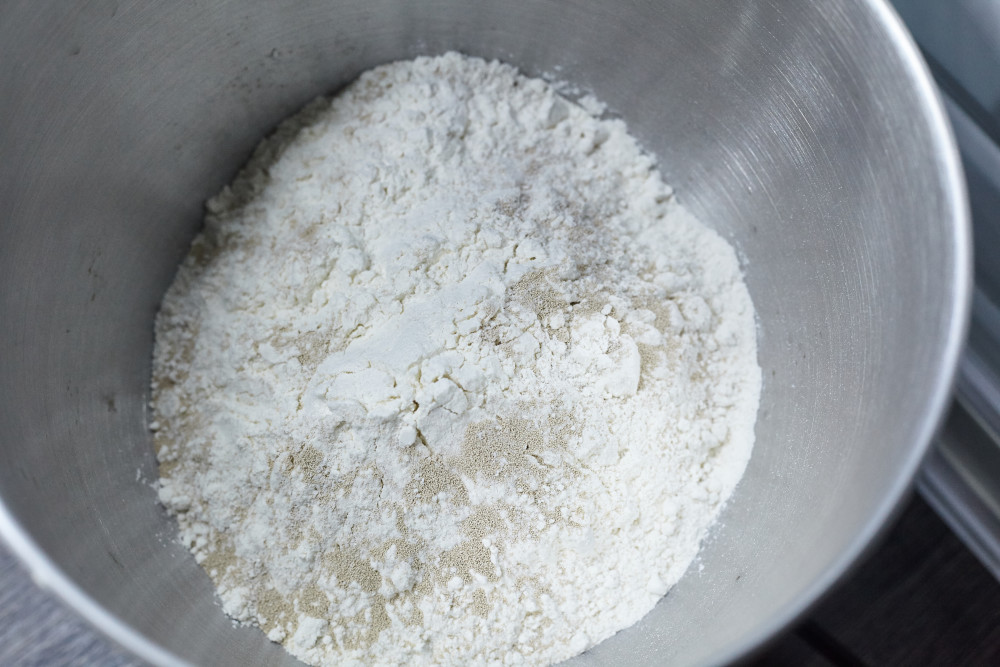
If the flour is old already, it’s better to sift it.If you’re using dry yeast, increase the amount to 4,5 tsp, and you need 35 g of living ones on the other hand.
Don’t forget that both of them need to be diluted in the water. How to do that read on the package.
STEP 2. MAKE A DOUGH
Add water to the flour, and 2 tbsp of olive oil.
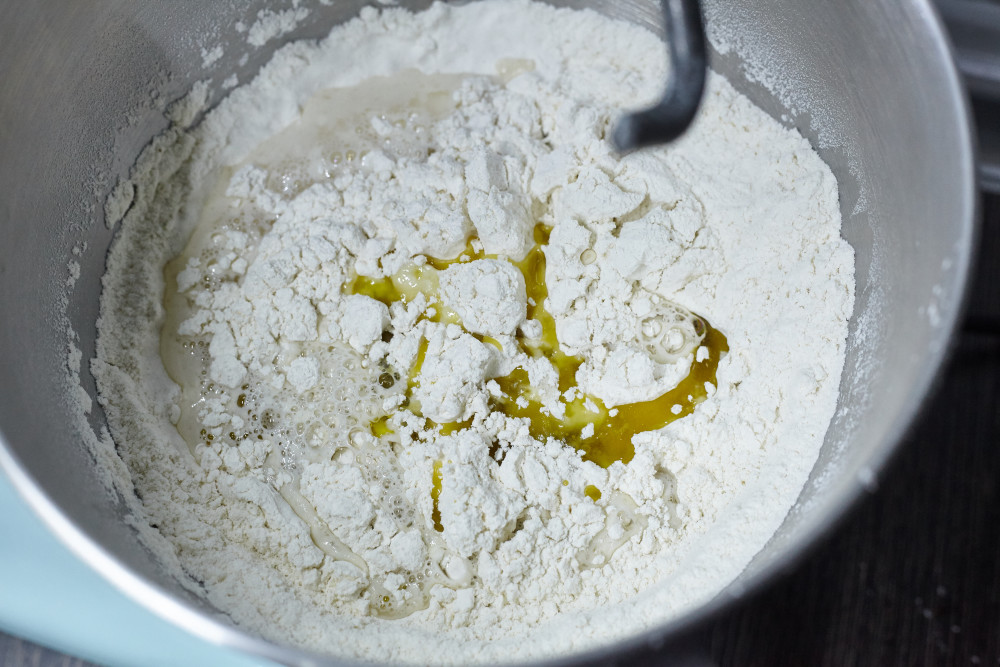
Mix and make a dough.
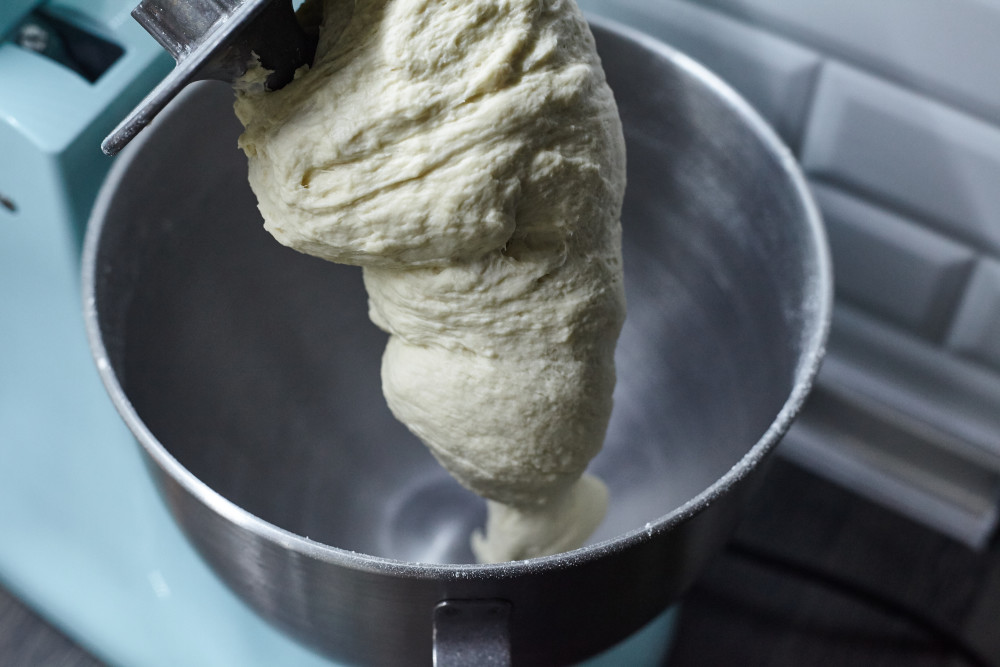
I used a stationary mixer for that. If you don’t have one – transfer it on the surface with some flour on it and make it with hands for 15 minutes, until it is elastic and pleasant to touch.
Then transfer it to the big bowl, cover with a food plastic foil and leave in the warm place for 1,5 hours until it doubles in size. Don’t forget to take a bowl that is a few times bigger, so the dough could freely grow.
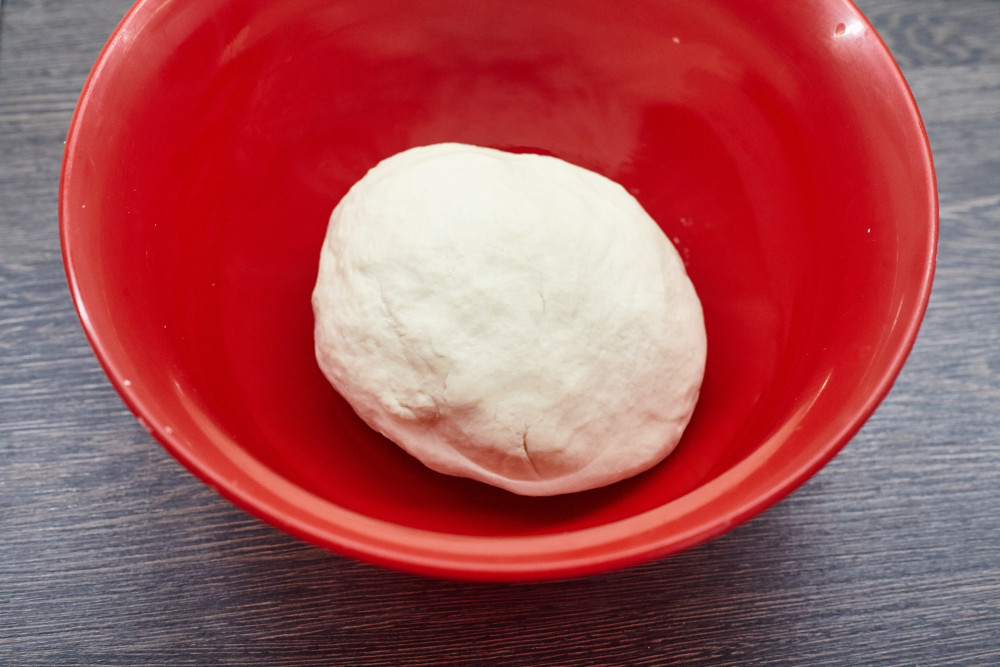
An important point that goes for any bread and pizza dough: don’t try to make it less sticky by adding more flour. You can add a maximum of 2-3 pinches of it, moreover, it’s for the surface. The dough will be too thick and lose the lightness if you overdo. Only by kneading you can achieve the desired consistency.
You can use a ‘light’ regime in your oven as a warm place or you can warm it up a bit beforehand.
STEP 3. FORM THE BREADSTICKS, LEAVE FOR RISING
Here’s how the dough should look like after fermentation:
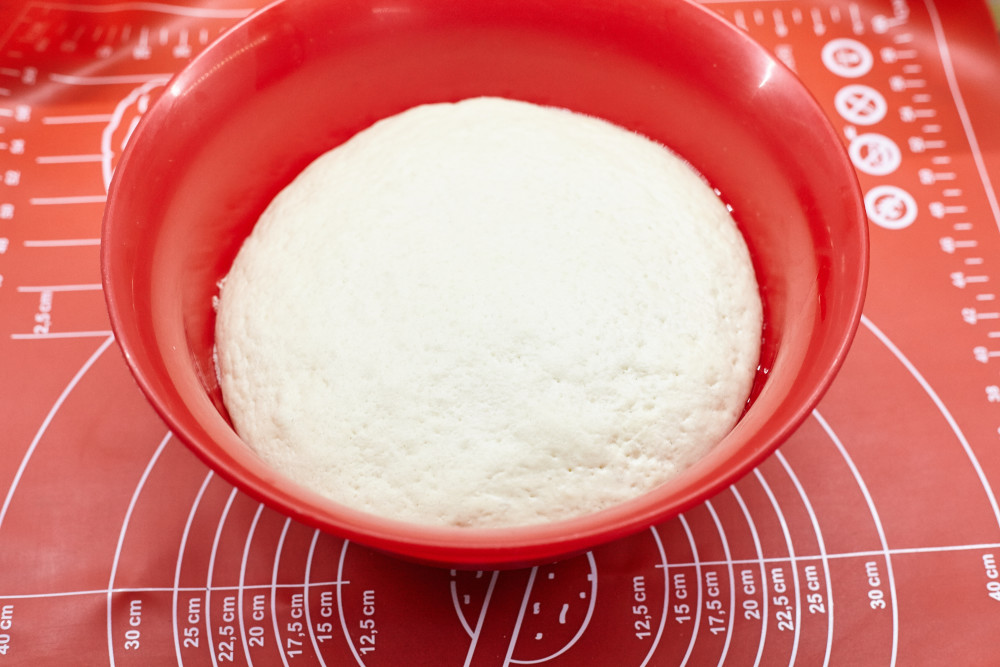
If it didn’t rise enough (but risen at least a bit) – don’t be upset. Try to wait a bit more. If nothing has changed – probably the reason is in the ingredients, room temperature, or yeast.
You can make grissini any shape you like. The simplest option is to roll a dough less than 1 cm thick.
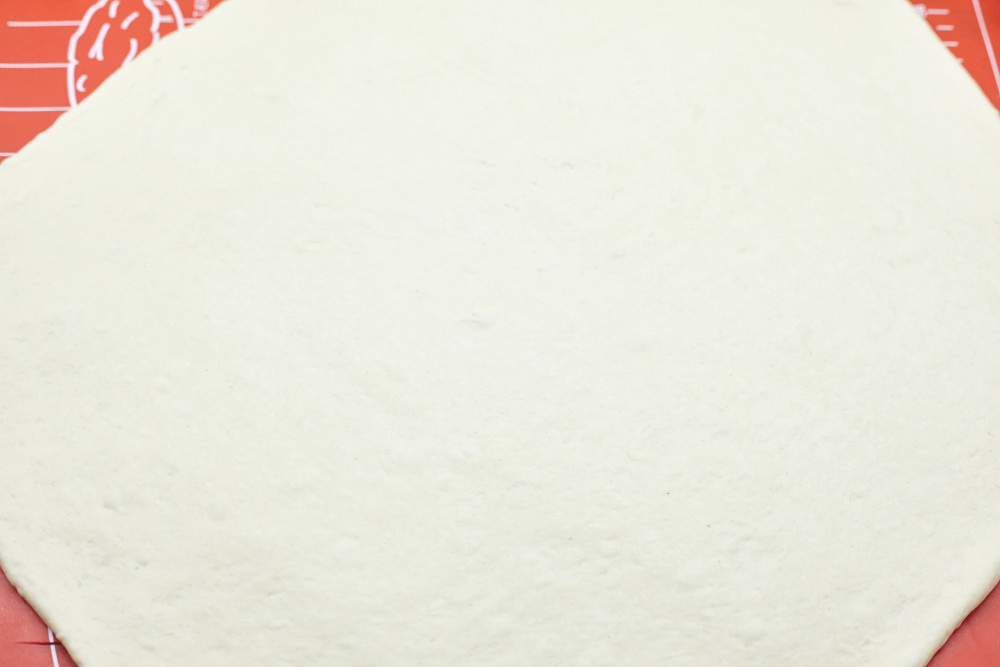
Using a pizza cutter (or regular knife) cut the dough into 0.5-2 cm stripes, depending on what sticks you want to have: thin, medium, or thick ones.
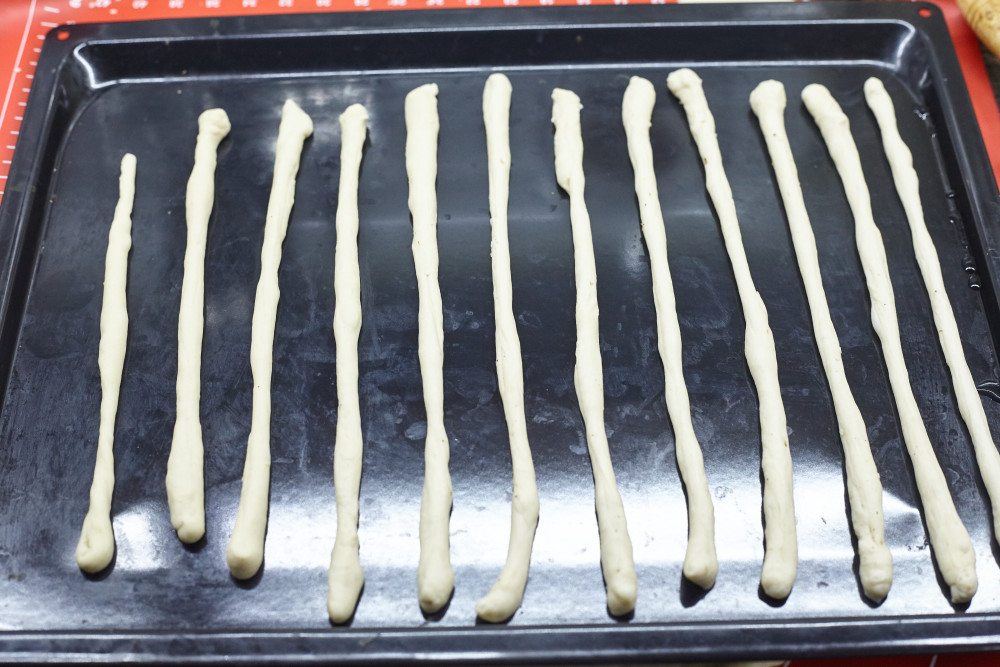
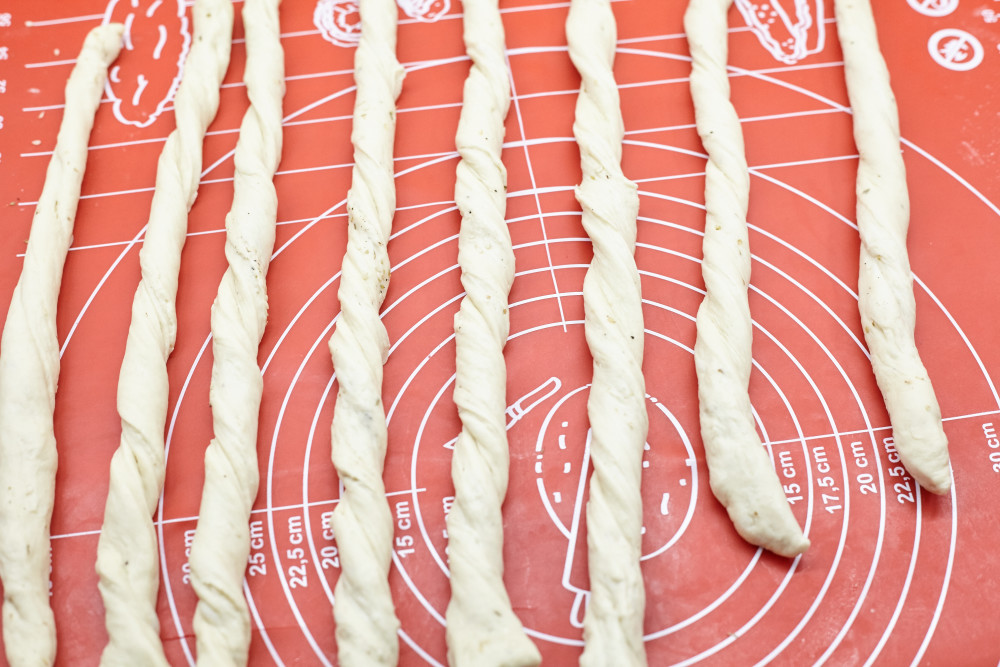
Roll the stripes on the working space to make them cylindrical and then put on the baking sheet for rising.
Also, you can make 2 cm stripes and then twist them.
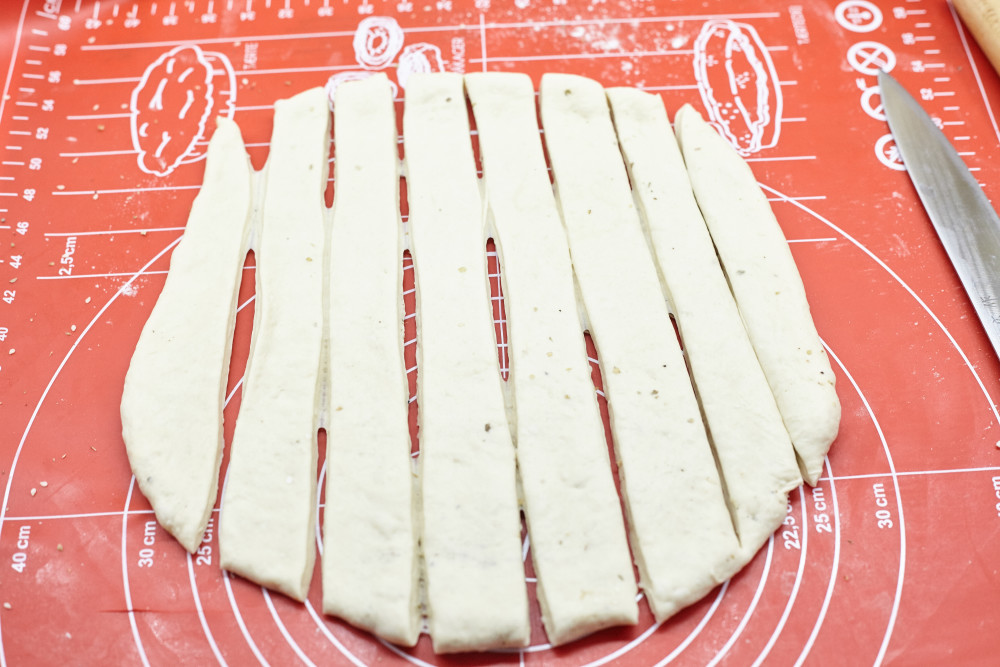
The length can vary depending on your preferences. If the stripes seem too long, knife them. You can also change the thickness. If you think, it’s too thick, stretch it.
After you formed sticks put them on the baking sheet, do the same with the rest of them.
Cover with a food plastic foil or towel and leave for 30 minutes.
It’s preferable to cover the baking sheet with parchment. Also, don’t place them to close to each other – the dough will double in size.
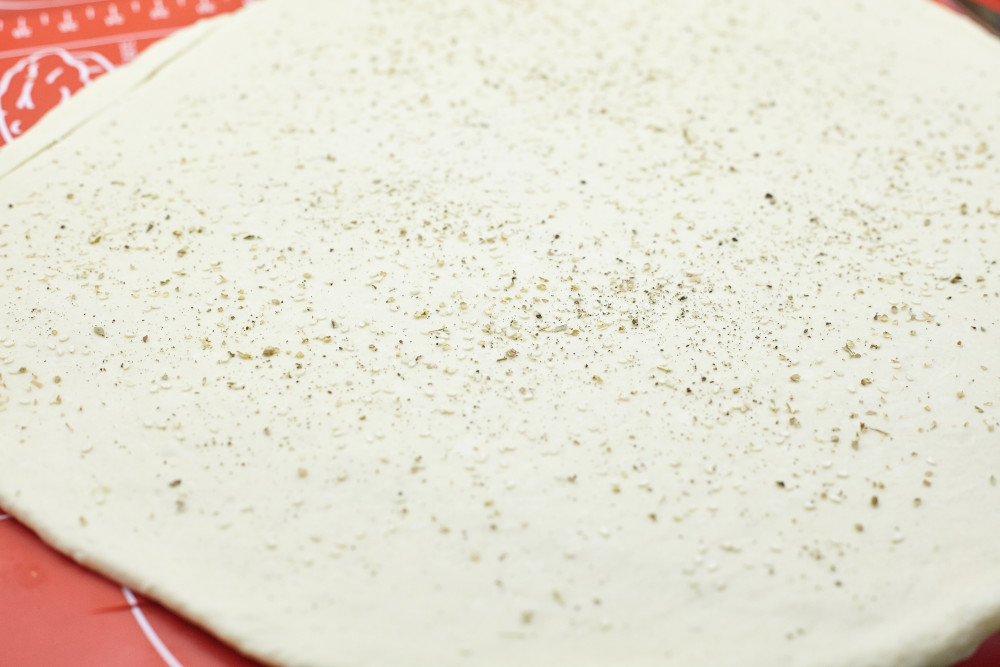
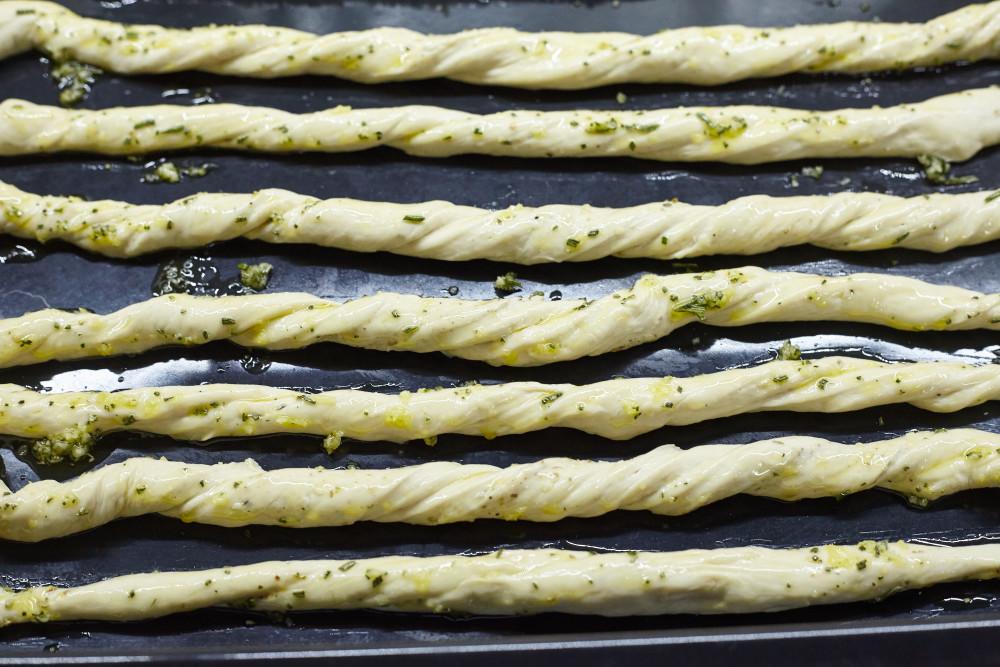
If you want to add spices, do it when rolling the dough. Make the list 1,5 times thicker, add spices, and roll to the needed thickness. Make the stripes. This way the supplements will embed into the dough and flavor it.
Another way is to flavor the olive oil and grease the sticks before baking. In order to do that add 80 ml (5 tbsp) of olive oil into a deep bowl, add spices that you like, and let it steep a bit. The longer it steeps the more flavored it’ll be.
I added garlic, some rosemary, and oregano. Then greased the twisted grissinis with this mixture.
STEP 4. HEAT UP THE OVEN TO 200 DEGREES, BAKE FOR 15-20 MINUTES.
Remove the plastic foil (or whatever you’ve used) from the baking sheet and put it to the heated oven.
Depending on the size and how golden you want them to be, bake for 15-20 minutes.
If the sticks are too thin, probably even 10-12 minutes would be enough, so don’t miss the moment. How do you know they are ready? Its very simple, they’ll have a beautiful golden bread color.
After you take them out of the oven don’t rush to scrape them off the baking sheet. Let them cool down for 5 minutes, then it would be easier to remove.
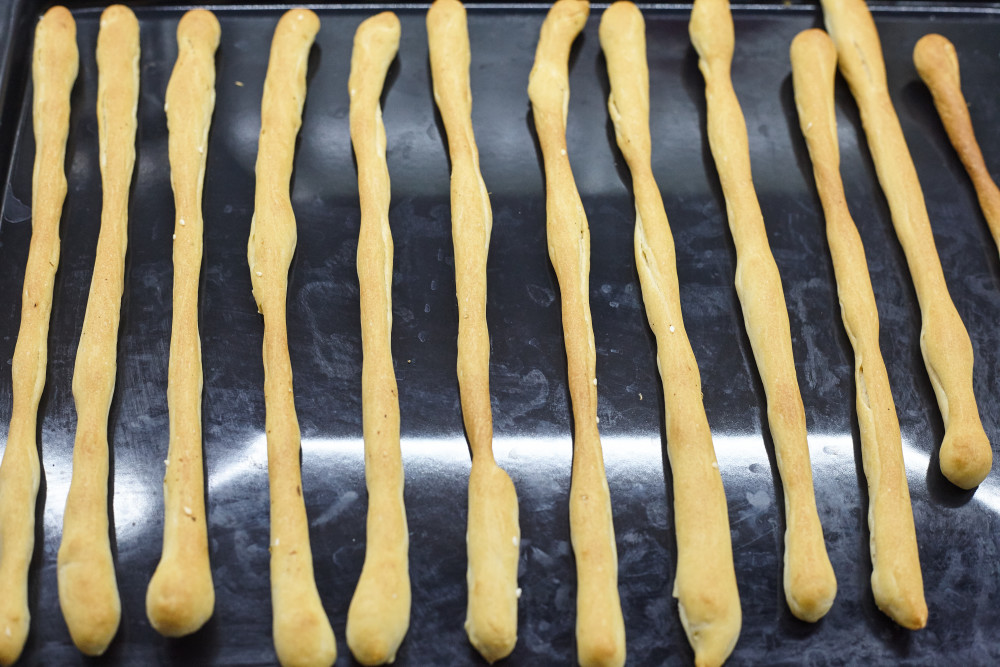
Here’s what I’ve got.
And here’s twisted sticks with oil.

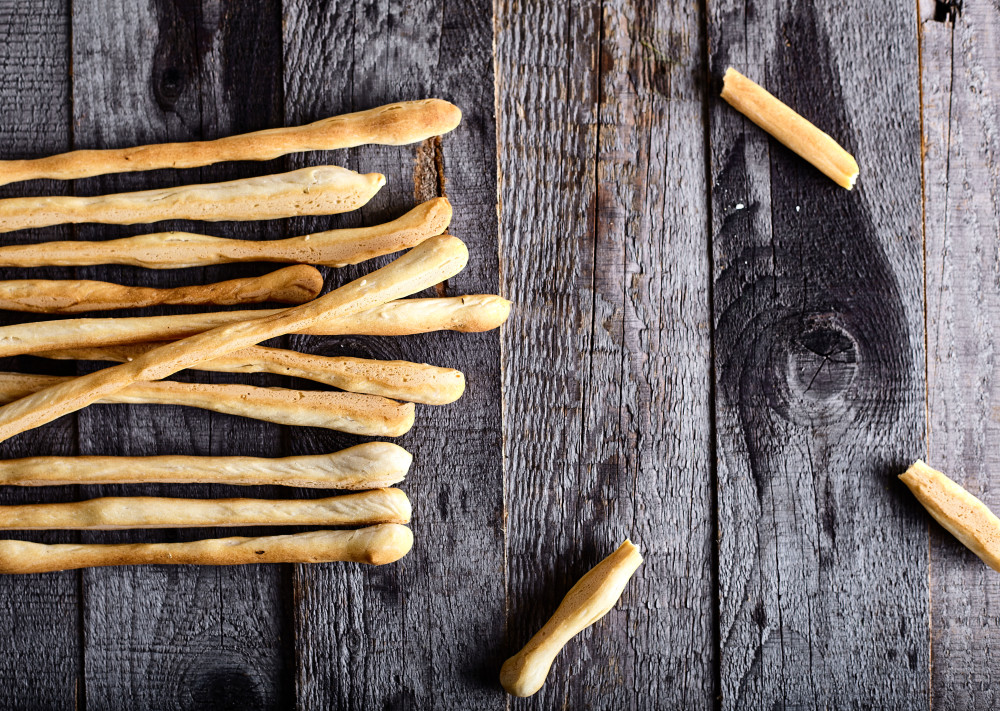
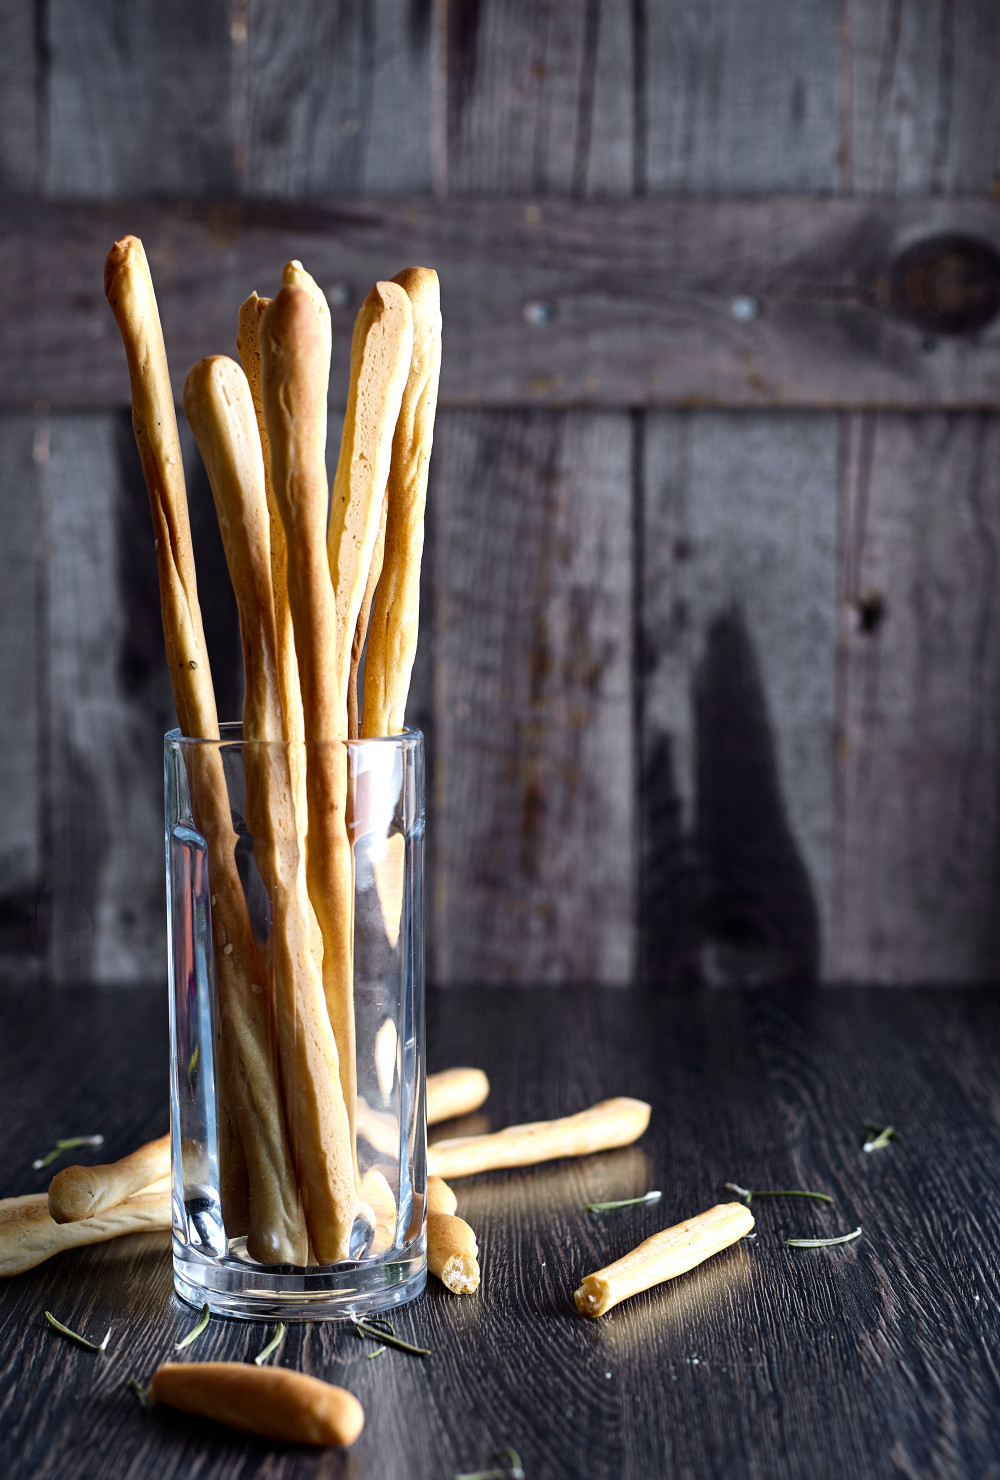
Serve grissinis with tea, beer, as bread… Basically, whatever you like.
Italian Breadsticks Grissini

Equipment
- Stationary mixer, bread maker or anything where you can make a dough (not necessarily)
Ingredients
- 500 g flour top-grade
- 280 ml water
- 2 tbsp olive oil
- 7 g salt
- 1 ½ tsp extra yeast
- spices poppy seeds, sesame and so on up to your taste
Instructions
- Melt 7 g of salt in 280 ml of warm water.
- Measure 500 g of flour in the big bowl and mix with 1,5 tsp of extra yeast. Finely mix.
- Add water to the flour, and 2 tbsp of olive oil.
- Mix and make a dough. Then transfer it to the big bowl, cover with a food plastic foil and leave in the warm place for 1,5 hours until it doubles in size.
- Roll a dough less than 1 cm thick.
- Using a pizza cutter (or regular knife) cut the dough into 0.5-2 cm stripes. Roll the stripes on the working space to make them cylindrical. Also, you can make 2 cm stripes and then twist them.
- Put on the baking sheet for rising. Cover with a food plastic foil or towel and leave for 30 minutes.
- Put the baking sheet to the heated oven. Bake for 15-20 minutes until beautiful golden bread color.
- After you take them out of the oven let them cool down for 5 minutes.
Nutrition