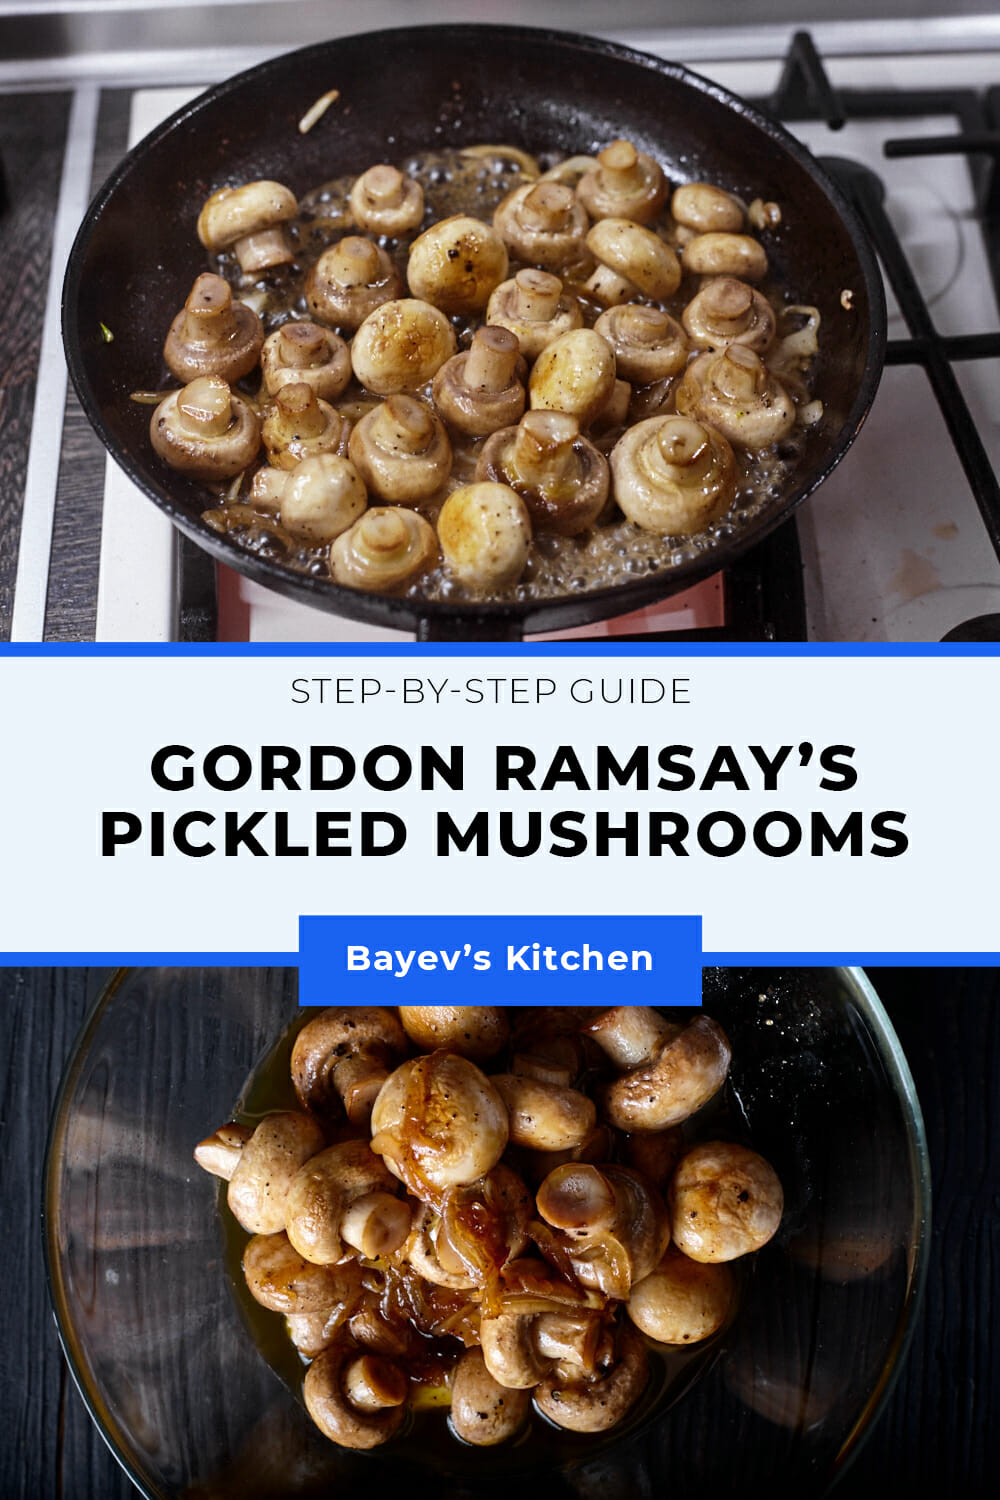
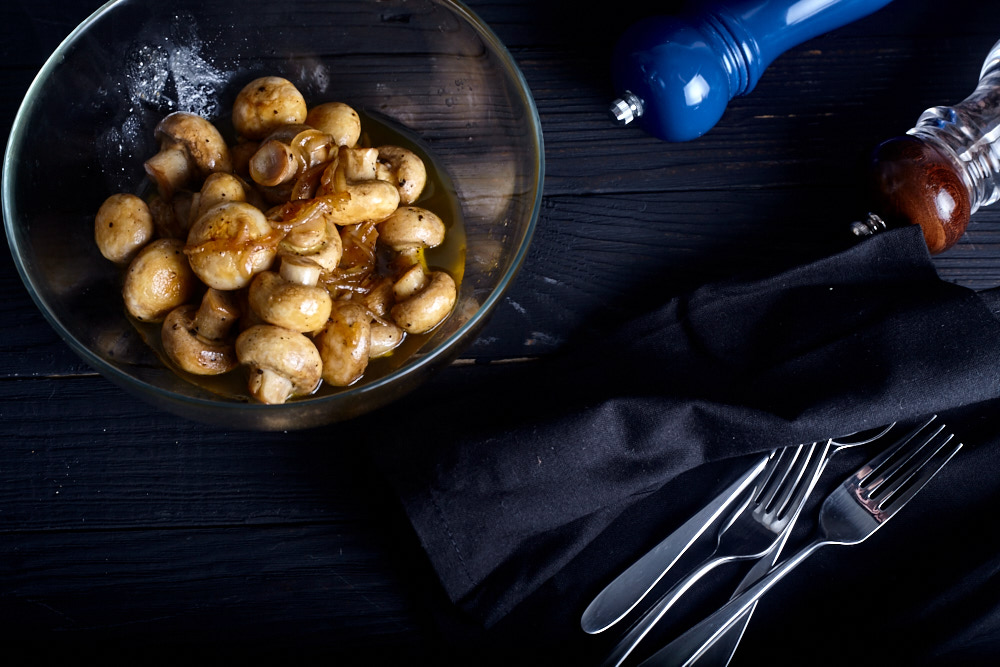
This recipe is a simplified version of Gordon Ramsay’s dish. If you’re not a fan of pickled mushrooms in jars because of their intense vinegar smell, you should certainly try this recipe. The mushrooms turn out very gentle, a bit sweet but with little sourness.
You can serve them at once while hot, but of course, it’s better to let them steep: from a few hours to 4 days. It’s very convenient when you have some sort of feast – prepare them a few days earlier and leave in the fridge.
This way they’ll have a better taste and secondly, there will be less of a fuss on the party day. And also if somebody arrives earlier, you could treat one with this snack.
It’s better to choose smaller mushrooms, they’ll marinate quicker, but if you have only big ones, that’s no excuse to stop, either way, they’ll taste good.
What You Need to Cook Gordon Ramsay’s Pickled Mushrooms
INGREDIENTS:
- 500 g (1,1 lb) of mushrooms
- 5 tbsp of white wine vinegar
- ½ white/red onion
- 1 tsp of sugar
- Olive oil
- Salt, pepper
EQUIPMENT:
- Frying pan
- Strainer
- Paper towels
How to Make Gordon Ramsay’s Pickled Mushrooms: Step-by-Step Instructions🔪
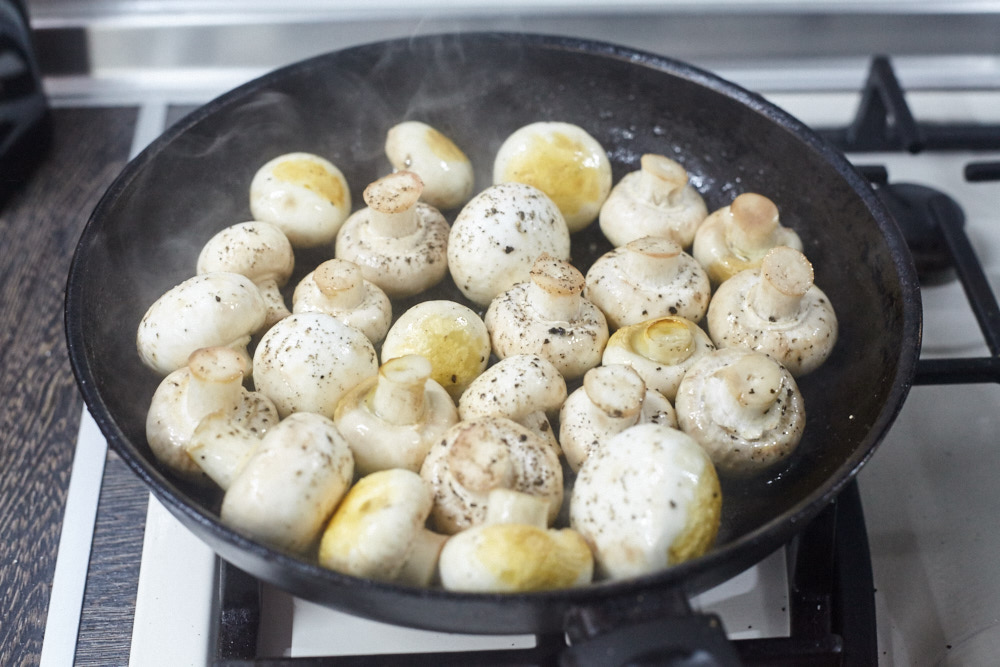
STEP 1. WASH AND DRY THE MUSHROOMS, CHOP THE ONION, HEAT UP THE FRYING PAN ON THE LARGE FIRE.
Wash 500 g of (1,1 lb) mushrooms from the dirt under the running water. Put them into a strainer, let the water drain and then dry them with a paper or kitchen towel.
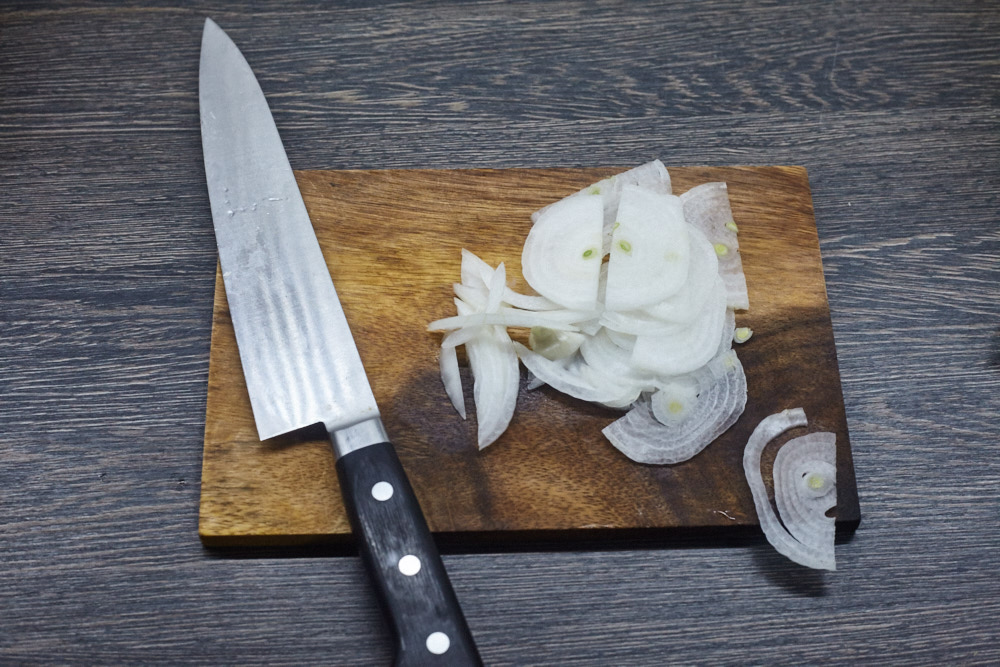
Slice ½ onion into the half-rings.
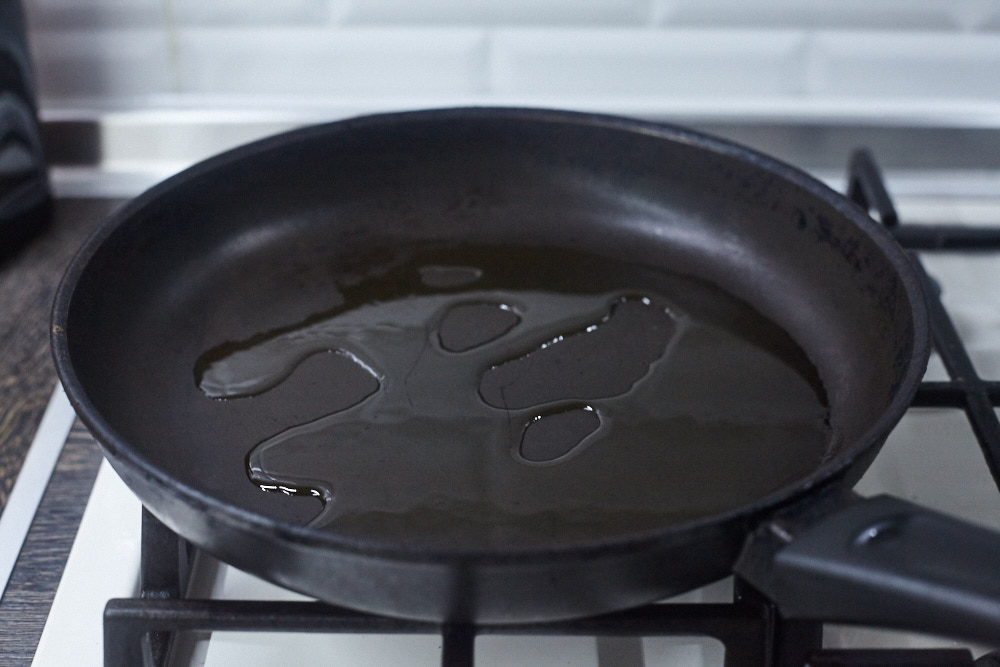
Take a bigger frying pan, where you can place the mushrooms in one layer and warm up on the large fire.
STEP 2. FRY THE MUSHROOMS AND ADD THE ONION
When the frying pan is heated up enough, add 2 tbsp of olive oil.
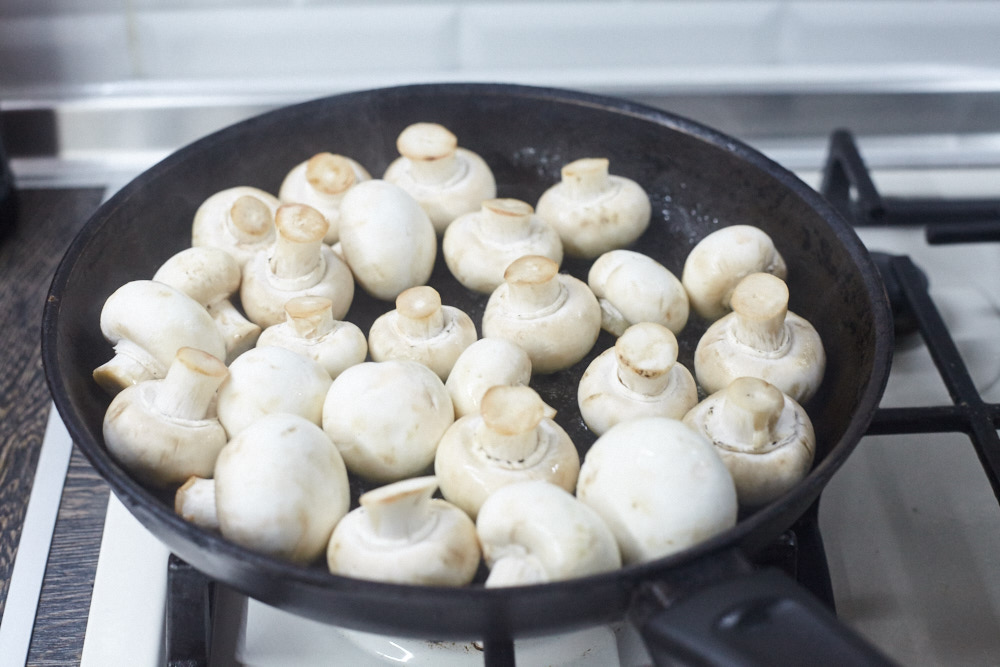
Add mushrooms. Don’t mix at once! Let them fry for 1-1,5 minutes from one side.
Lift one mushroom and look on the bottom side. If it’s golden salt, pepper, mix and cook for a few minutes more.
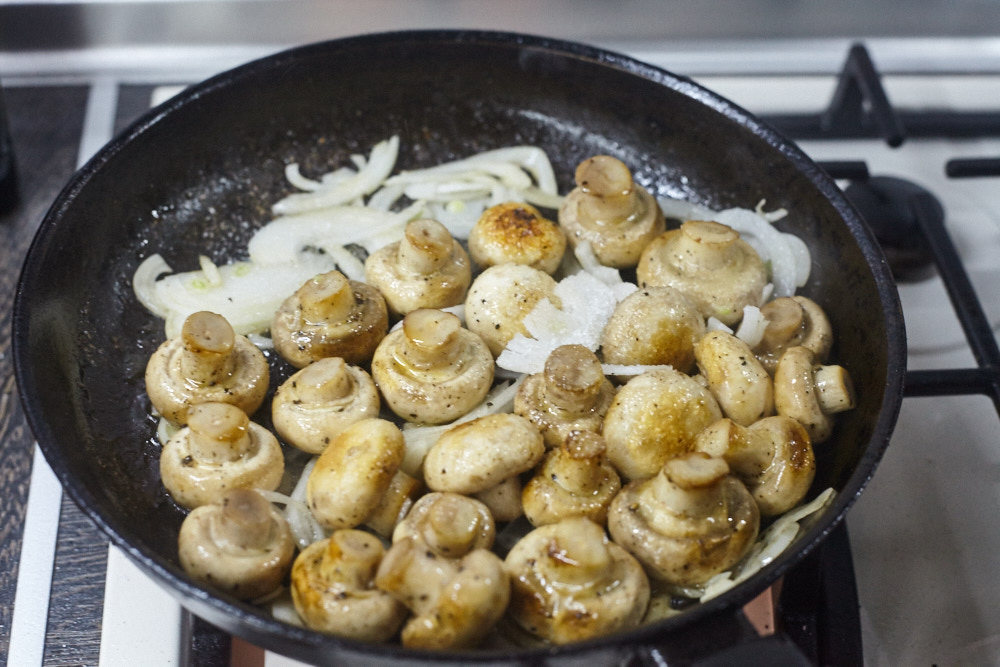
Add onion and 1 tsp of sugar. Fry 2-3 minutes more, stirring from time to time until the onion is mild.
STEP 3. ADD THE VINEGAR
Add 5 tbsp of white wine vinegar to the frying pan. Pour on the edges directly to the oil, not on the mushrooms itself.
Cook for 1 minute more, mix and let to rest for a minute.
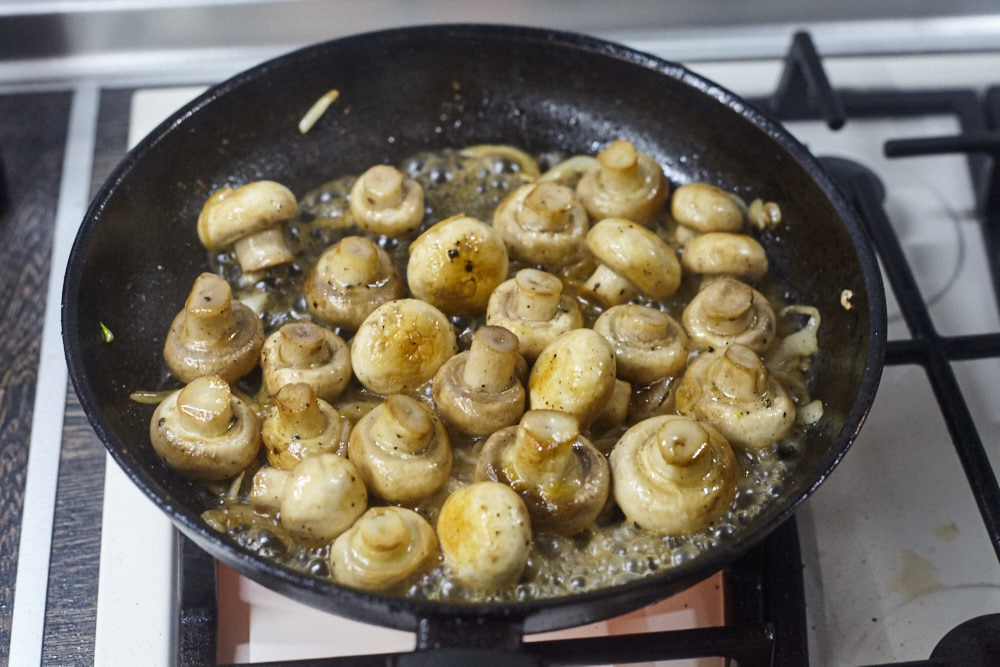
Add 2-3 tbsp of olive oil. It’s preferable to choose a virgin one, as it affects the final taste. Finely mix.
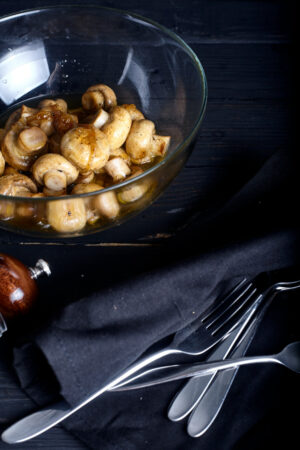
Take the frying pan off the fire, transfer the mushrooms into a suitable sized, deep bowl.
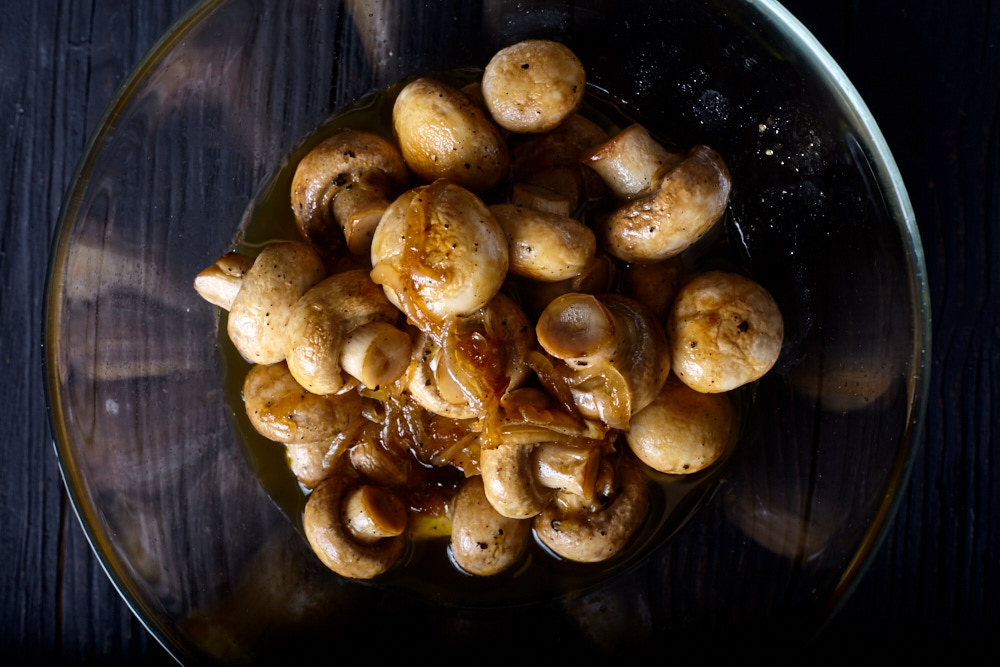
As I’ve said before, you can serve them at once, or let to cool down, put into the fridge and let to steep for 2-4 days, stirring once in a while, so every mushroom saturates in the marinade.
If you chose the second option don’t forget to cover with a food plastic foil, so any ‘fridge flavors’ mixes with them.
Gordon Ramsay’s Pickled Mushrooms
Equipment
- Frying pan, strainer, paper towels
Ingredients
- 500 g mushrooms
- 5 tbsp white wine vinegar
- ½ onion white/red
- 1 tsp sugar
- olive oil
- salt
- pepper
Instructions
- Wash 500 g of mushrooms from the dirt under the running water. Put them into a strainer, let the water drain and then dry them with a paper or kitchen towel.
- Slice ½ onion into the half-rings.
- Take a bigger frying pan, where you can place the mushrooms in one layer and warm up on the large fire. When the frying pan is heated up enough, add 2 tbsp of olive oil.
- Add mushrooms. Don’t mix at once! Let them fry for 1-1,5 minutes from one side.
- If the mushrooms are golden from one side, salt, pepper, mix and cook for a few minutes more.
- Add onion and 1 tsp of sugar. Fry 2-3 minutes more, stirring from time to time until the onion is mild.
- Add 5 tbsp of white wine vinegar to the frying pan. Pour on the edges directly to the oil, not on the mushrooms itself. Cook for 1 minute more, mix and let to rest for a minute.
- Add 2-3 tbsp of olive oil. Finely mix.
- Take the frying pan off the fire, transfer the mushrooms into a suitable sized, deep bowl.
Nutrition