Yeah, today we have broccoli, moreover, boiled one. But don’t be upset before it’s time.
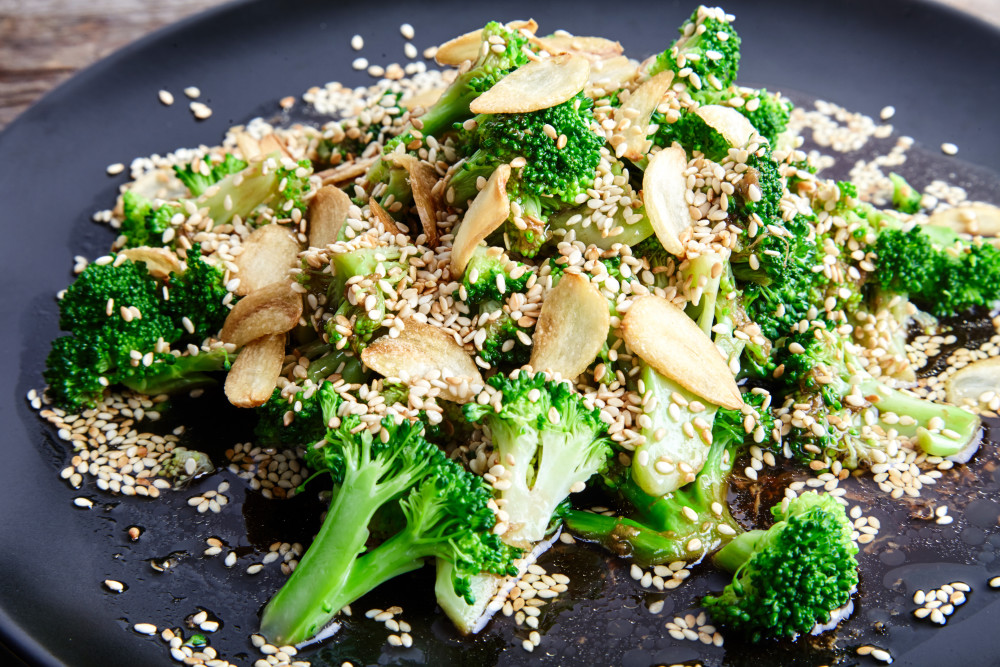
Amazing dressing with soy sauce and sesame oil totally cover it all but instead enhances its advantages. Flavored and crispy garlic chips with fried sesame add that very pinch that makes your hand reach for the next piece.
I assure you, you’ve never tried such broccoli.
What You Need to Cook Asian Broccoli with Soy Sauce and Ginger
INGREDIENTS:
- 1 head of broccoli
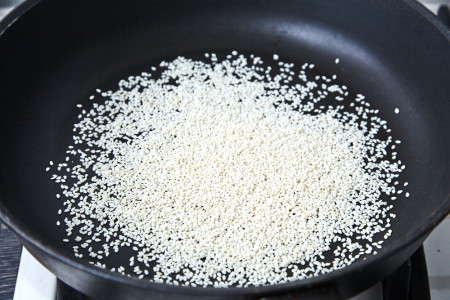
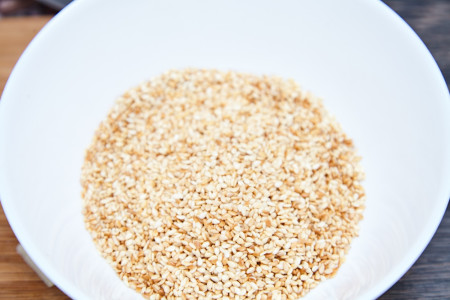
- 2 tbsp of sesame seeds
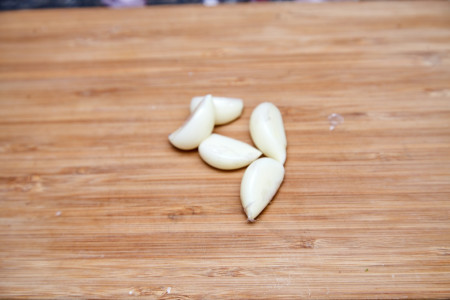
- 5 cloves of garlic
- 3 tbsp of soy sauce
- ½ tsp of sesame oil
- 1 lime
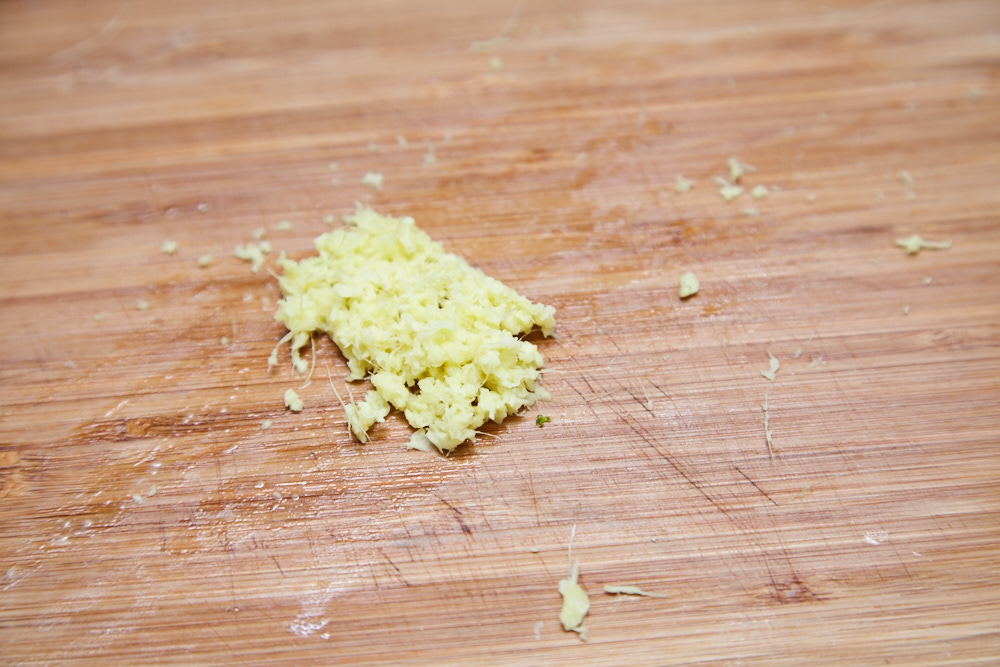
- thumb-sized piece of ginger
How to Make Asian Broccoli with Soy Sauce and Ginger: Step-by-Step Instructions🔪
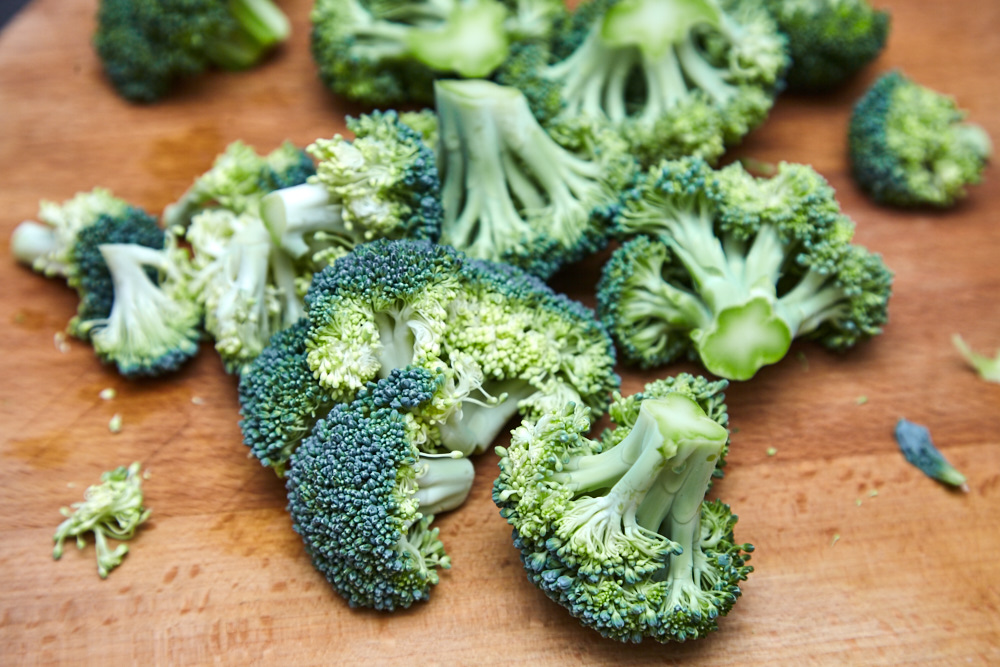
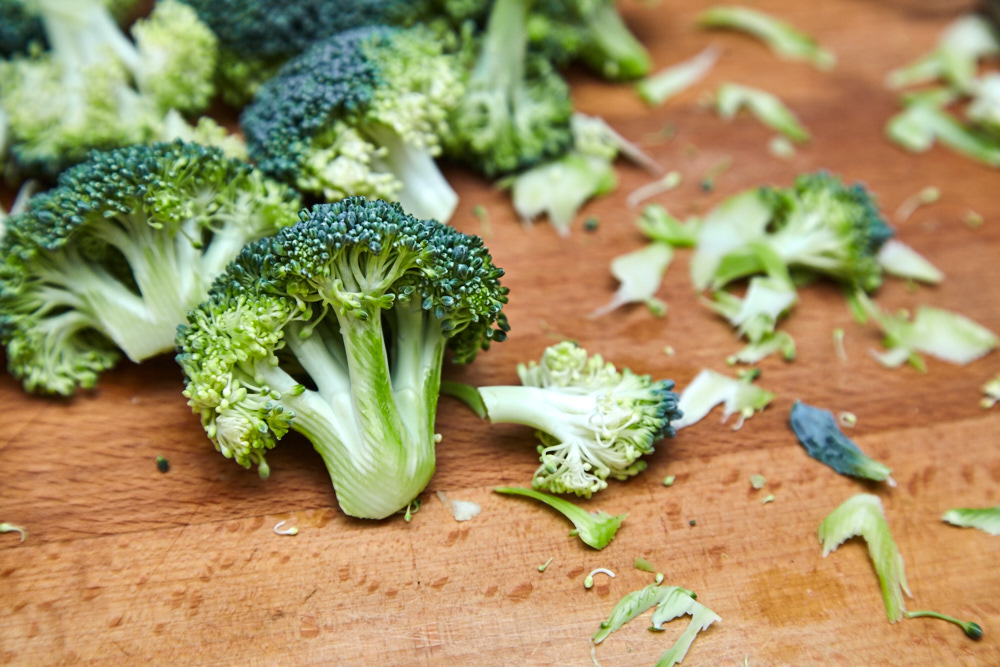
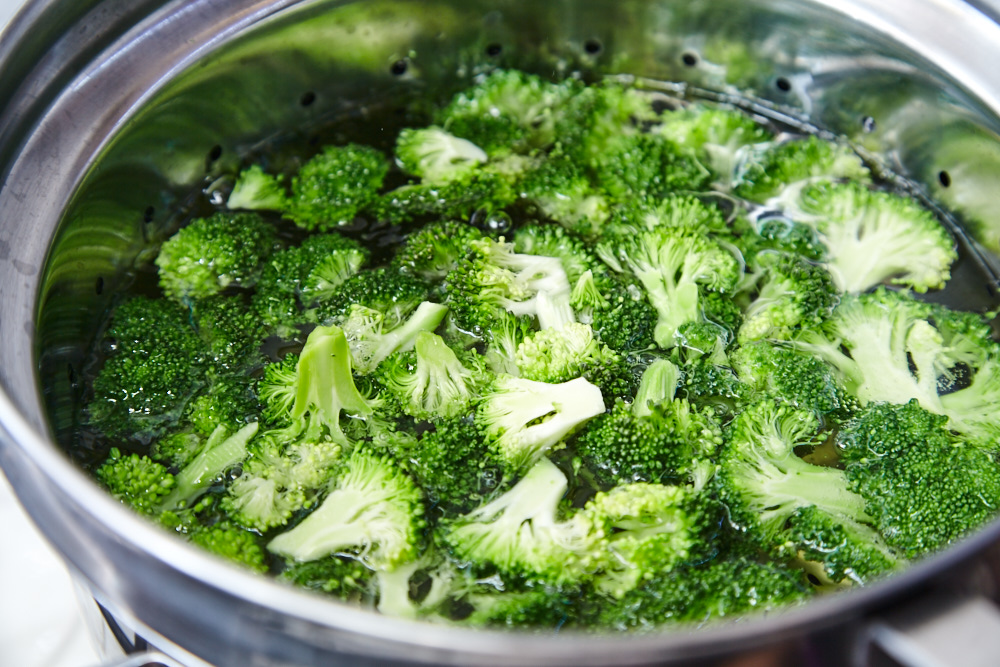
Put the pan on the fire. In this recipe, boiled broccoli is as good as steamed one. Therefore, depending on your choice, regulate the amount of water. Cut off the petioles of 1 broccoli head, but try to cut without stalks.
Peel the petioles using a vegetable peeler, or it’ll stay solid and hardly chewed.
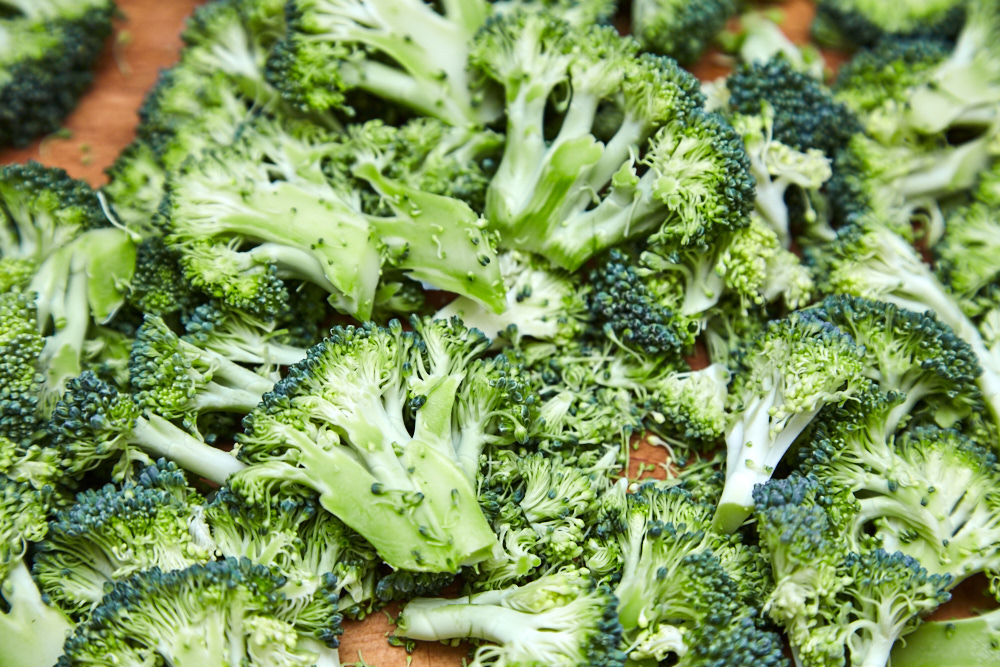
Now chop the broccoli into thin 5 mm pieces.
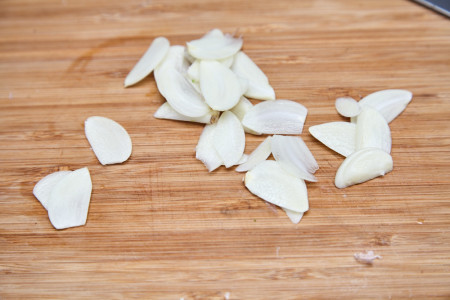
Peel 5 cloves of garlic and chop into thin slices, try to slice as thin as you can.
Grate the ginger on the smallest grate. Jamie suggests to grate additionally through the small sieve and use only juice. I decided to make it easy.
Fry 2 tbsp of sesame on the dry frying pan until the pleasant flavor and golden color. Put the sesame to the dry plate and put it aside.
To the same frying pan add 3 tbsp of olive oil, garlic slices, and fry until golden on the lowest heat.
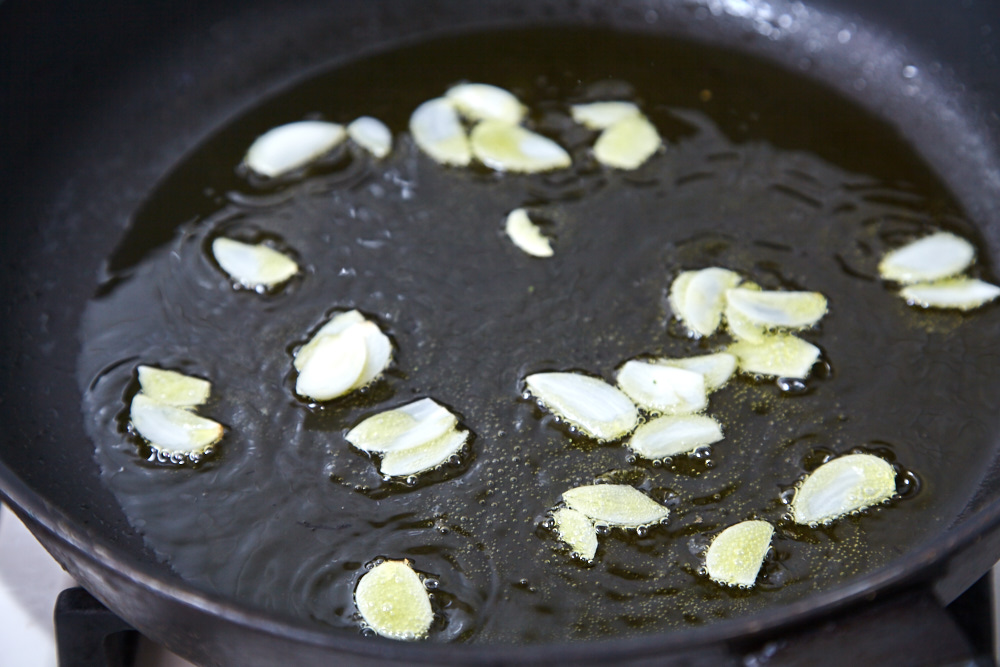
Turn the pan to the side from time to time in order to fry evenly, faster, and make a sort of deep fry.
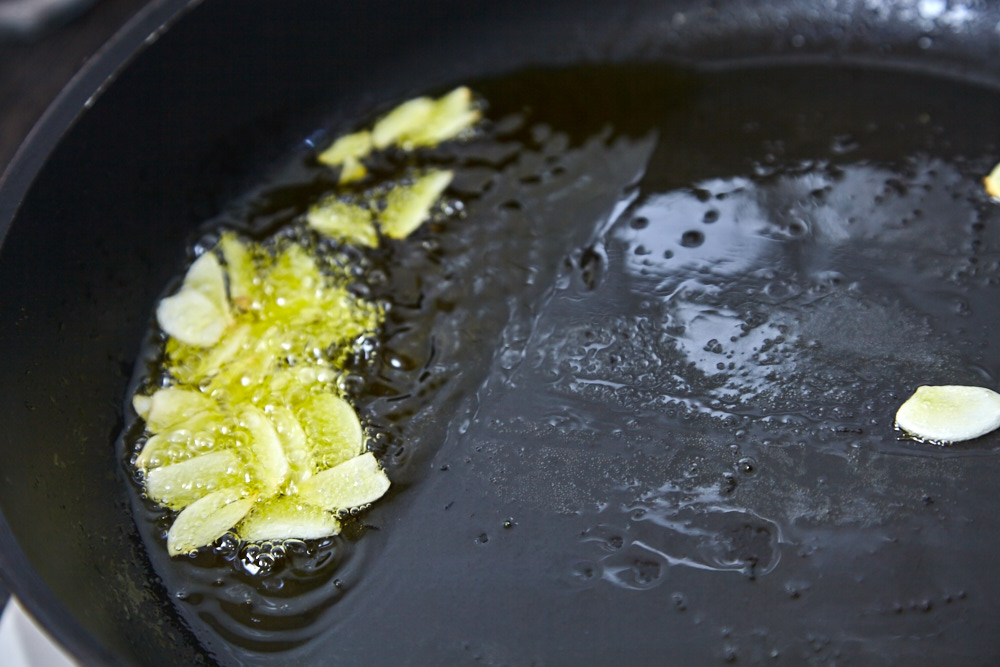
When the garlic is golden, take them out with a spatula and put on the paper towel, to absorb the extra oil.

Turn off the fire, remove a bit of oil, you need only for about 2 tbsp. When the frying pan cooled a bit add 3 tbsp of soy sauce, ½ tsp of sesame oil, squeeze a juice from 1 lime and add grated ginger (or juice).
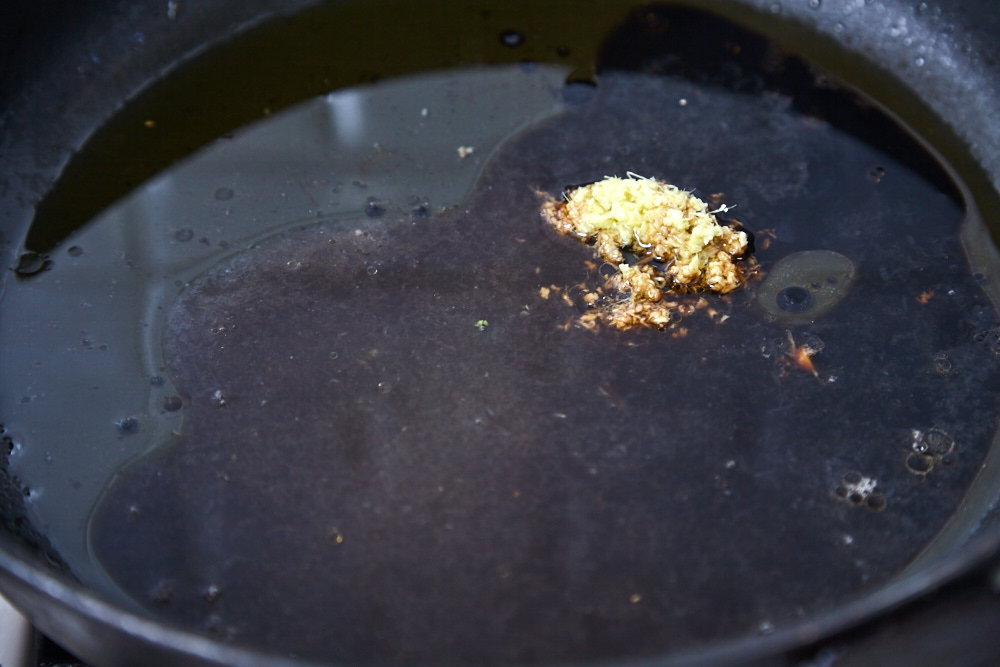
Mix everything in the pan and taste. It should have sour-sweet-nut flavor if one of them stands out more or not enough – regulate the taste by adding the needed ingredients.
Now let’s do broccoli. If the water is boiled add broccoli and cook for 4-5 minutes. You can use a steamer, it’ll take you the same 4-5 minutes.
When the broccoli is ready, take it out with a spatula, and try to shake off almost all water. Put on the plate and add sauce on top (mix it again beforehand, if it layered). Add fried sesame and garlic chips on top.
Serve while hot. Try to cook this egg curry recipe, and serve like a side dish. Great combination.