An omelette is not as simple a dish as it might seem at first glance. Sure, if you cook an omelette using the same recipe all your life, what difficulties could there be? But if you delve deeper, a lot of questions arise. When should you salt the omelette? Should you add milk, or maybe cream, and what’s the difference? Can you cook it without milk, and if you can, then why is it added? How do you cook a fluffy omelette? How do you cook a thin one? How do you cook an omelette in the oven?
I gathered all the questions that were in my head, added questions from Google, found answers to most of them, specifically prepared about a dozen omelettes, and now I’m going to tell you everything.
Table of Contents
4 Types of Omelettes
I’m sure you can find dozens of different types of omelettes, if you want to. Each one will differ in some way: cooking techniques, nuances, ingredients. To avoid overcomplicating things for both of us, I’ve identified 4 key types in my opinion.
French omelette
Classic. Tender and not fried at all. It can be served fully cooked or slightly moist inside.
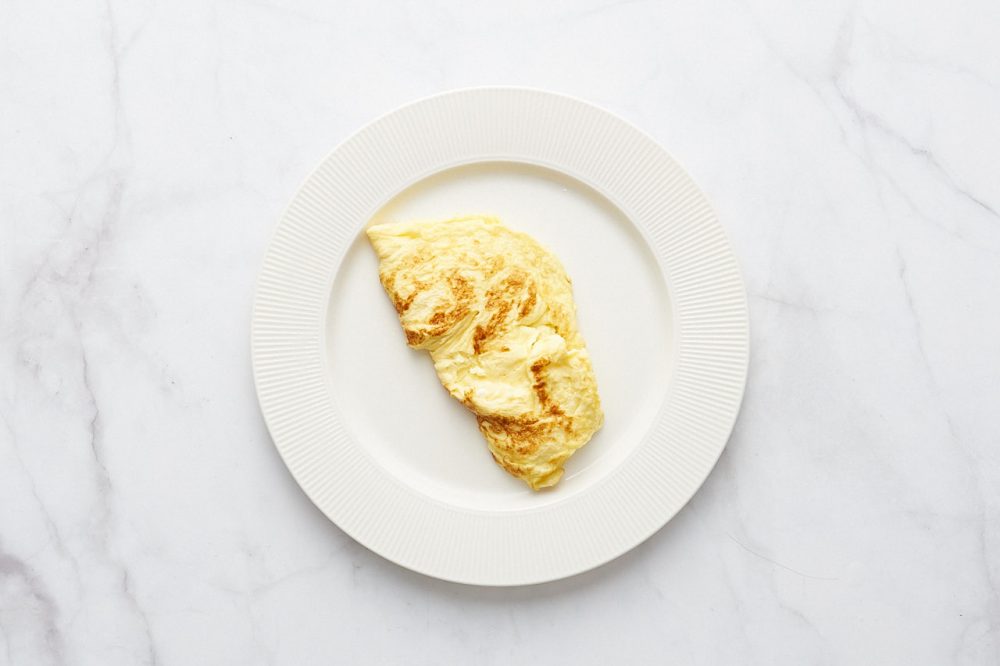
American-style omelette
Fluffy, fried, and airy. It is usually served folded in half with a filling inside, between halves.
High oven-baked omelette (like in kindergarten)

It’s baked in the oven, turns out tall and very tender.
I personally don’t feel nostalgic about such omelettes and cooked it just to get the full picture, but if you like it – why not?
Simple lazy homemade omelette
It is cooked and served according to your mood. It can be thin, it can be fluffy. Today it might be fried on both sides and folded in half, tomorrow rolled up like a tube. The key difference from the first two is that we do not touch or stir the omelette mass in the pan.
By the way of adding filling
There are 3 ways to add filling to an omelette:
- Pouring method. Fry the filling in a pan, then pour in the omelette mixture.
- Stuffed. Pre-fry/warm the filling, remove it from the pan, prepare the omelette, add the filling, and fold the omelette.
- Incorrect method. Add the filling to the omelette mixture, prepare everything together.
We immediately discard method No. 3. By the time the omelette is ready, the filling just won’t have time to heat up, and you’ll end up with a hot omelette with barely warm filling. Exceptions: spices, hard cheese like Parmesan, as well as finely chopped herbs – should and can be added directly to the omelette mixture.
The other two methods are similar and interchangeable (with some caveats). In the first case, the filling is embedded in the omelette and is one with it. In the second – the filling is simply wrapped in the omelette. When it comes to a simple homemade omelette, the choice of method for adding filling is a matter of taste and preference.
However! If you are preparing a French omelette or an American-style omelette, it would be more appropriate to go with the second method. Both of these omelettes require stirring, and the filling in the pan will interfere with this process (i.e., interfere with your stirring of the omelette).
Ingredients
Basic
| The ingredient | Quantity |
|---|---|
| — eggs | 2 to 3 eggs per serving |
| — salt | ~ One small pinch per egg |
In this section, I will immediately answer the question: “Can you make an omelette without milk/cream, etc.?” Yes, you can.
The liquid in the composition plays a supporting role, but it is not obligatory. Moreover, I have come across the opinion that a true French omelette is prepared without milk or any additional liquid. Debates about “authenticity” are a thankless task, so just be aware that such an opinion exists, and whether it’s correct or not doesn’t concern us.
Optional
| The ingredient | Quantity |
|---|---|
| — liquid: water, milk or cream | 10-15 ml (~1 tbsp.) per egg or for a more puffy omelet – 25-30 ml per 1 egg (more watery, less rich flavor of omelet) |
| — flour | ~ 1/3 tbsp. per egg |
| — cold butter | ~ 5 g per egg |
Liquid. Any liquid in an omelette makes it softer and fluffier due to the evaporation process. What’s the difference and what liquid should you use? J. Kenji Lopez Alt in his book The Food Lab says roughly the following: water increases fluffiness but “dilutes” the taste, milk increases fluffiness and makes the omelette more tender, and heavy cream – doesn’t really increase fluffiness but adds a cheesy aroma and texture to the omelette.
Also, I have encountered the opposite opinion, that the use of water makes the taste of the omelette less watery than when using milk. For me – all this is purely a matter of taste. Either you need to try everything and choose your perfect option, or not worry and use what is at hand.
Personally, I do just that – I use what is at hand. In terms of volume, this is approximately 1 tablespoon per egg. I’m not chasing any extreme fluffiness, but an excess of liquid indeed makes the taste of the omelette watery and less saturated.
Flour. Flour serves as a stabilizer and allows the omelette to stay fluffier and deflate less after cooking. Personally, I don’t add flour to the omelette. I don’t see the point and a significant difference in the result, but this is also a matter of taste and preference.
Unsalted butter. Cold unsalted butter (before cooking, the butter is put in the freezer for 10-15 minutes) is cut into small cubes and added to the omelette mixture. It adds fatness, flavor, and makes the omelette more tender. In addition, it helps regulate temperature. Eggs cook longer, set more slowly, leading to a more tender, creamy texture.
Ideas for omelette fillings
| The ingredient | Quantity |
|---|---|
| Hard vegetables: onions, shallots, sweet peppers, chili peppers, carrots | Cut into small cubes and fry in butter until soft |
| Soft cheese to your taste: feta, gruyere, gouda, cheddar, brie, sheep and goat milk cheeses, blue mold cheese, etc. | Grate or break it up. If cheese is not the only filling, mix with the other filling ingredients after frying them. |
| Hard cheese (Parmesan, Pecorino Romano, Grano Padano) | Grate on a fine grater (like Microplane) and add to the egg mixture. |
| Smoked meats, sausages, frankfurters, ham | Slice into small cubes (~1×1 cm). Fry in butter until crispy |
| Tomatoes | Dice, salt, put in a sieve and let drain. Add fresh. |
| Spinach, rucola and other greens | Sauté in butter or add fresh. |
| Zucchini, zucchini | Sauté in butter until soft |
| Asparagus | Cut off the tough part of the stem, cut into pieces ~ just under 1 cm long and poach in butter until soft. |
| Green onions | Finely chop. Sauté the white part in butter with the other filling, add the green part to the omelet mixture or leave it to sprinkle over the omelet before serving. |
| Herbs and spices: rosemary, thyme, oregano, coriander, dried garlic, chili flakes, zira, etc. As well as herbs (dill, parsley, cilantro, etc.) | Add to the omelet mixture. Finely chop the greens beforehand. |
*The table will be updated
Omelette Cooking Principles or The 11 Omelette Commandments
In this section, I have collected tips that will simplify cooking, answer a large part of possible questions, and make your omelettes even tastier and more beautiful.
- Cook on medium-low heat, don’t overheat the pan.
- Eggs are traditionally cooked in butter. An omelette is no exception. Firstly, it’s tasty, secondly, butter helps control the temperature. If it’s smoking – it means it’s too hot, the heat needs to be reduced. Lower the heat and lift the pan above the stove for 15-20 seconds.
- Don’t overcook. The omelette should not be extremely fried, and the French omelette should not be fried at all.
- Don’t overdry. The omelette should be removed from the heat when it is still slightly moist on top. Cover with a lid and let it finish for 1-2 minutes.
- The height of the omelette and its fluffiness depend on the volume of the omelette mixture and the size of the pan/form. There’s no magic here, the more mass and the smaller the shape – the higher/thicker and fluffier the omelette will be.
- A lid can help make the omelette fluffier and higher. Bring the omelette to half-cooked and cover the pan with a lid. Finish under the lid, turn off the heat and let the omelette rest for a couple more minutes. When you lift the lid you will be surprised by two things: how high the omelette has become and how quickly it has fallen. But even after the omelette has sunk, it will still be fluffier and higher than without a lid.
- Use a non-stick pan, about 20-22 cm. for classic 2-egg omelettes and about 23-25 cm. for 3-egg omelettes.
- A good non-stick pan is the key to success in making an omelette. Of course, you can cook an omelette in other dishes. But, several portions may have to be thrown away.
- It’s better to salt the omelette mixture in advance. Preferably – 15 minutes before pouring into the pan. If you don’t have time – salt the omelette mixture at least before beating, it’s still better than salting the omelette itself during cooking. Why – read below.
- Don’t beat the eggs in a cup or small dish, use a large, deep bowl.
- Break any of the above rules if it tastes better to you.
When to salt the omelette?
The best option would be to salt the eggs beaten into a bowl, beat them into an omelette mixture and leave it for 15 minutes. During the cooking process, this helps to retain moisture inside, keeping the omelette juicier and preventing wet traces on the plate.
The option to salt the omelette mixture just before cooking also works great, but it’s still desirable to let the salt fully and evenly dissolve in the omelette mass.
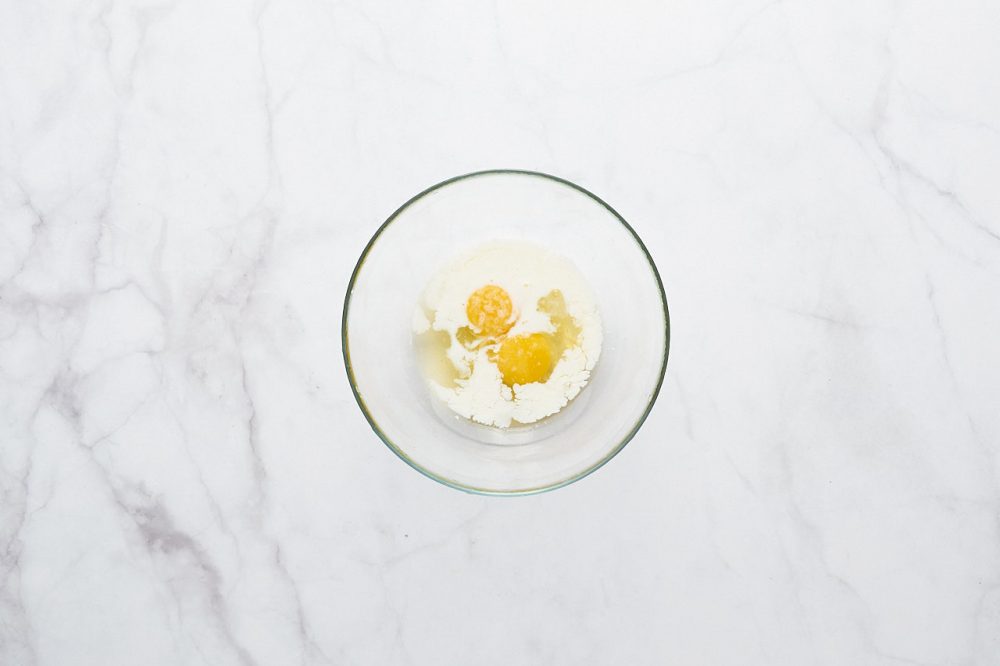
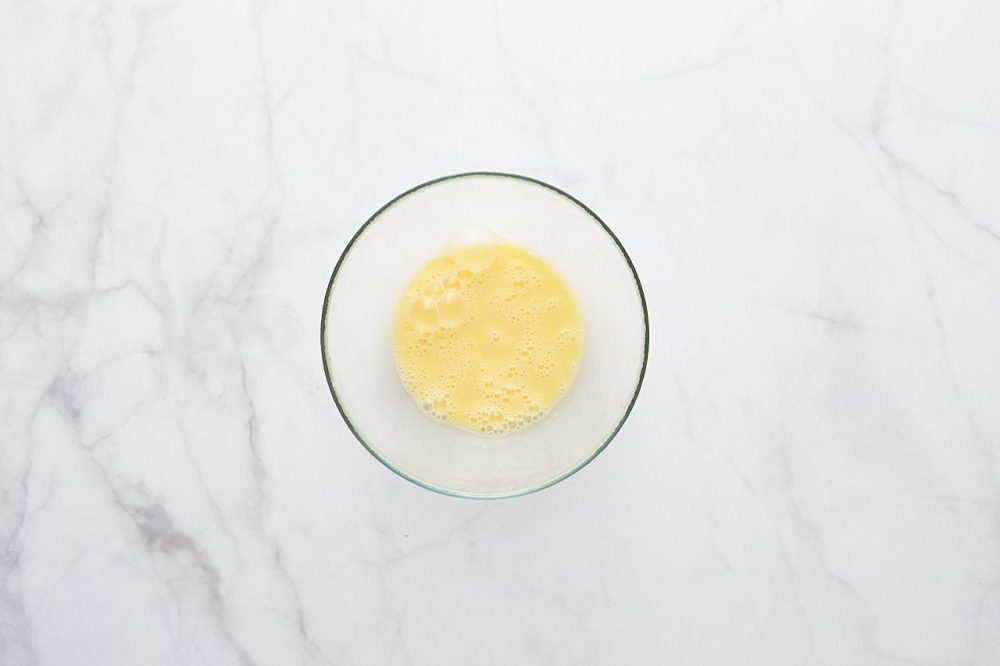
Interestingly, after 15 minutes, the salted omelette mass slightly changes its color and becomes more transparent, compare:

This is because the salt weakens the attraction of the yolk proteins to each other.
Yolks are made up of millions of tiny balls filled with water, protein, and fat. They are small enough to be seen with the naked eye, but large enough that light cannot pass through them. The salt breaks these balls into even smaller ones, allowing light to pass through, so the salted eggs changed color and became translucent.
From the book The Food Lab
How and what to whip the omelet mass?
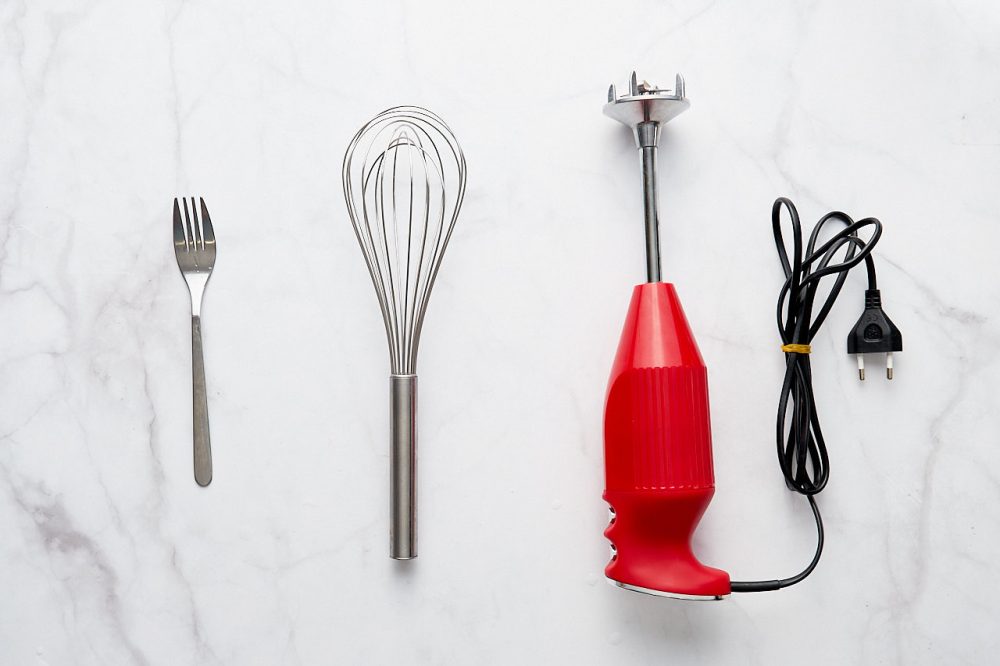
With a fork, a whisk, or an immersion blender.
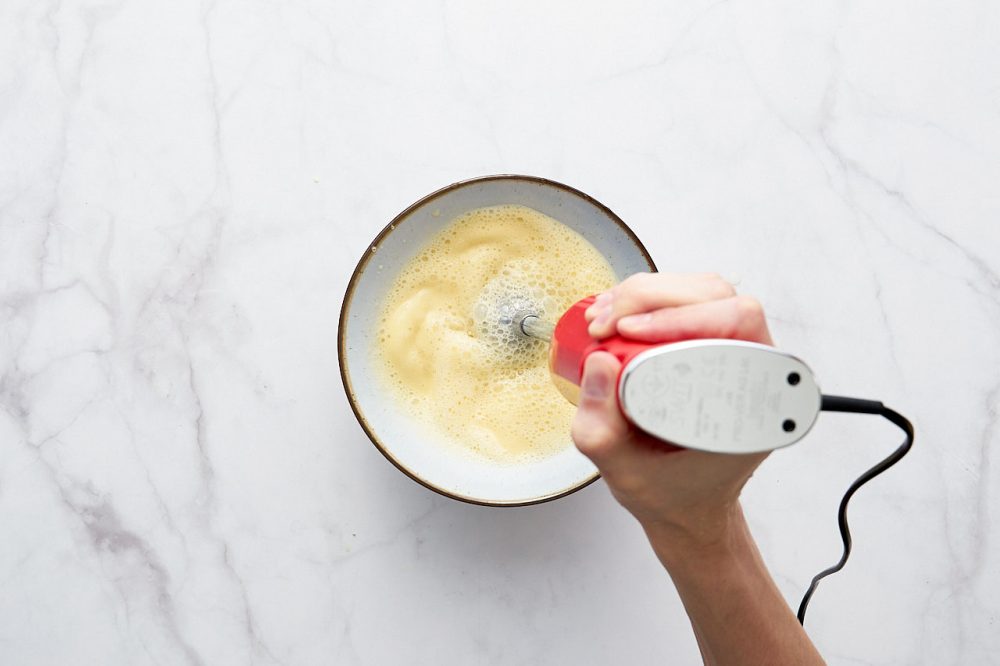
You should use a blender in cases when you add flour to the omelette. 10-15 seconds and no lumps. The advisability of whisking a regular omelette mixture with a blender is low, but if you really want to, then why not?
A whisk is the golden mean: it will cope with the flour, and does not seem too extravagant for whisking three eggs with milk and salt.
A fork is definitely in your kitchen, but it requires a bit of skill.
How do you whip it?
Why shouldn’t you whisk an omelette in a small container? Well, the blender doesn’t care, as long as it fits in. But for whisking with a whisk, you need space. The same goes for a fork.
With a blender, you immerse the blender in the bowl, turn it on, 10-15 seconds and it’s ready.
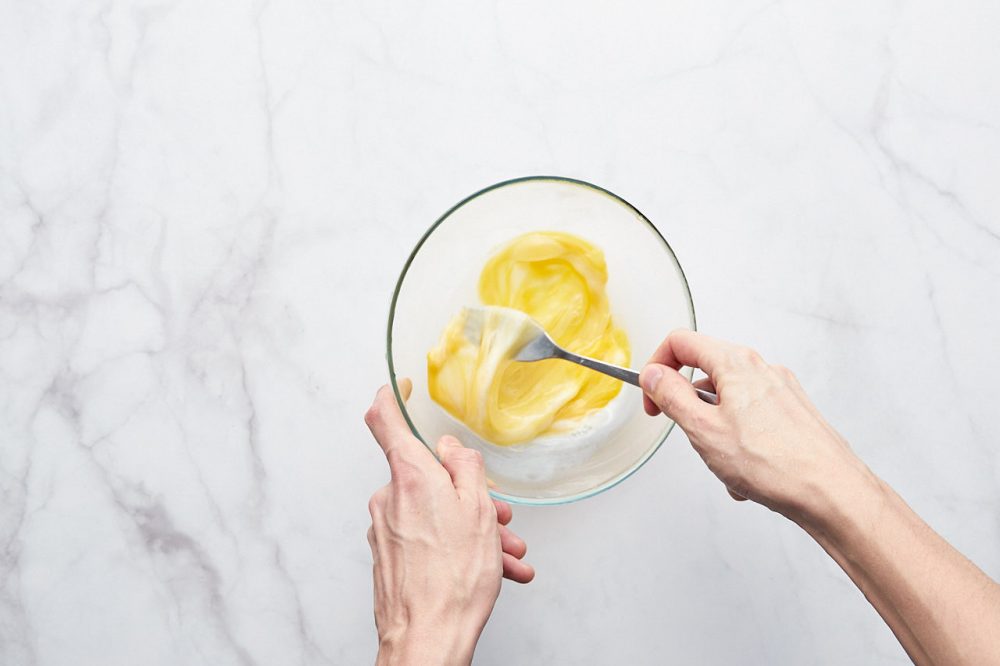
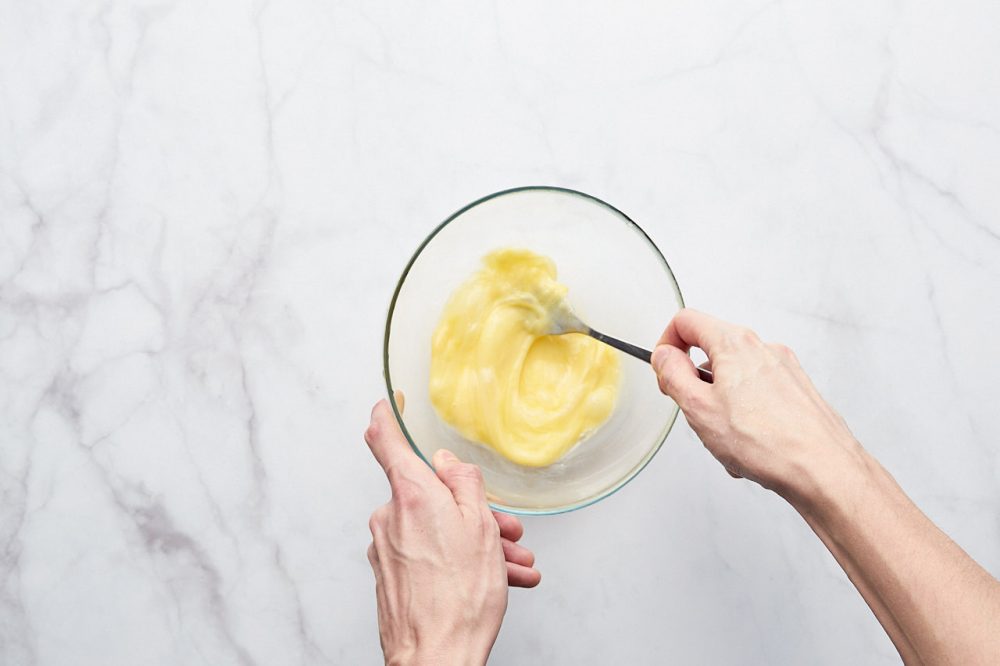
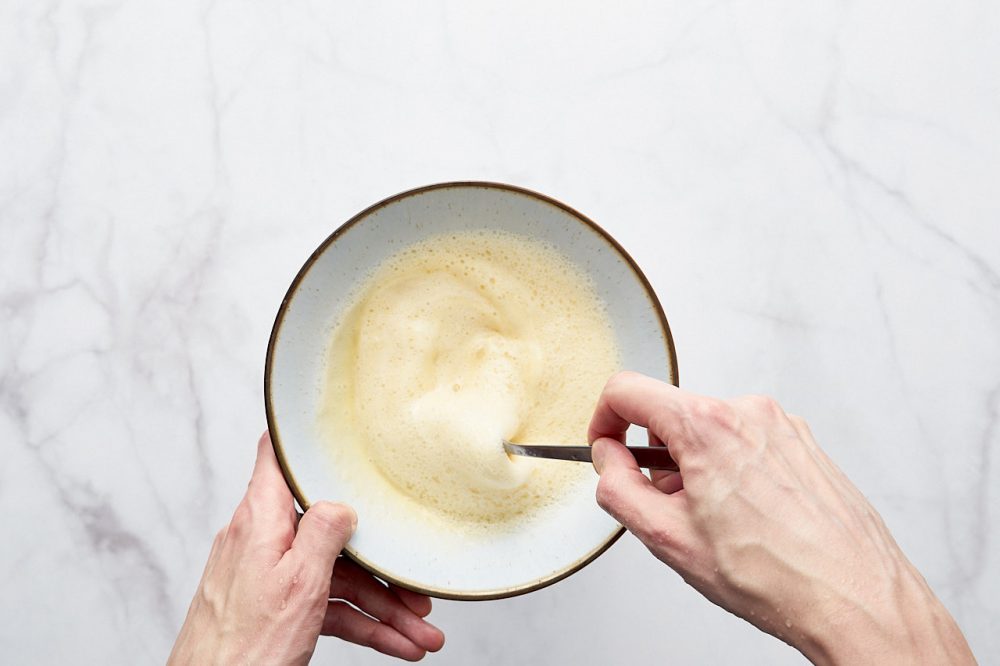
With a fork and a whisk, you pierce the yolks, tilt the bowl to the side with one hand, take the fork with the other hand and whisk with circular movements. It’s important that the fork doesn’t just slosh around in the depth of the mixture, but rather scoops up a bit of the mixture from the bottom, rises above the surface from one end, pulling a part of the egg mixture behind it, plunges in from the other end and so on in a circular motion. Whisk for about 30 seconds.
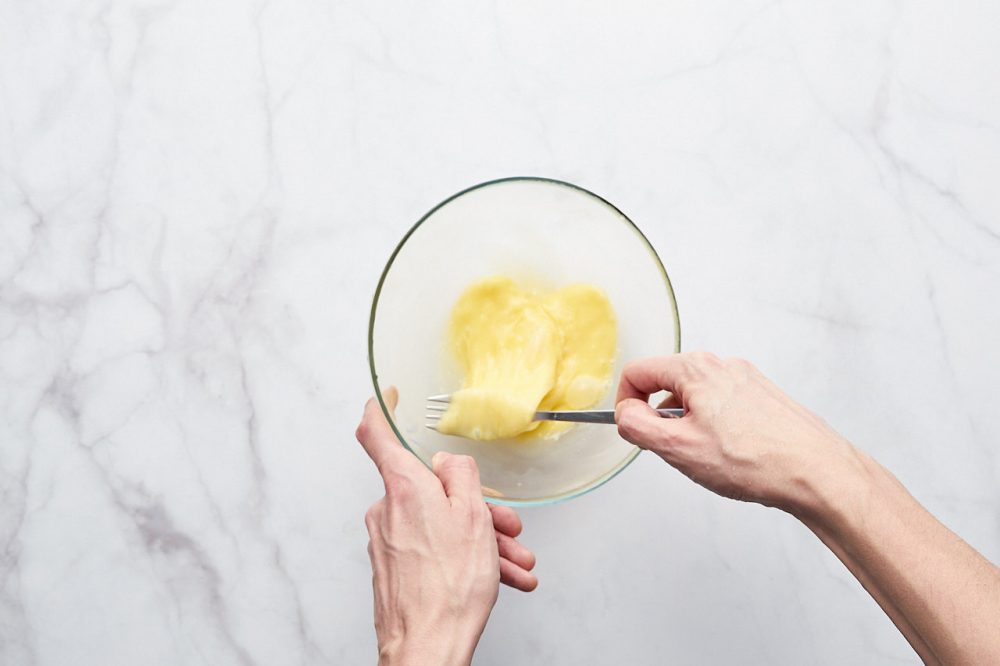

How can you check if the omelette mixture is well whisked?
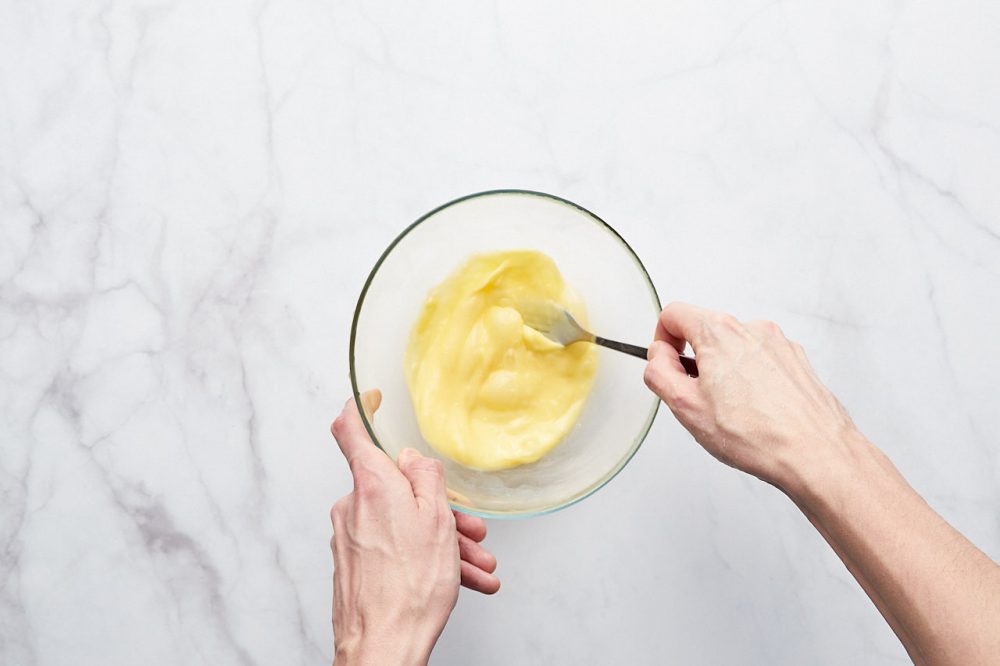
Dip a fork or a whisk into the omelette mixture and lift it higher above the bowl. If the mixture flows evenly in a thin, uniform stream, you’ve done it. But if it stretches like snot (or like unbeaten egg white) and falls apart, keep whisking.
How to cook an omelette
Preparation
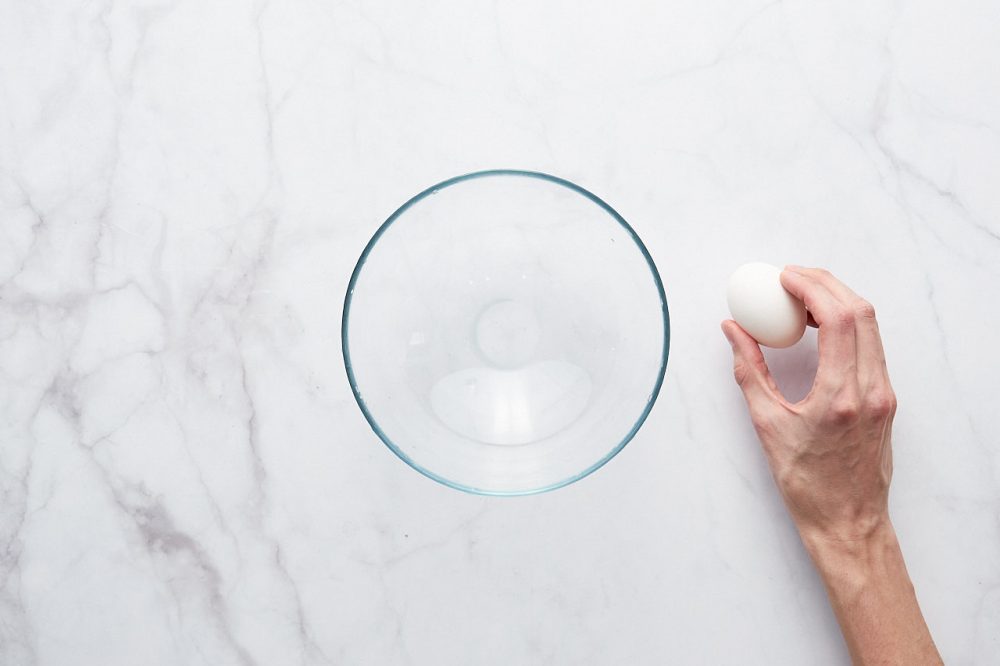
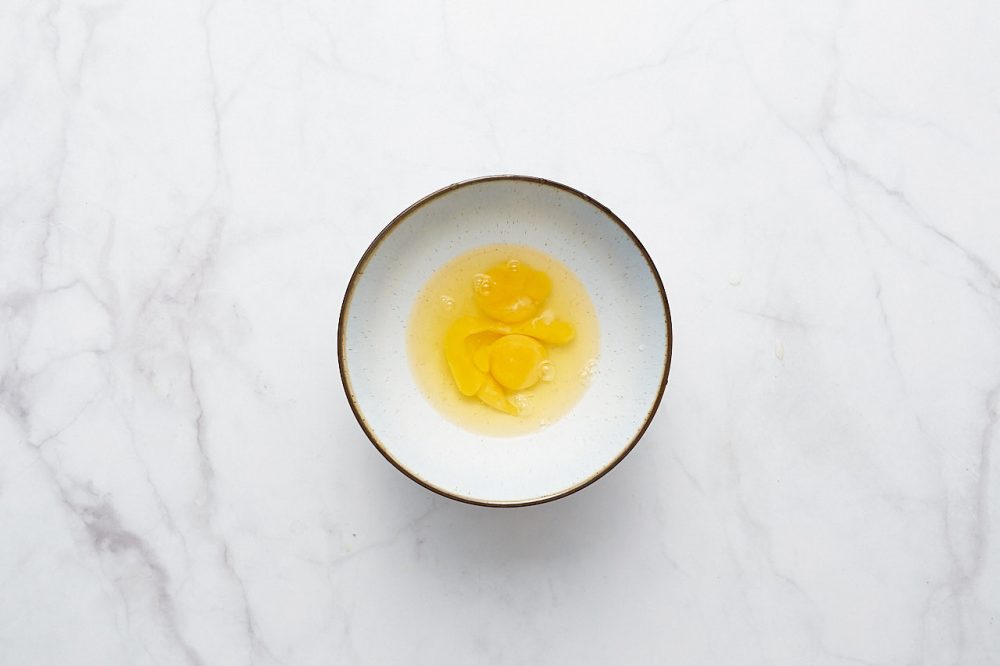
Before cooking, take a large bowl and crack the eggs into it. Remember, 2-3 eggs per serving?
How to crack eggs correctly? There’s a belief that the correct way to crack eggs is as follows: take an egg with one hand, crack it against the table, grab it between your index, middle and thumb and kind of “open” it with your thumb. The shell remains in your hand, and the egg falls into the bowl. It is said that in this way you will not bring bacteria from the shell, and if you crack it with a knife, the bacteria will get inside upon impact. I’m a bit skeptical about this, but I shared it just in case.


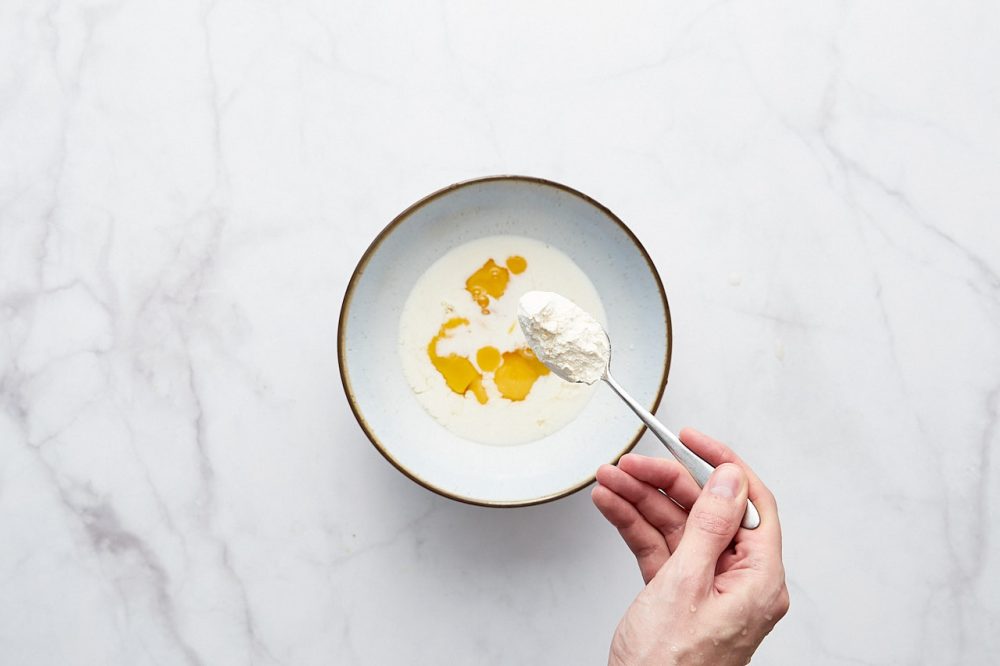
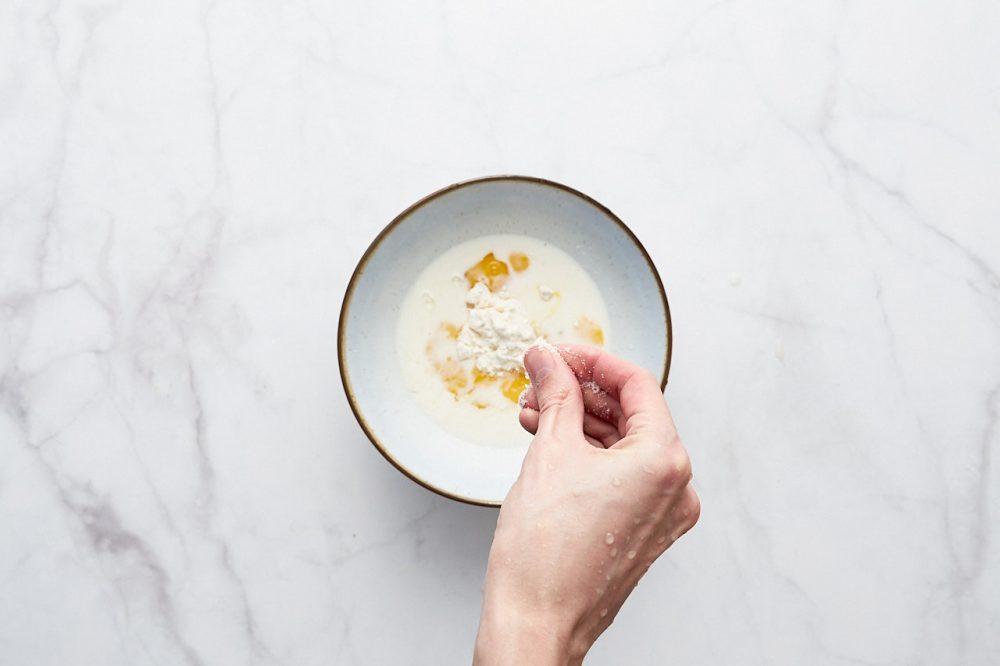
Pour the liquid component (milk, water or cream), add salt.
! Add flour, if using, at this step.

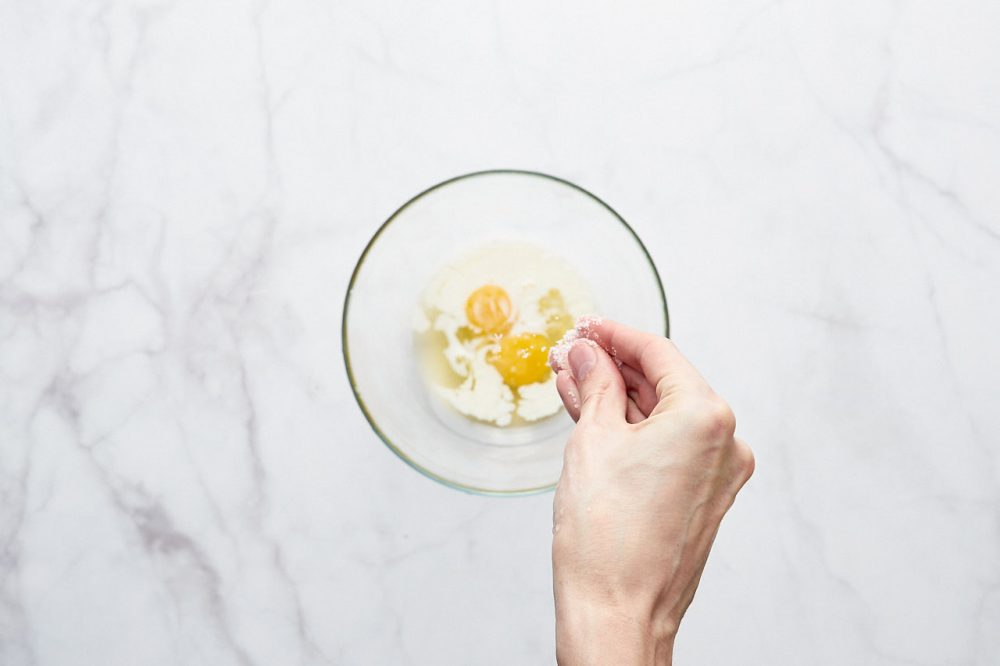
Whisk the mass, as described in the relevant section.

Let it sit for 15 minutes or cook immediately.
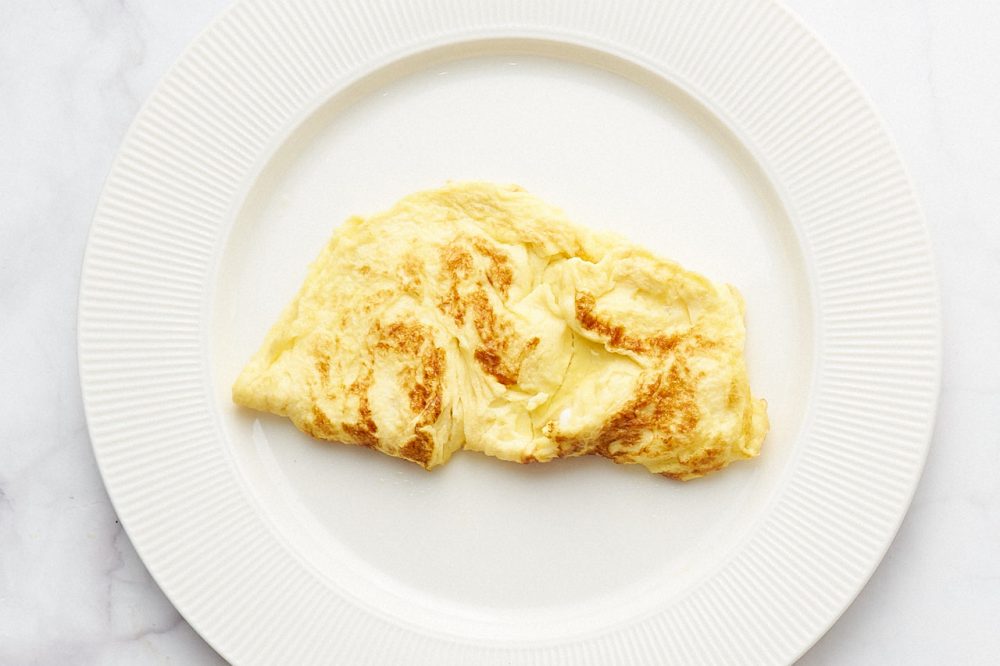
American-style omelette
Prepare a spatula and a suitable lid for the pan. If you plan to cook an omelette with a filling, pre-fry the filling according to the tips in the table above and set it aside on a plate.
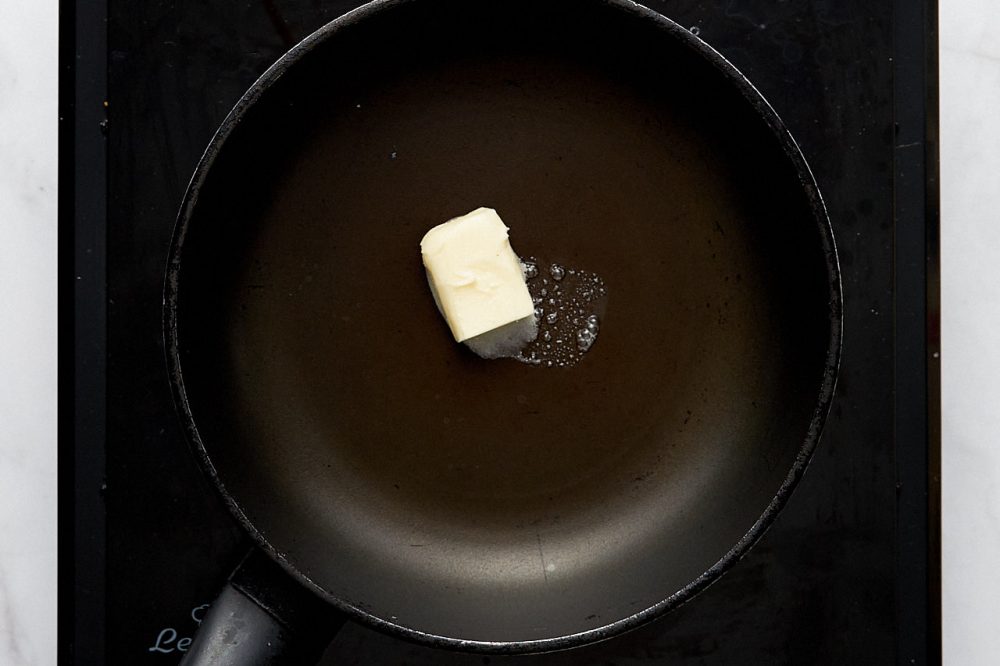
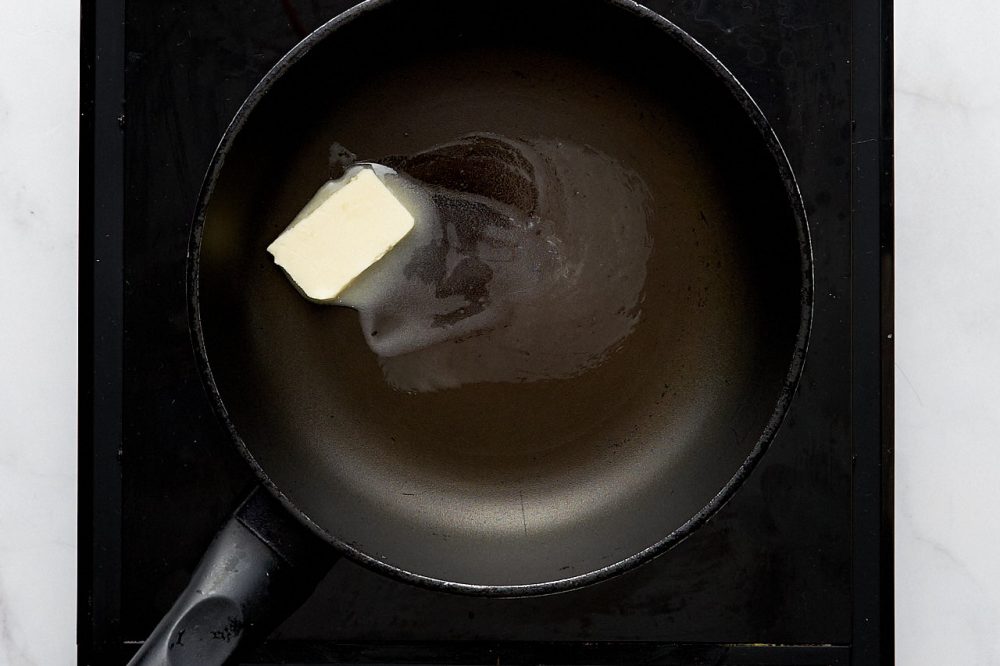
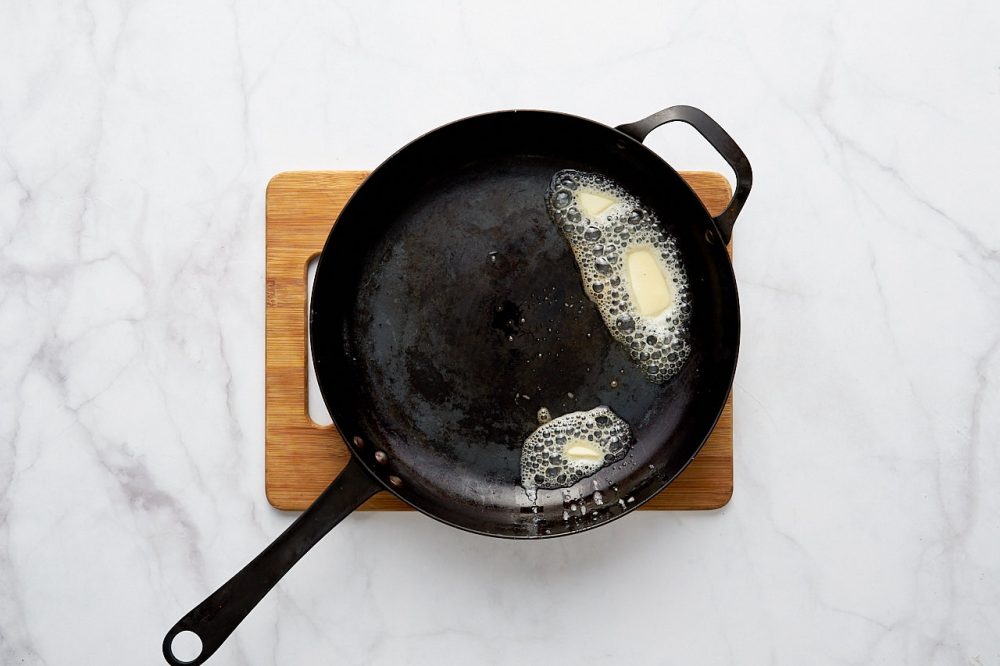
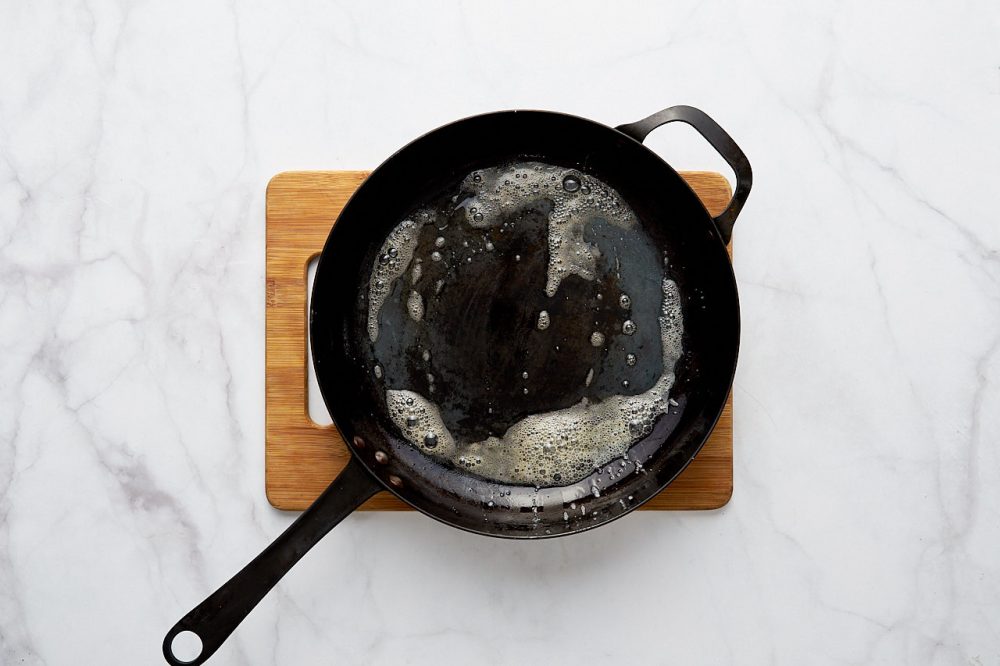
Heat the pan over medium heat and add about 10 g of butter. Wait until the butter has melted.

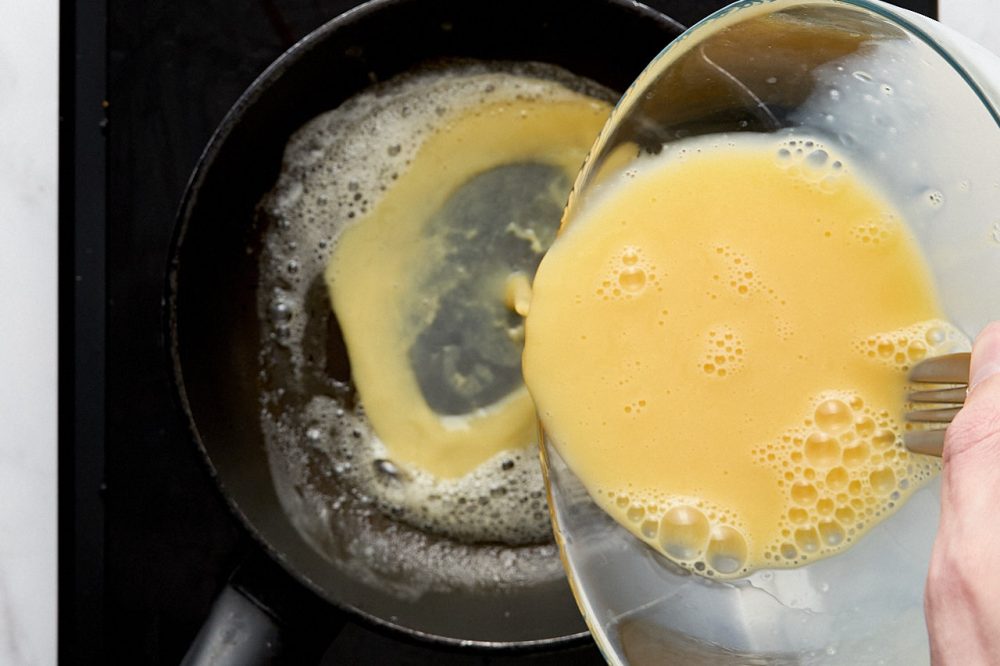
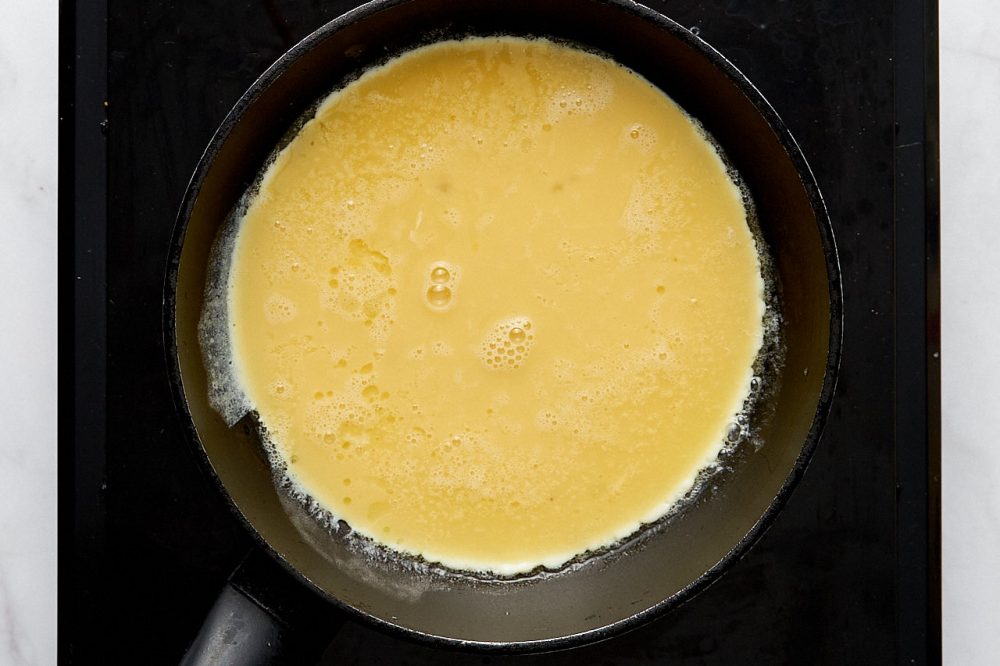
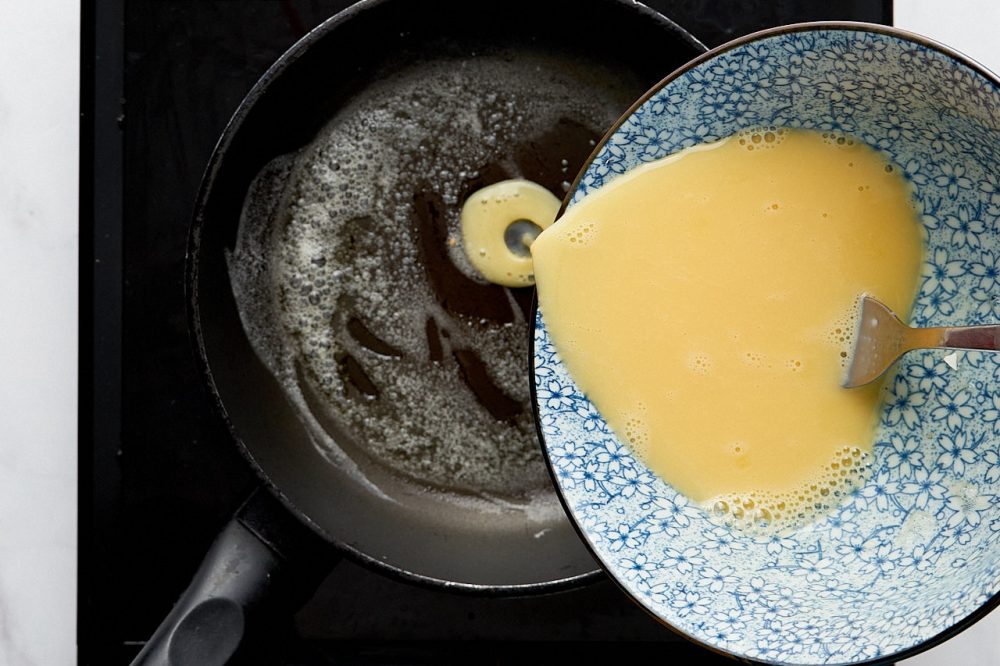
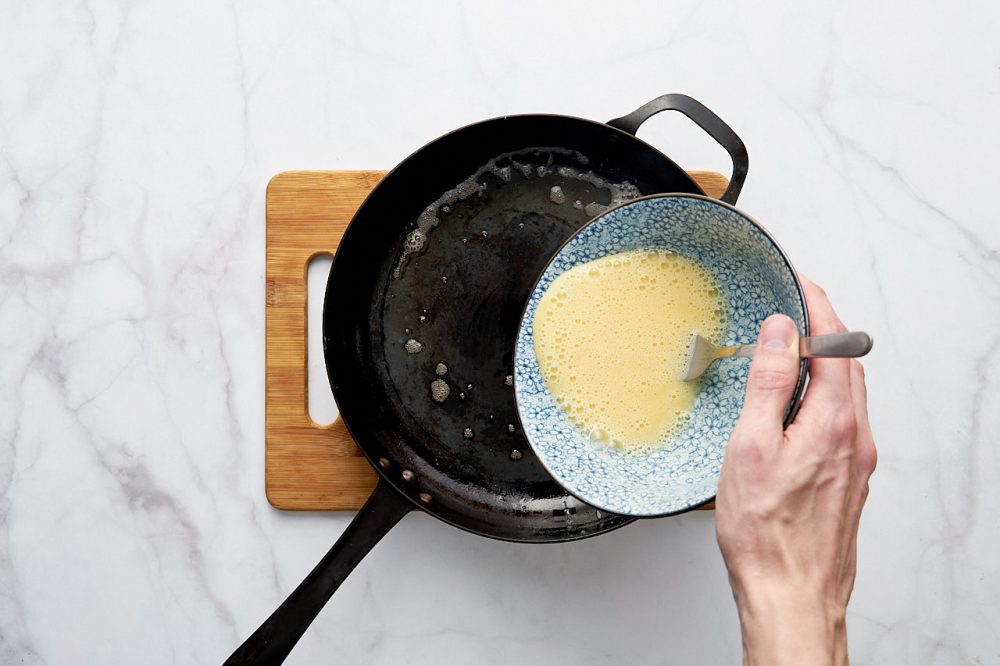
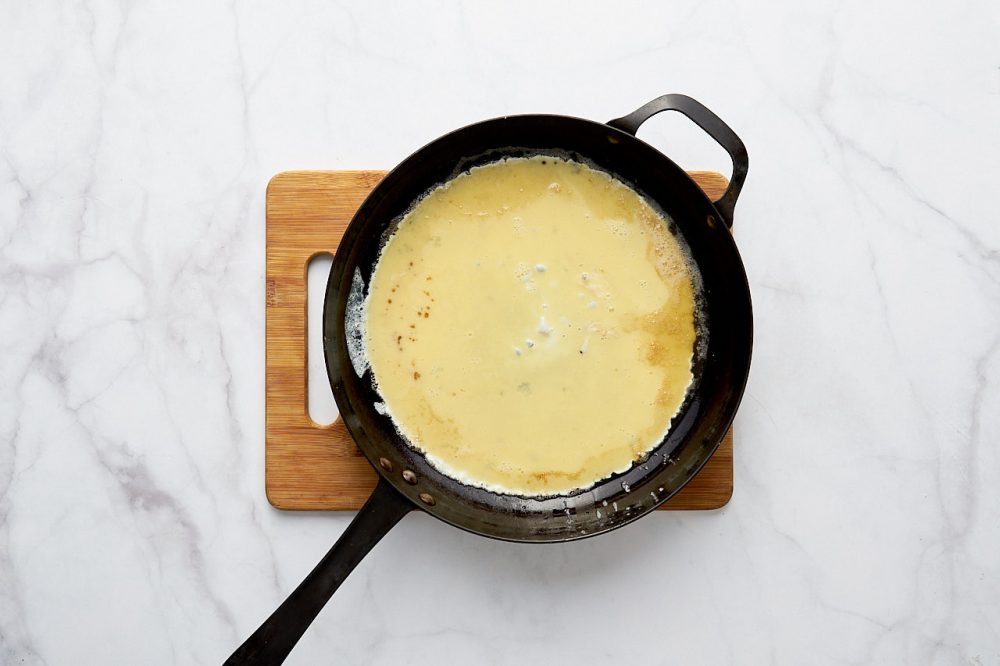
Lightly whisk the omelet mixture and pour into the pan.

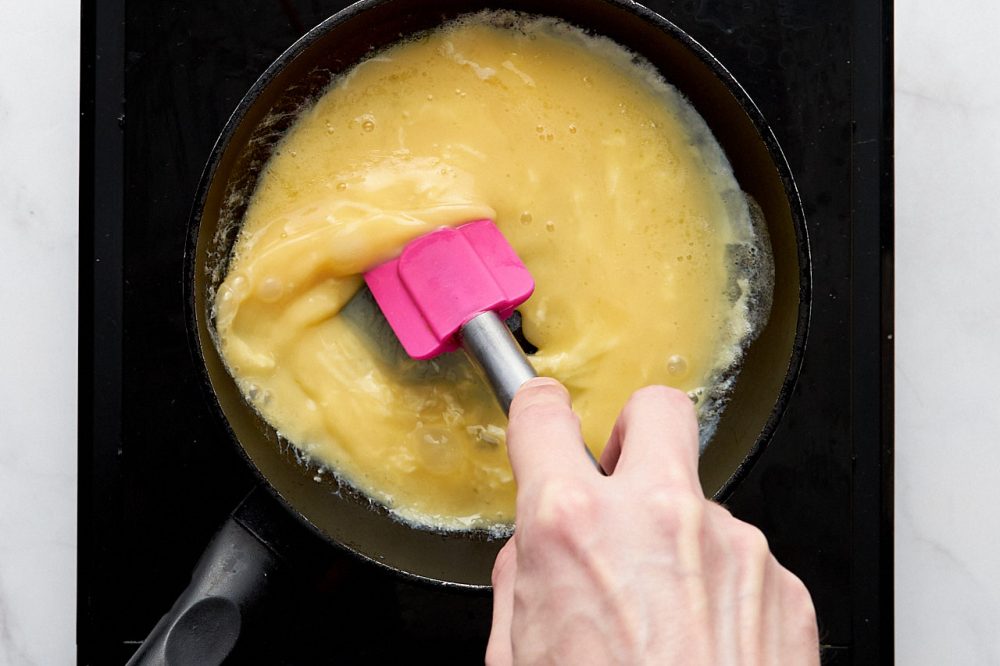
When the bottom layer of the omelette starts to set (which will happen quite quickly, within 5-10 seconds), start carefully shifting the set omelette from the edges of the pan to the center with a spatula. If necessary, tilt the pan so that the liquid omelette mixture fills the empty spots on the pan.


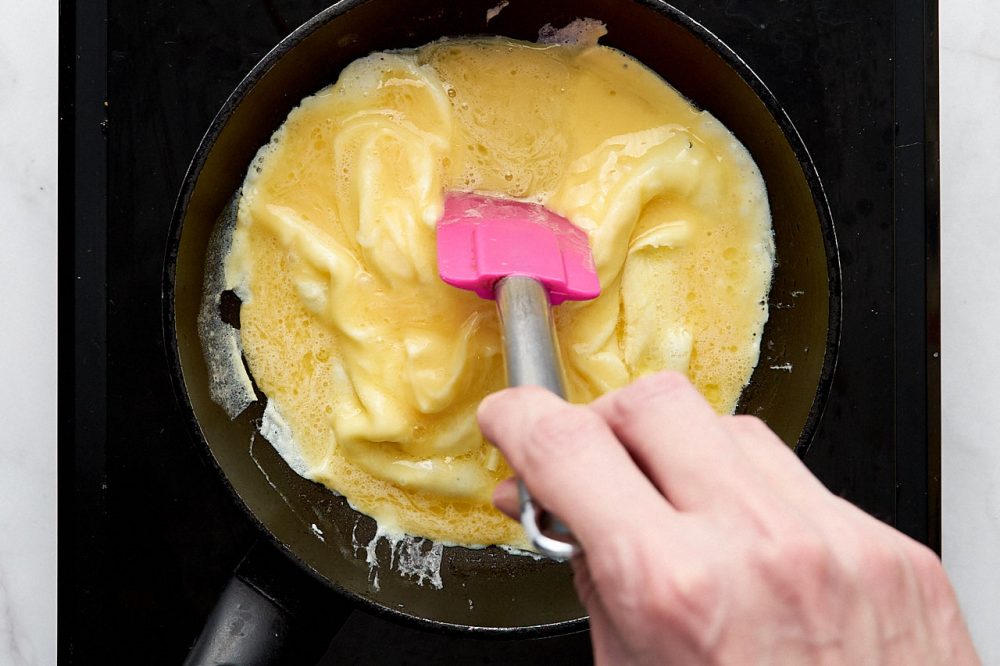
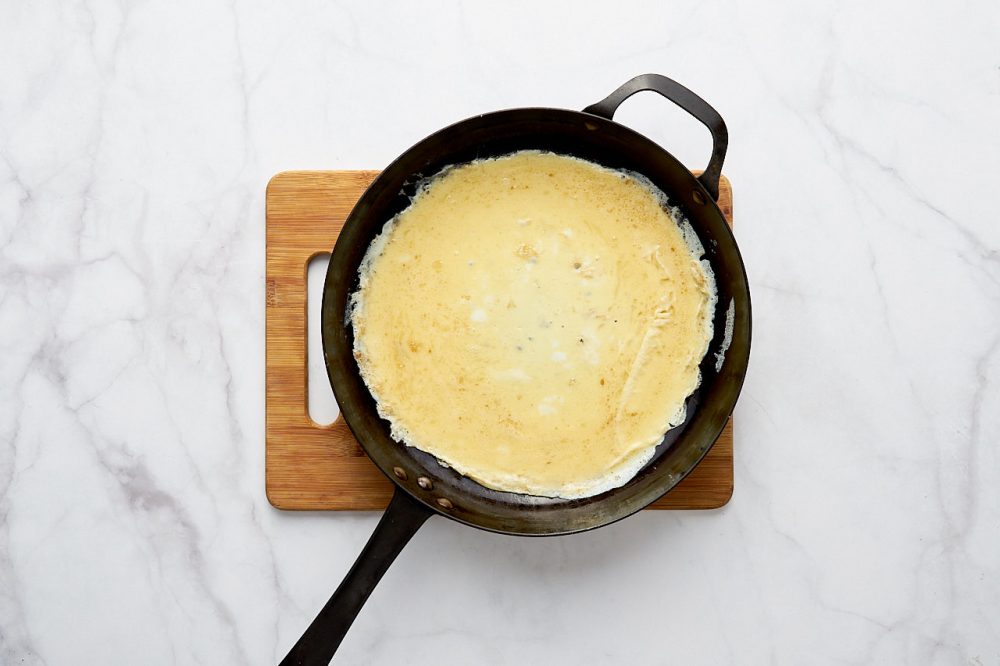
This will take about 30-45 seconds. During this time, I manage to “shift” an omelette made from two eggs 6-8 times. But it’s better to rely on the consistency. If the omelette mixture becomes thicker, starts to tear and is not so keen to fill the empty places, it means the omelette is almost ready, put the spatula aside. Most likely, by this time, the omelette will be about 80% ready, remaining slightly moist on top (the left photo below). That’s what we need. Cover the pan with a lid and remove it from the heat. Let the omelette finish for 1-2 minutes under the lid.
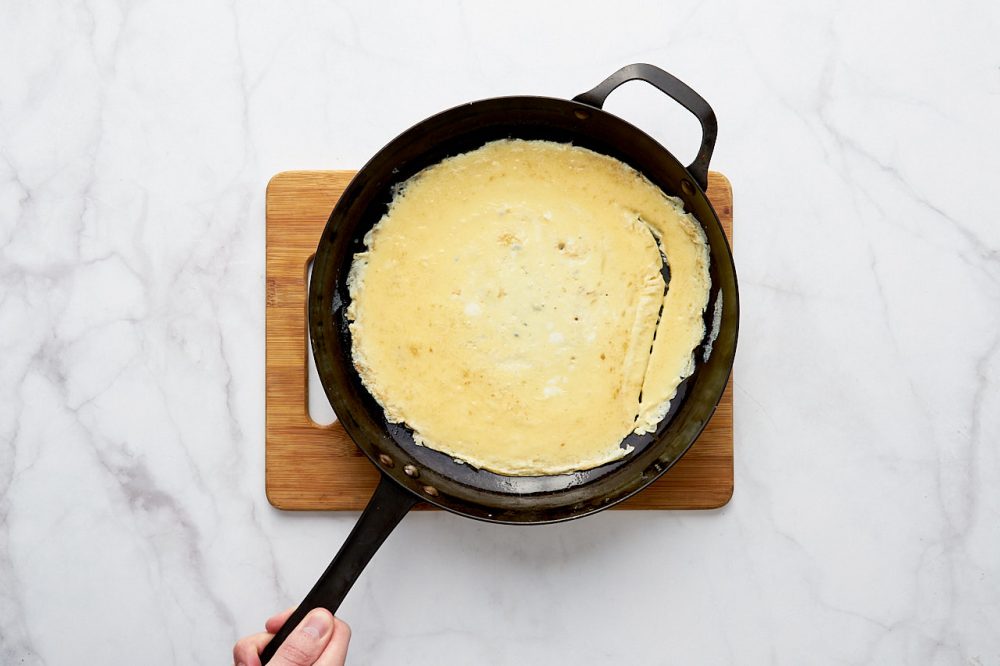
Remove the lid, place the filling (if you’re using one) on one half of the omelette, and fold the omelette in half.

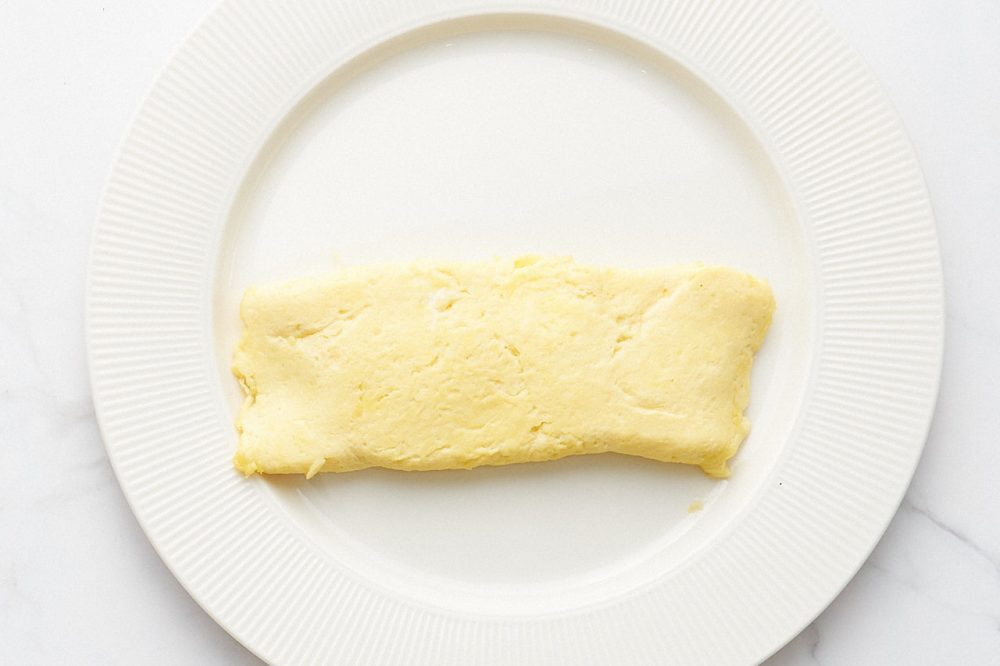
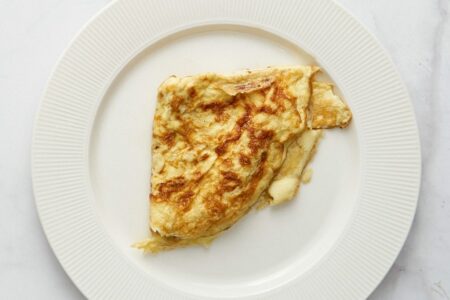
Classic French Omelette
A French omelette is often made with the addition of fresh finely chopped herbs right into the omelette mixture, and it is also not fully cooked, leaving the inside slightly moist. Do this only if you are 100% sure about the quality of your eggs, wash them before cooking and don’t give semi-cooked eggs to children (even if you are sure about their quality).
Prepare a spatula and a lid.
Heat the pan over medium heat and add about 10g of butter. Wait until the butter has melted.

Before you start cooking, whisk the omelette mixture again with a fork, 4-5 times. Pour it into the pan.

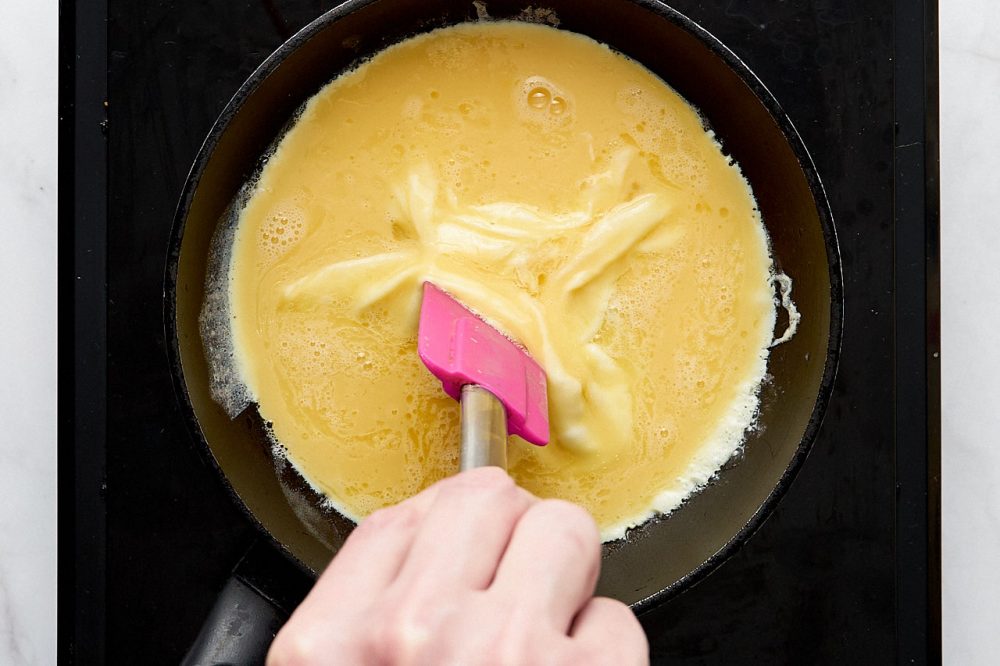
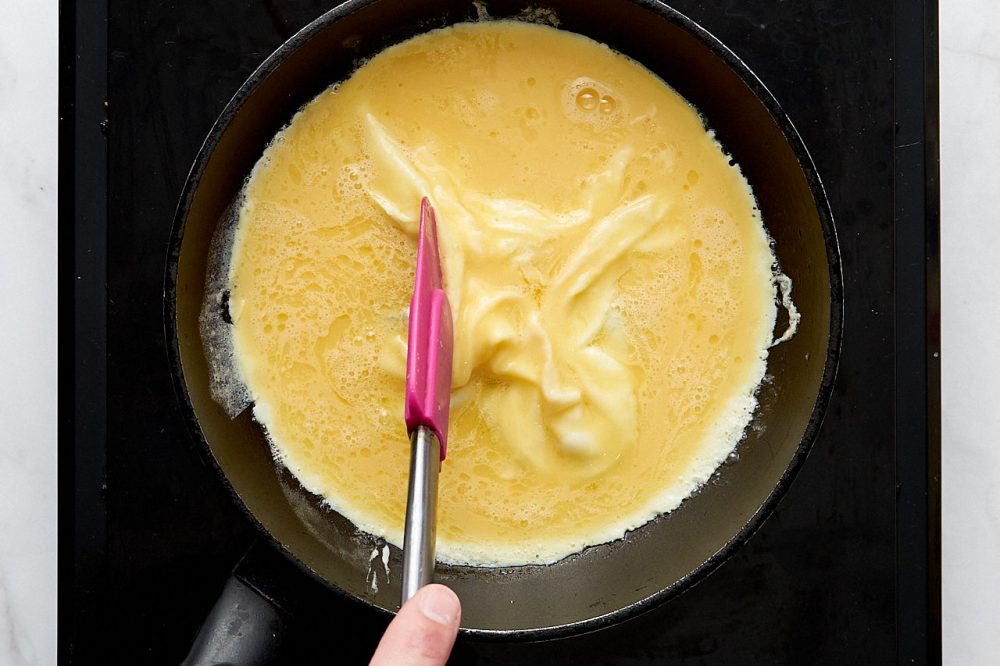
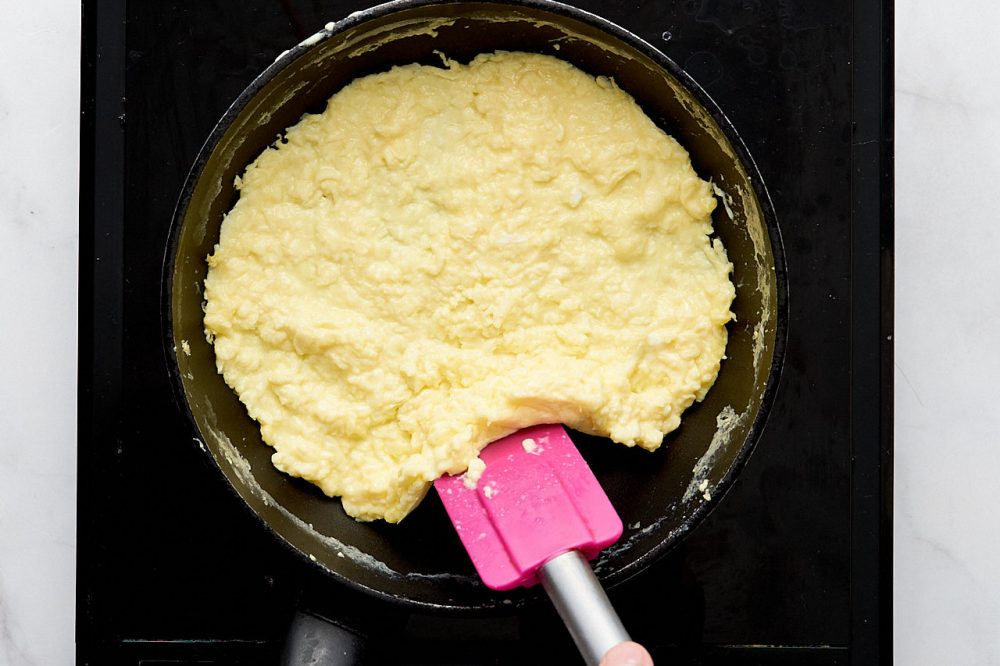
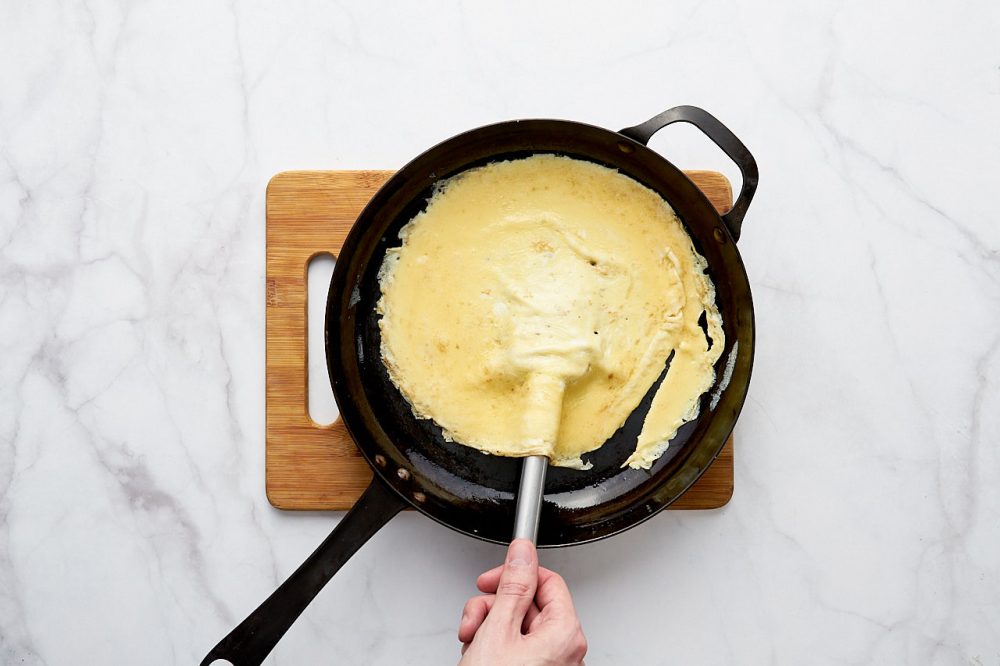
As soon as the mixture is in the pan, take the spatula and start stirring the mixture intensively from the center of the pan to the edges, and then from the edges to the center. Do this quickly, making sure to reach the bottom with the spatula. Continue until the mixture sets. This is done to ensure that the omelette cooks evenly and doesn’t have a chance to fry on the bottom.
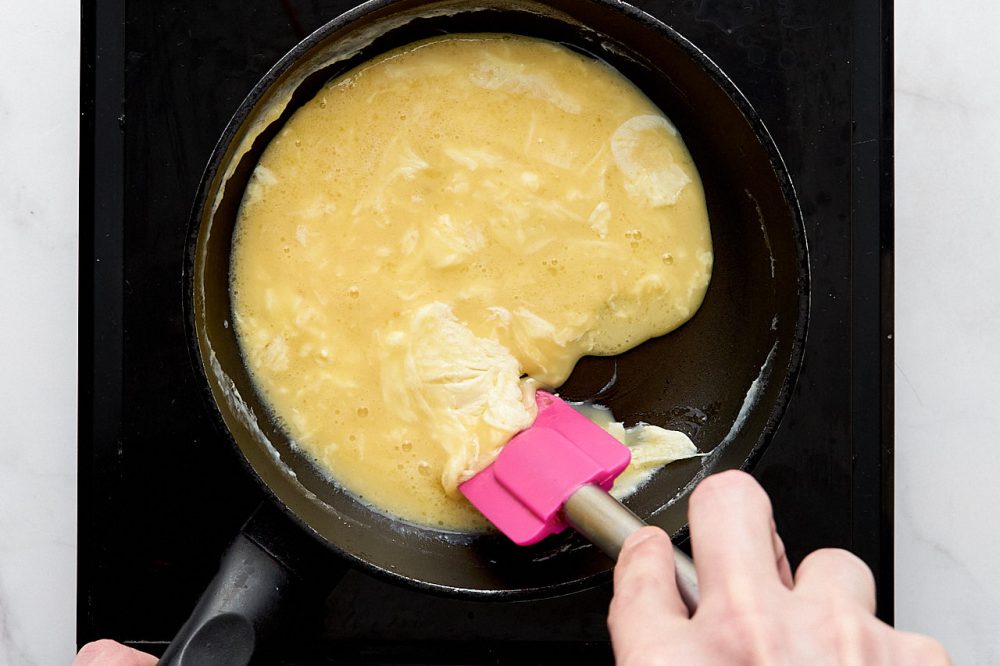
Here you need to find the right heating power and stirring duration through trial and error, feel the heat and lift the pan over the stove if it overheats.
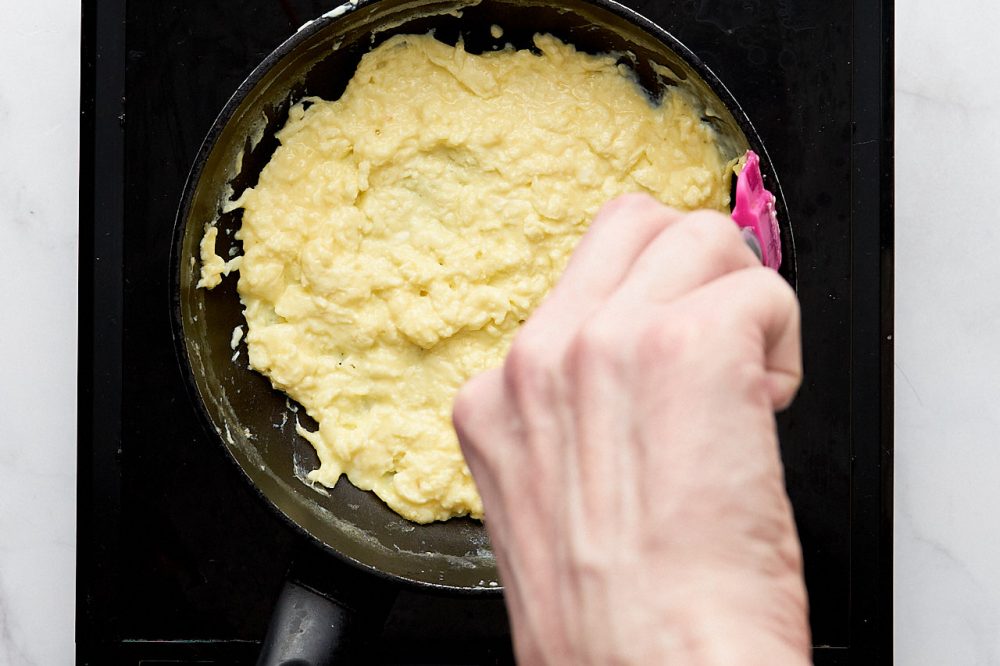
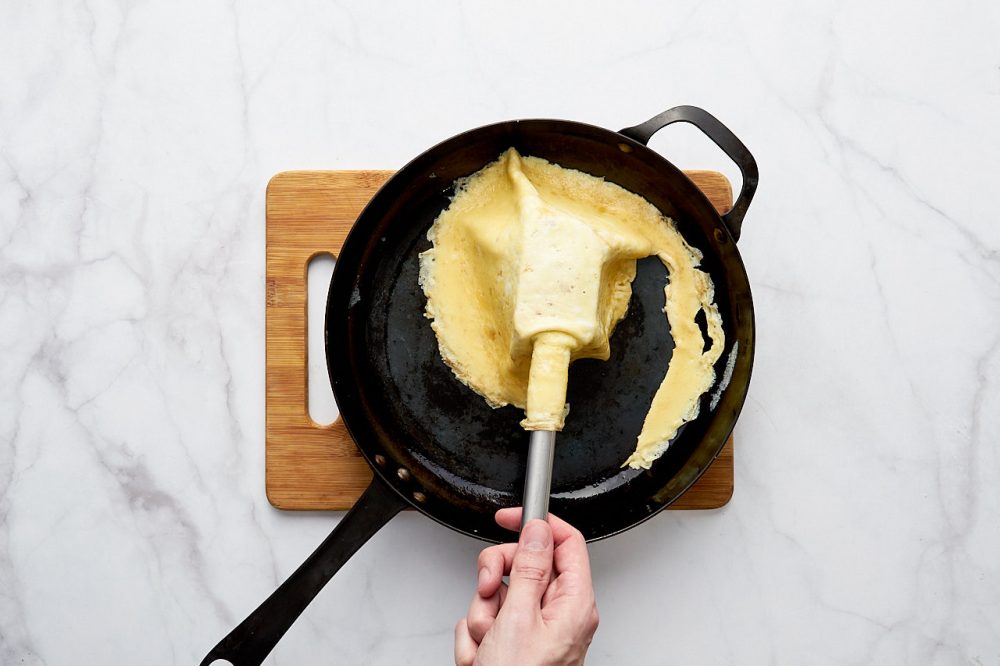
Ideally, the French omelette should still remain moist on top, but at the same time not have time to brown on the bottom. Stirring helps to prevent browning on the bottom, but if you overdo the stirring, it will cook more than necessary inside and on top. In general, you need to find a happy medium here.
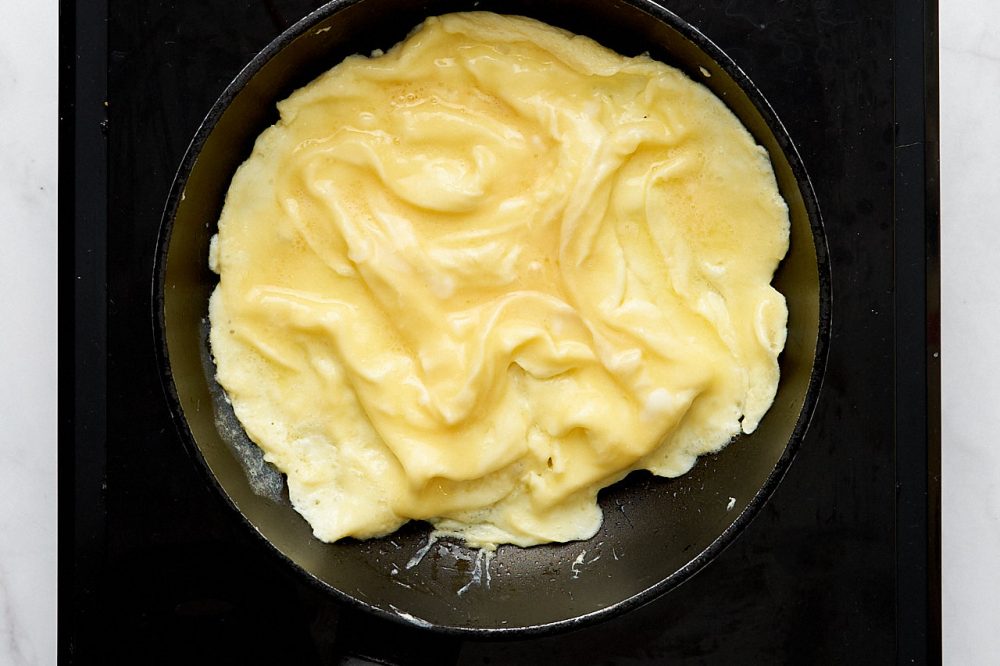
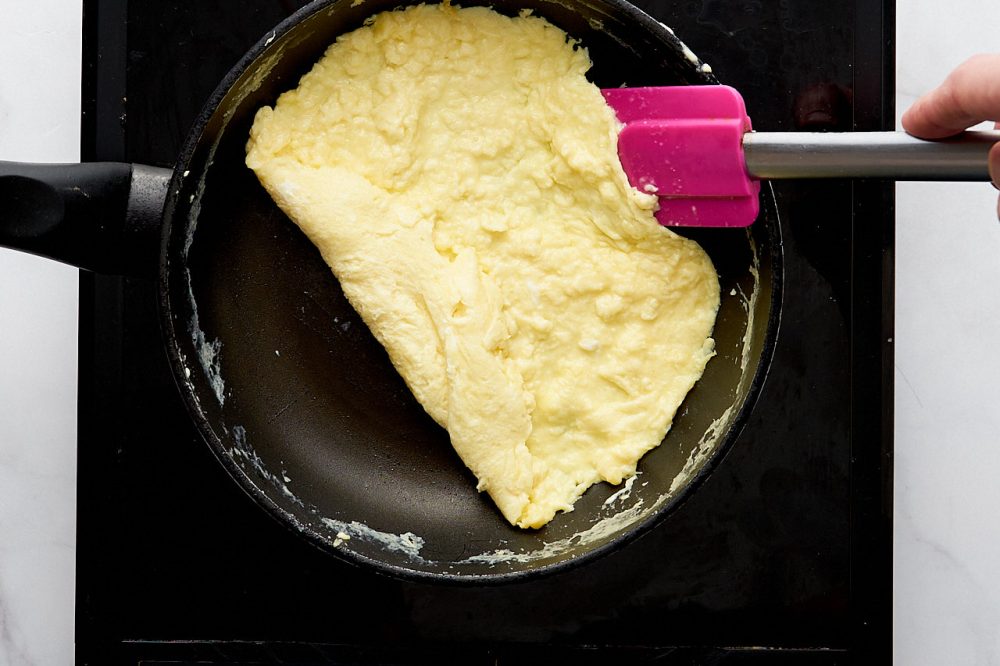
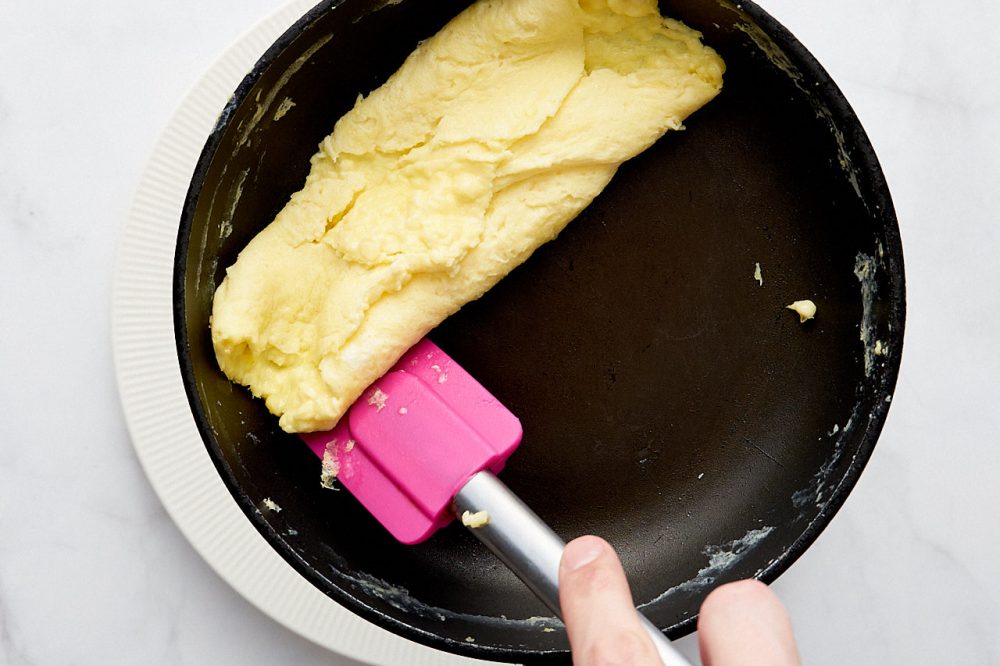
I went a little overboard (in the photo below) and brought it almost to full readiness. But that’s okay: if the omelette mixture, like mine, has gathered into one big lump – just level it out in the pan with a spatula and continue.

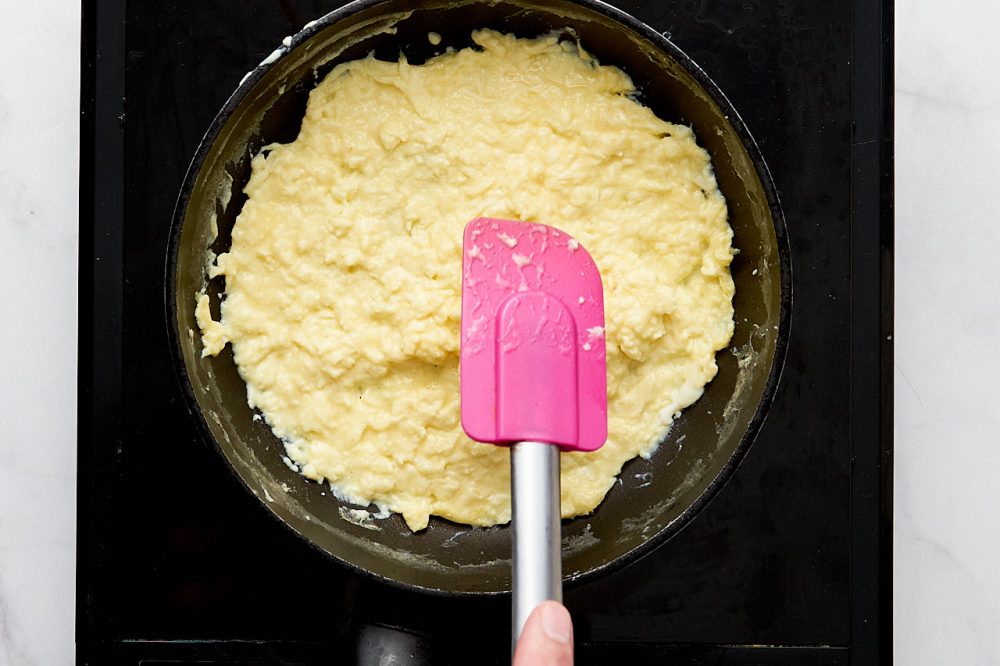
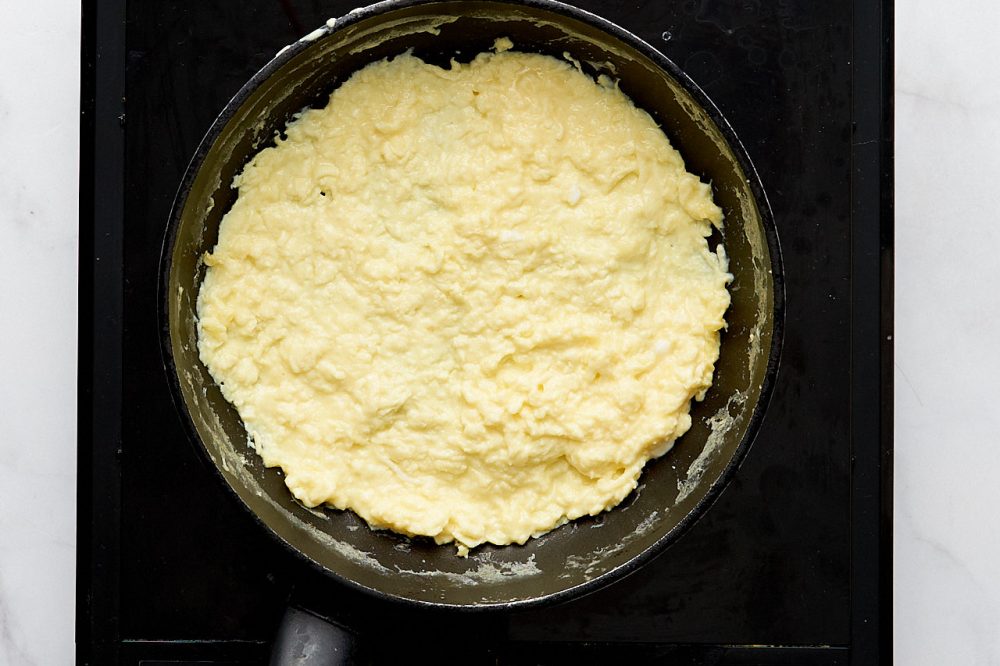
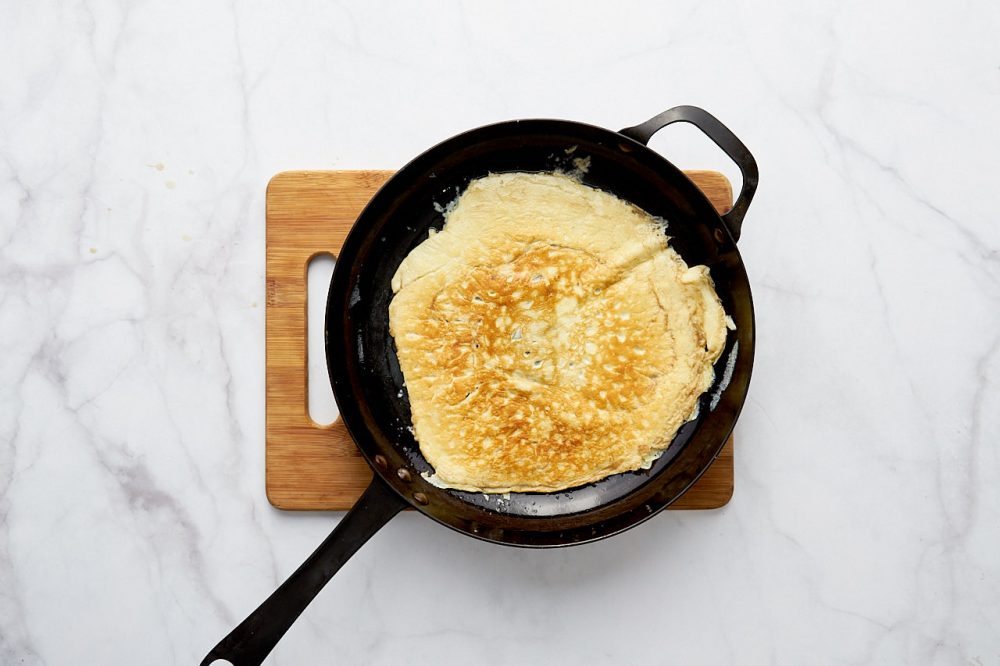
Cook for another 10-15 seconds, until the omelette has set enough to be able to fold it without tearing. You can easily check this by gently lifting the edge of the omelette with a spatula and assessing its consistency – if it’s not tearing, go ahead and fold it.
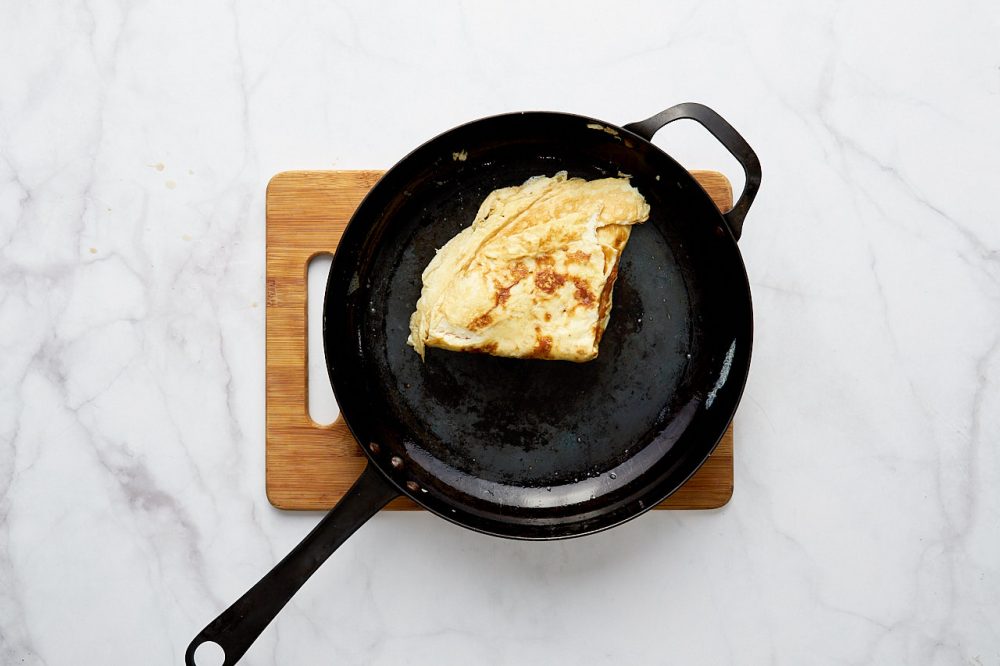
If you are making an omelette with a filling, add it to the center of the omelette. Fold the top and bottom edges of the omelette towards the center. Remove from heat, cover with a lid, and leave for 1 minute. When the omelette is still slightly liquid on top – such folding allows you to sort of seal the filling inside.
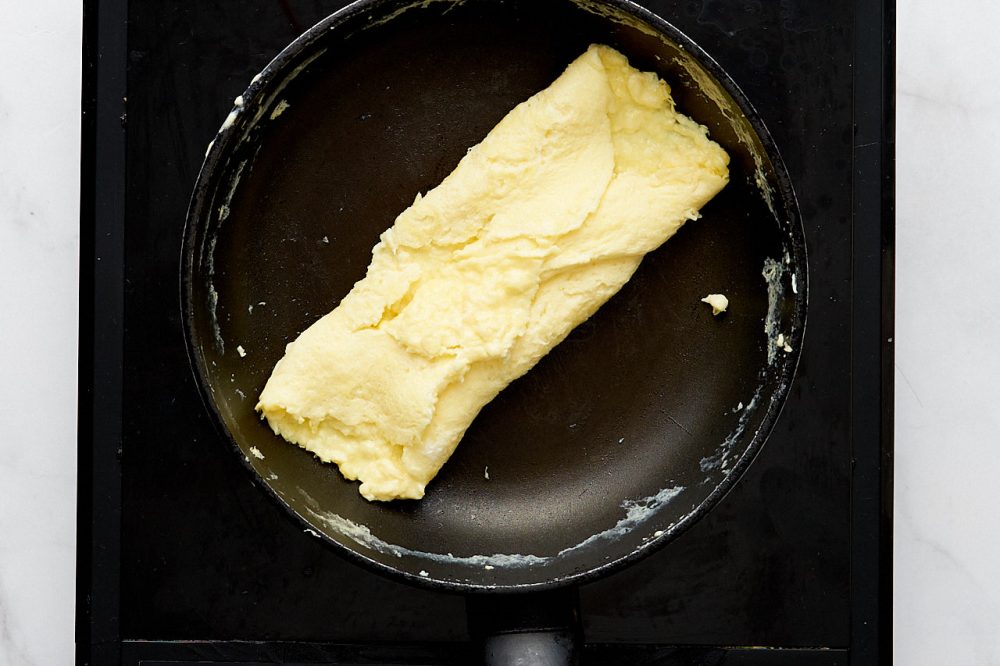
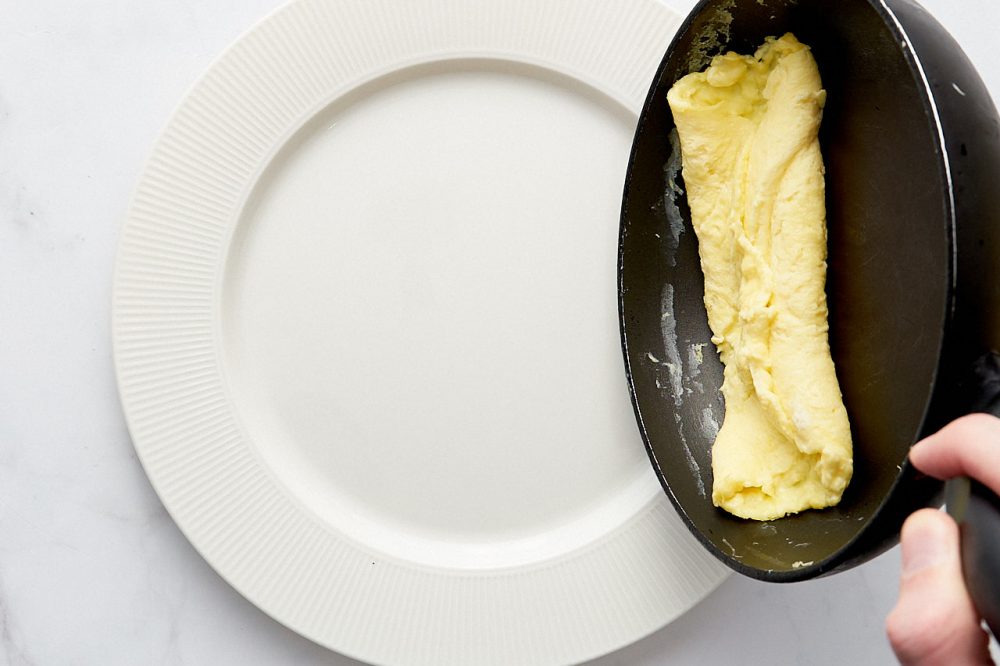
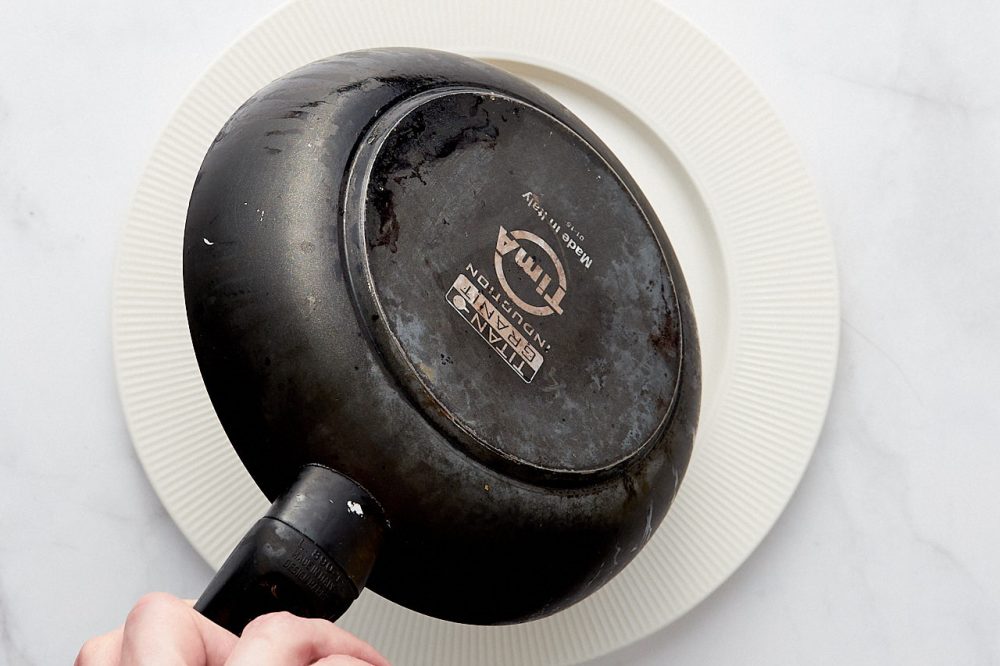
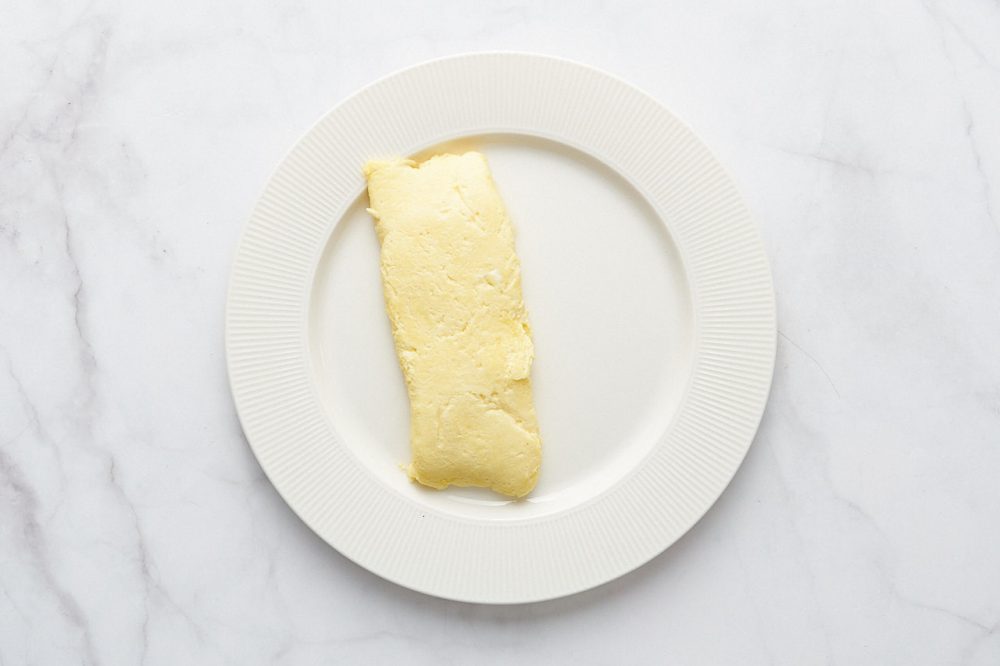
Shift the omelette to the edge of the pan, bring the pan to the plate on the side, holding it almost vertically, and sharply tilt the pan towards the table so that the omelette ends up on the plate with the seam facing down.
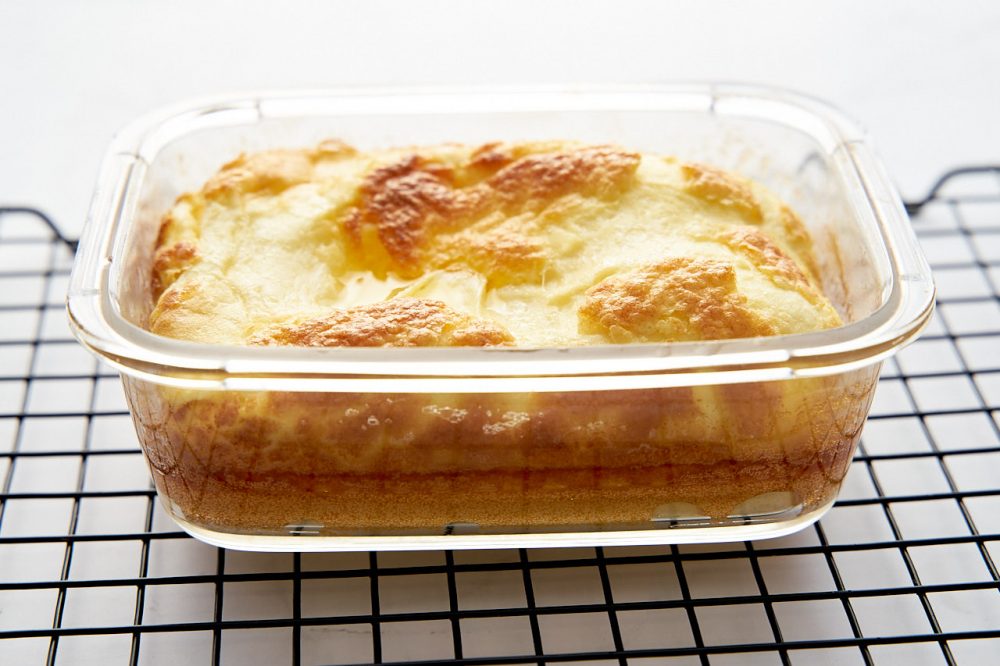
High omelet baked in the oven (like in kindergarten)
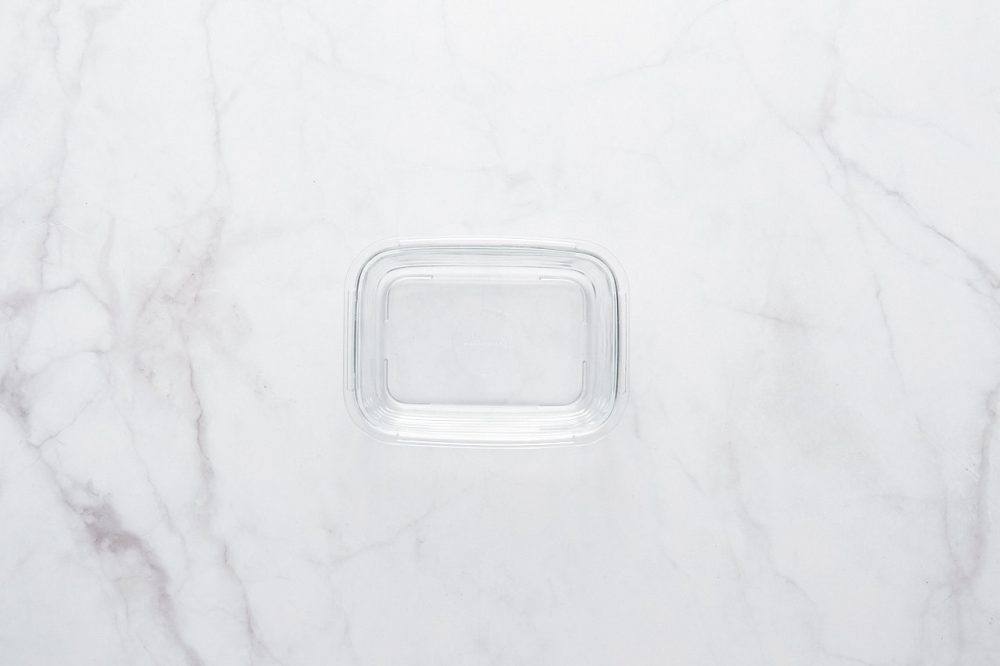
For this type of omelette, you will need a small baking dish. I didn’t have one, so I just took the smallest glass storage container I had and used it as a mold. It’s simple: the smaller the area of the mold and the more omelette mixture you have, the higher your omelette will be. Also for this omelette, I use more milk and add flour.
A larger amount of milk will increase the total volume of the mixture, making the omelette fluffier. It also dilutes the eggy taste slightly, making it more neutral. But this is subjective; someone else might call such an omelette taste — more delicate. Flour, as you already know, acts as a stabilizer.
For a fluffy omelet, I used ~30 ml of milk per 1 egg, as well as 1/3 tbsp. of flour per 1 egg. The amount of milk can be increased up to 50 ml, or even more. If you want an even taller omelet. Experiment.
Preheat the oven to 170 °C / 340 °F.
Crack the eggs into a bowl, add milk, salt, and flour. Whisk it with an immersion blender until homogeneous. If you don’t have a blender – use a whisk.


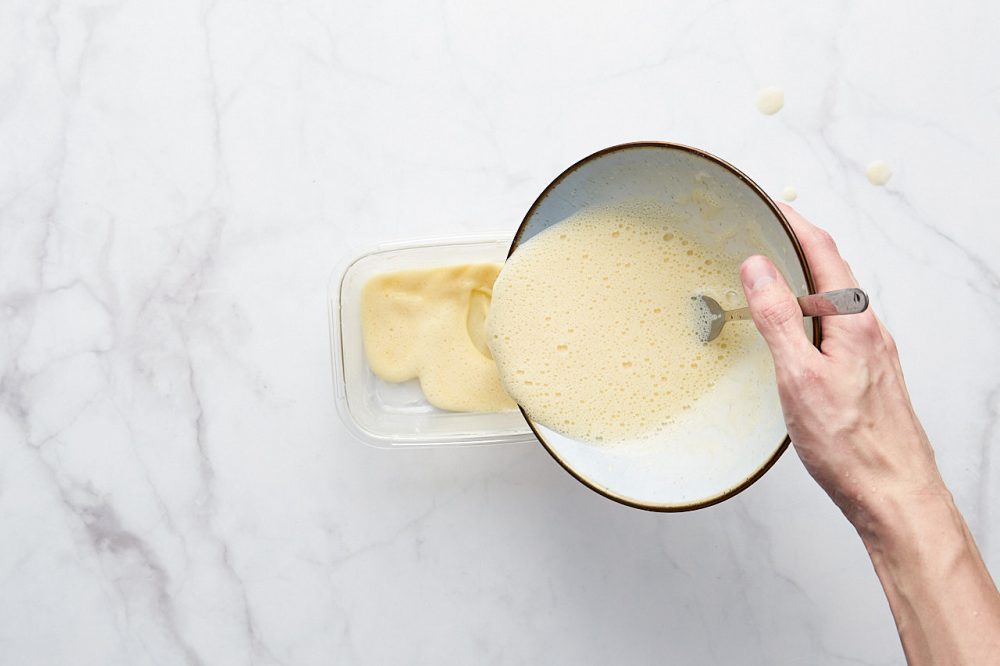
Grease the baking dish with butter. Before pouring the omelette into the dish, whip it well again to lift the settled flour. You can use a fork this time.

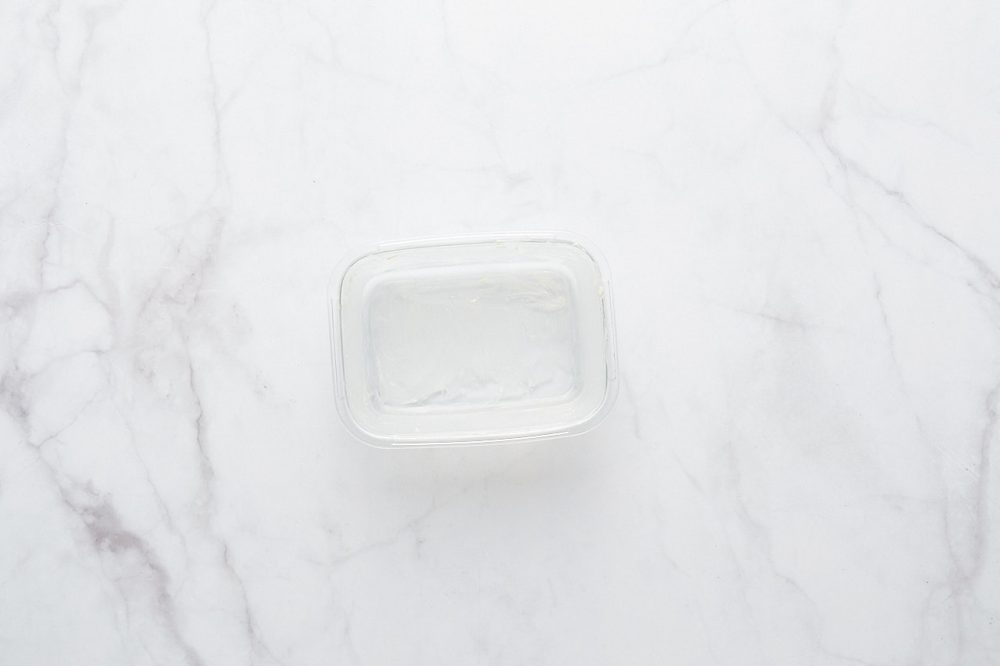
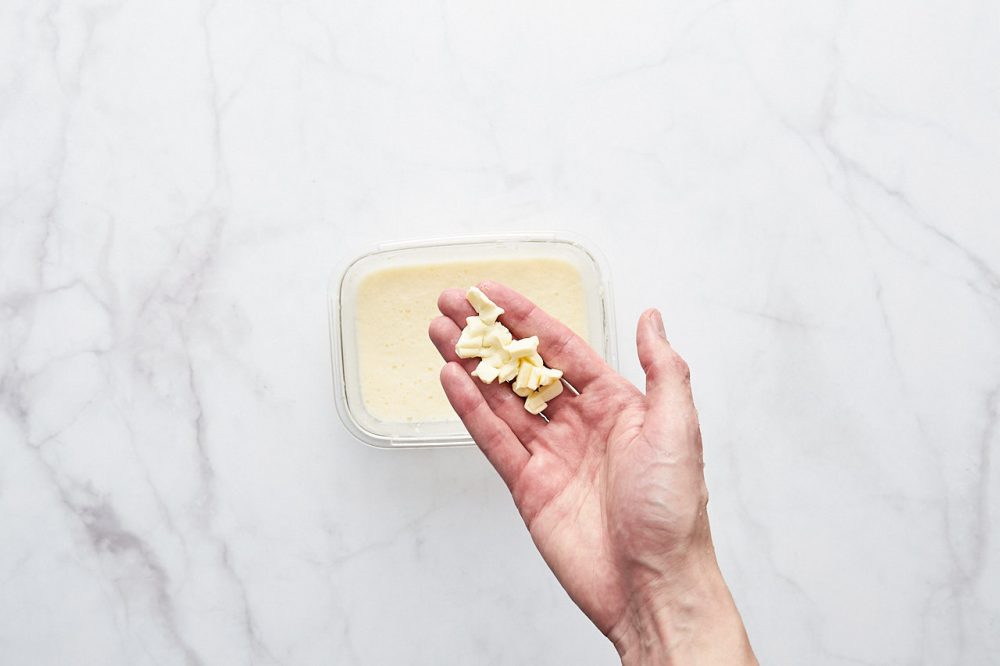
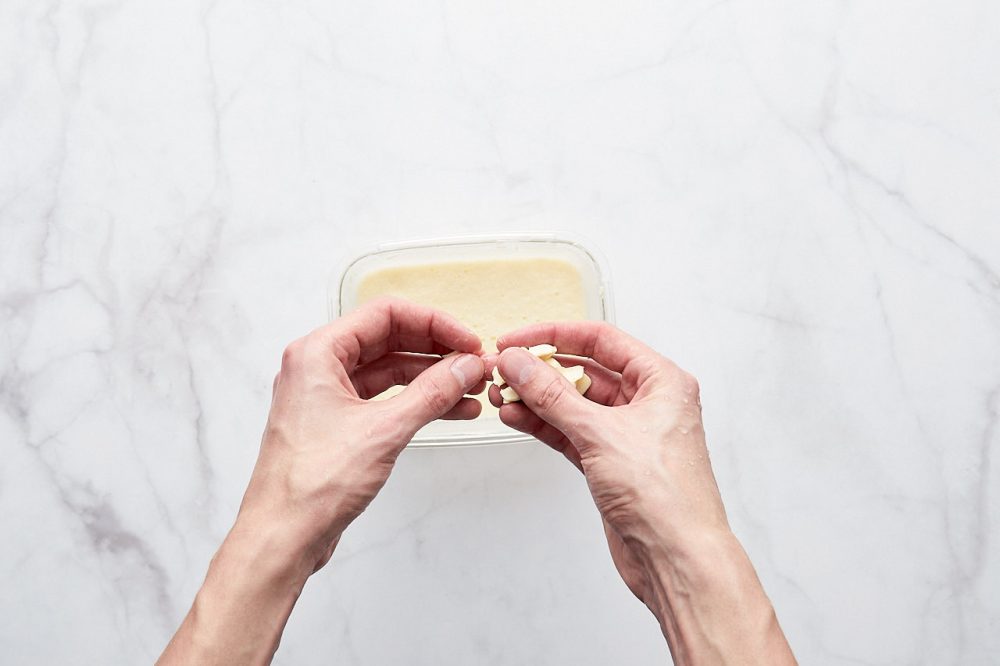
Optionally: Take about 10g of butter, cut it into small cubes and add to the omelette, trying to distribute evenly (to prevent the cubes from sticking together, put the butter in the freezer 10 minutes before cutting).
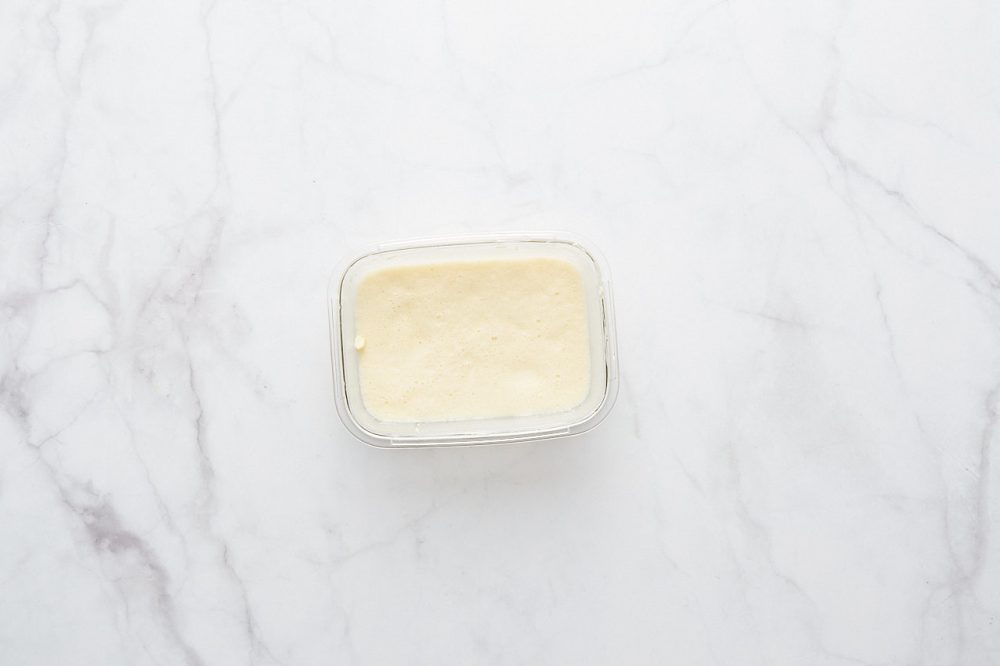
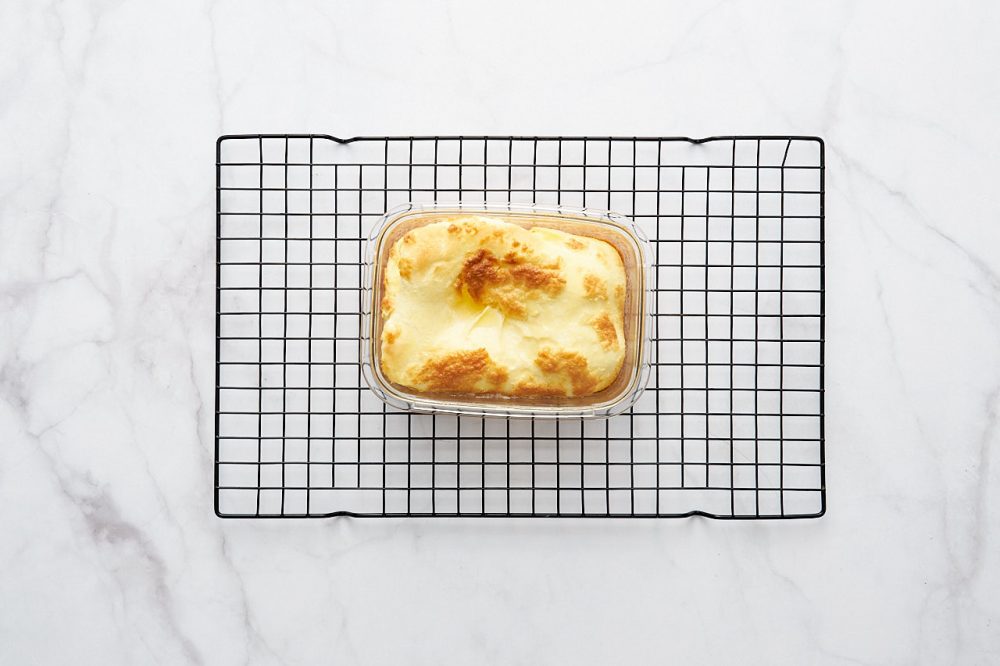
Bake in a preheated oven for 30-40 minutes. The time will vary depending on the number of eggs and the height of the omelette mixture. My mold was filled halfway (2 cm in height), the omelette was ready in 30 minutes.
The finished omelette will double in volume or even more. But when you open the oven door, it will deflate quite quickly – this is normal.
You can try turning off the oven and leaving the omelette inside for another 10-20 minutes, without opening the door. They say that thanks to this, it will deflate less, but I personally have not tried this method.
Simple, lazy homemade omelet
This is a regular omelette, without unnecessary pretension, which we most often cook at home. Now, knowing the principles of preparation, you can take its taste qualities to a new level. Below I will show my version of a lazy omelette.
Prepare the ingredients: crack 2-3 eggs into a bowl, add milk (I pour it straight from the bottle, by eye) and a pinch of salt. Whip it up. If there’s time – leave it for 15 minutes, if not – cook immediately.
I will be cooking a thin omelette, for this I take a large pan (28 cm.) for 2 eggs. But remember, even in such a large pan, the omelette will become fluffier and taller if you cover it with a lid halfway through the cooking process and cook under it.
If using a filling – fry it in butter and leave it in the pan or set aside to add later. If without filling, then heat the pan, melt the butter, and pour in the omelette mixture.
Cook the omelette for about 1 minute. During this time, it will almost fully set. Flip it over.
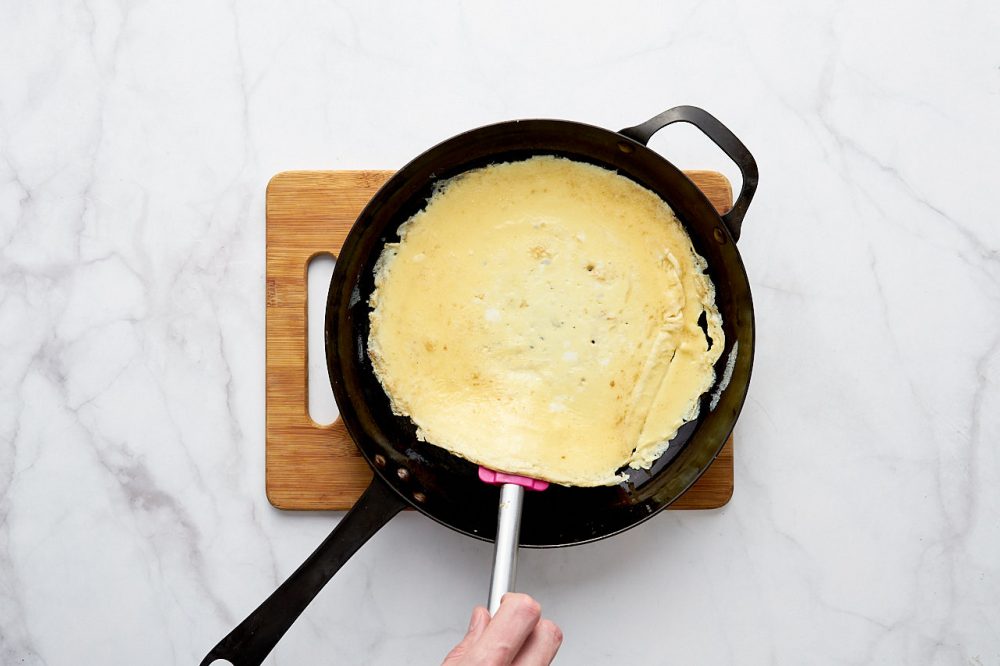
To flip the omelette and fry it on the other side – take a spatula and gently push it under the omelette to the center of the pan. Gently lift the spatula and flip the omelette. If it tears – cook for another 10 seconds and try again.
Fry for about another half a minute to a minute on the other side, add the filling (if using), fold it as you like and serve.


This omelette can be cooked in various ways.
Cover with a lid about 15-20 seconds after you pour the mixture into the pan, cook for a minute, then turn off the heat and let it finish cooking without lifting the lid for another minute. The omelette will turn out fluffy and high.
Take a smaller pan and repeat everything mentioned above with the lid – the omelette will turn out even fluffier.
Conclusion
In this article, I tried to gather all possible nuances of omelette preparation and demonstrate how to cook the most popular versions. I wanted to systematize my knowledge and fill in the gaps. But I’m not an omelette expert, with 10,000 hours of omelette-making experience. If you have anything to add or even correct me on some points to make this material more useful – I’m looking forward to your comments.
Sources
- J. Kenji López-Alt — The Food Lab
- Food TV channel
- Food Wishes
